blog

Styling your kitchen worktops

Hi there!

Hope you are all enjoying the frosty cold weather?…it puts me into full on faffing mode and the latest place in Rose Cottage to get hit is the kitchen worktops! When I share my kitchen over on Instagram I always get lots of compliments on the styling of it so thought I would share a few tips over here on how I put it all together. The tips are nothing too complicated but they sure are effective…

1. Separate your kitchen into sections

Think about your worktops in smaller more manageable areas, rather than as a whole. Concentrate on one area at a time, make sure your really happy with how you’ve dressed it before moving onto the next.

Think about whether the area will be for practical use or simply decorative; or it could be a mix of both! It’s useful to have certain appliances close to particular cupboards eg mugs near the kettle (especially handy on busy mornings!!). Keep this in mind when choosing what appliances you will need in each worktop section. Also most appliances will need plug sockets so give this consideration too!

2. Start with a blank canvas

I always clear the space I am working on before deciding where anything will go. It helps see the full size of the space and will make it easier to experiment with different accessories.
3. Give the area a good clean

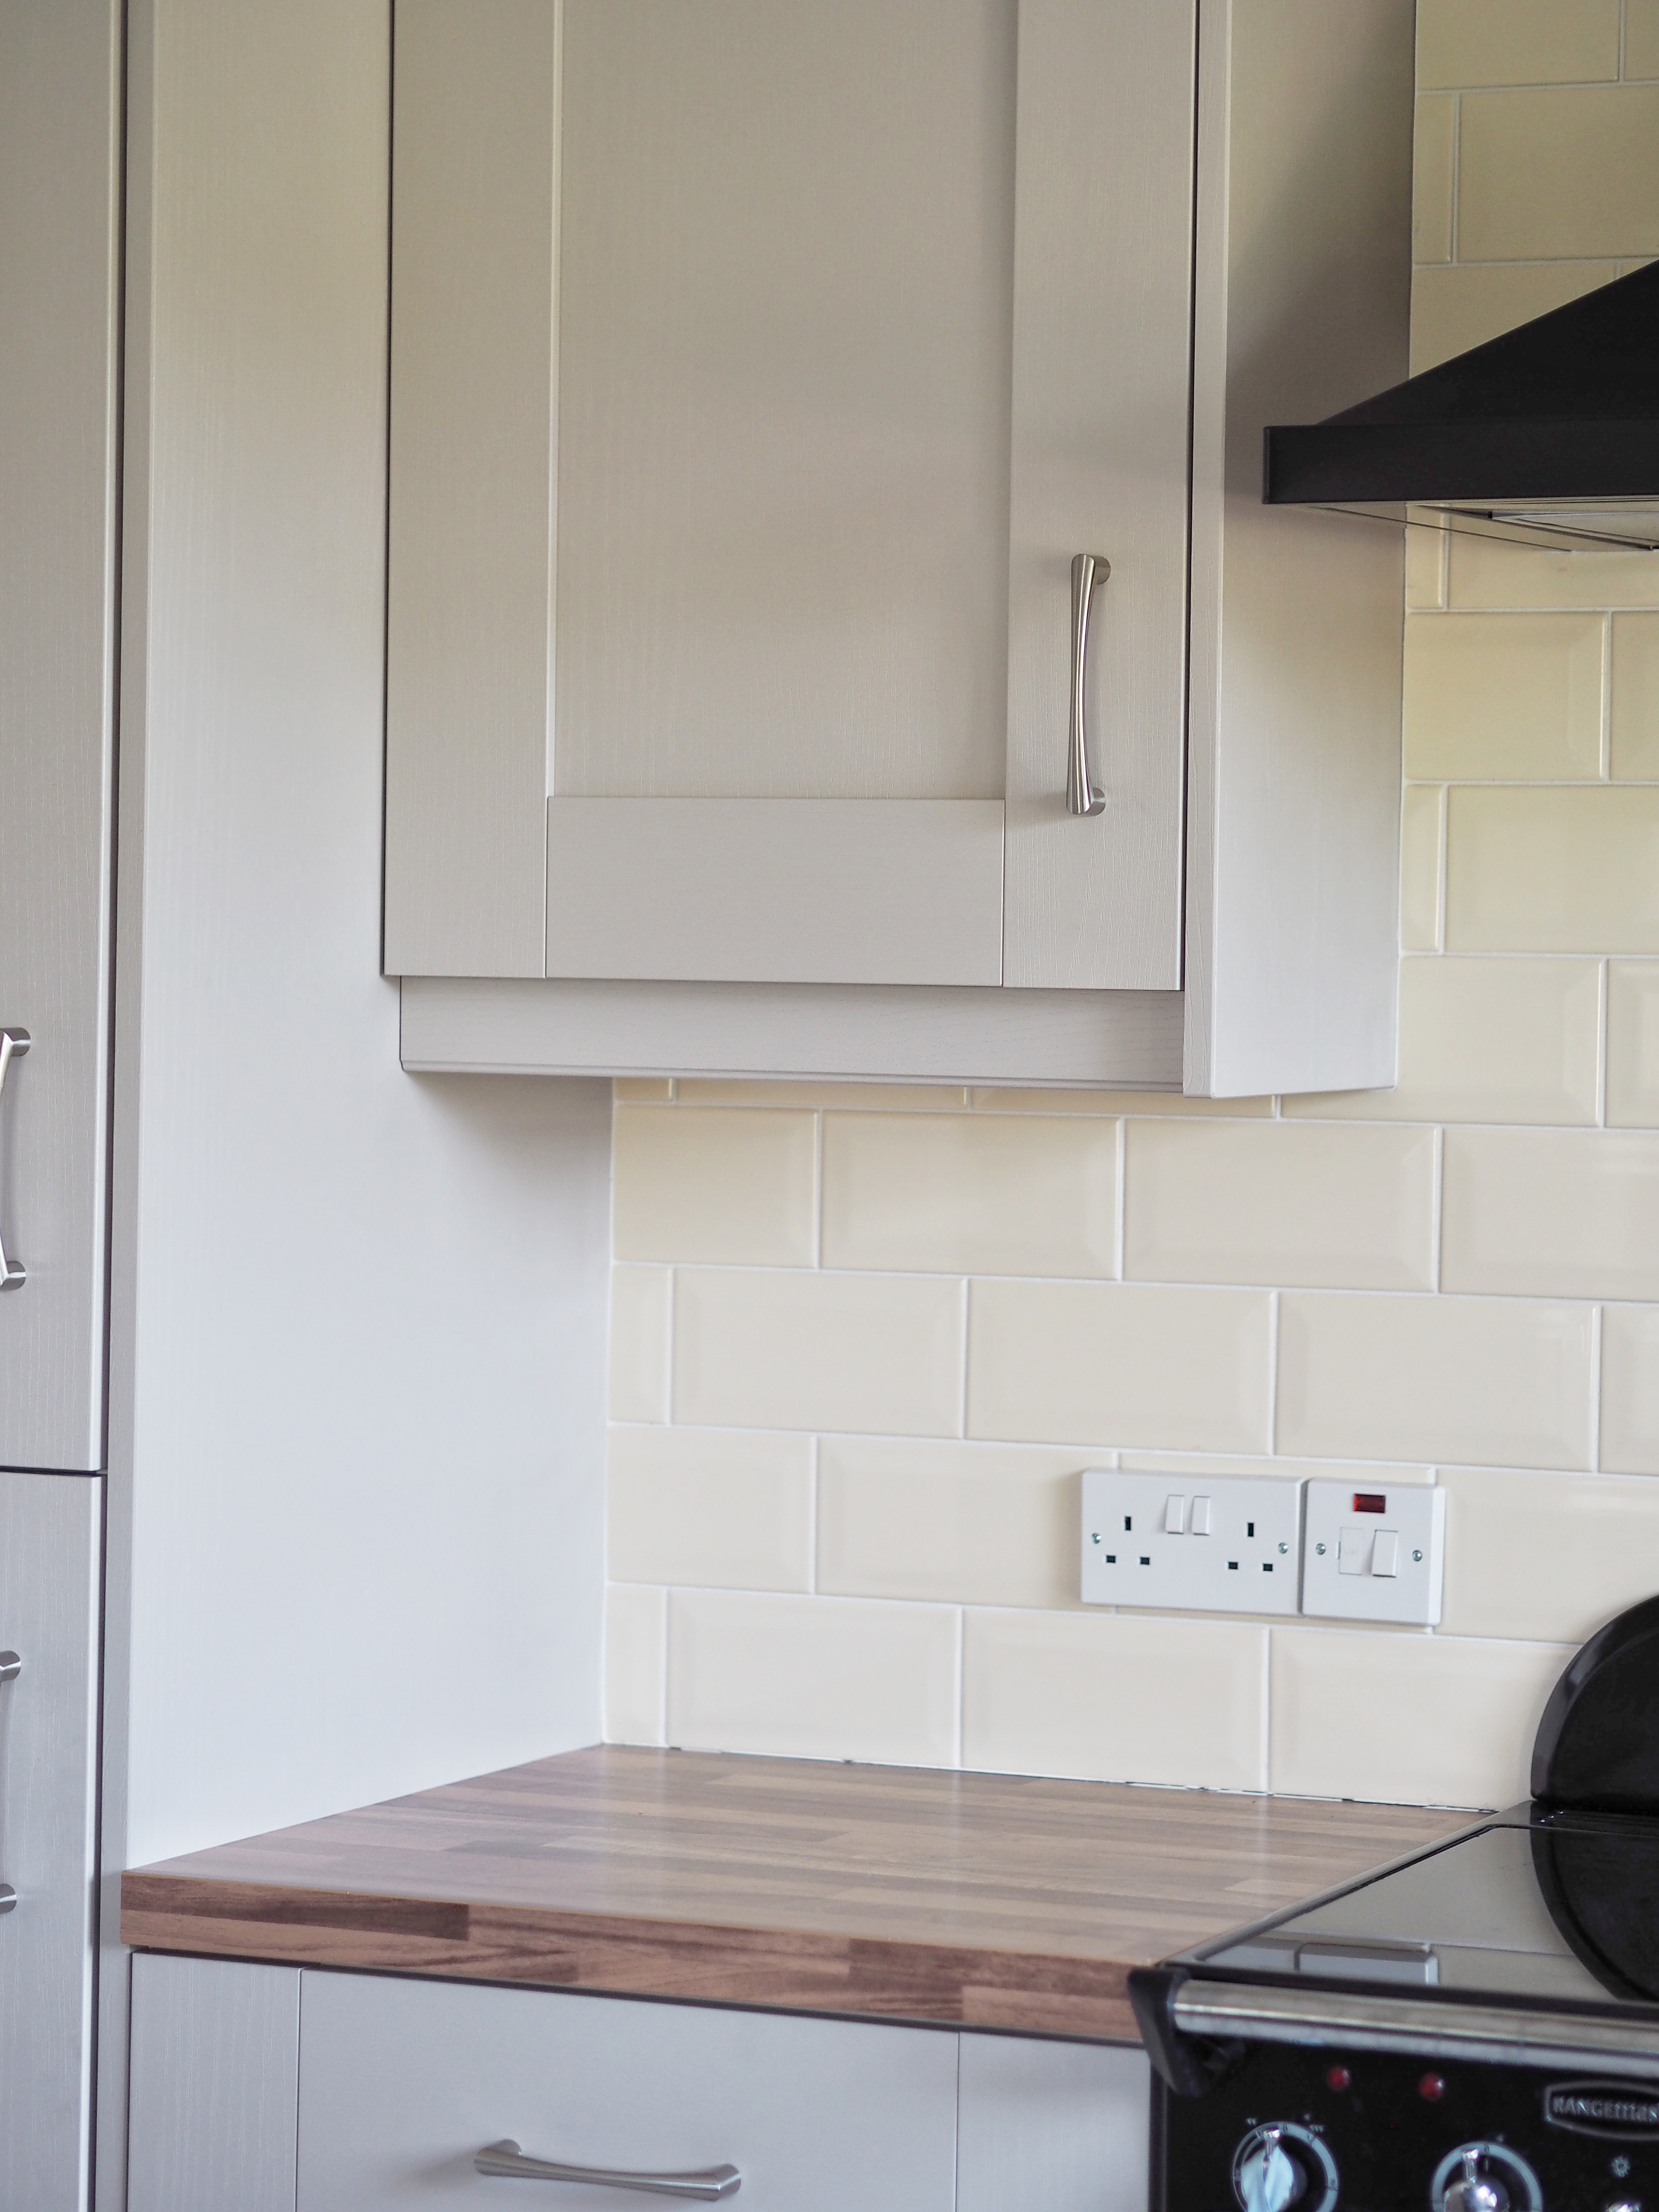
Use the opportunity to give the area a good scrub; clean the worktop itself, the wall/ tiles behind and any appliances or accessories you will be using.
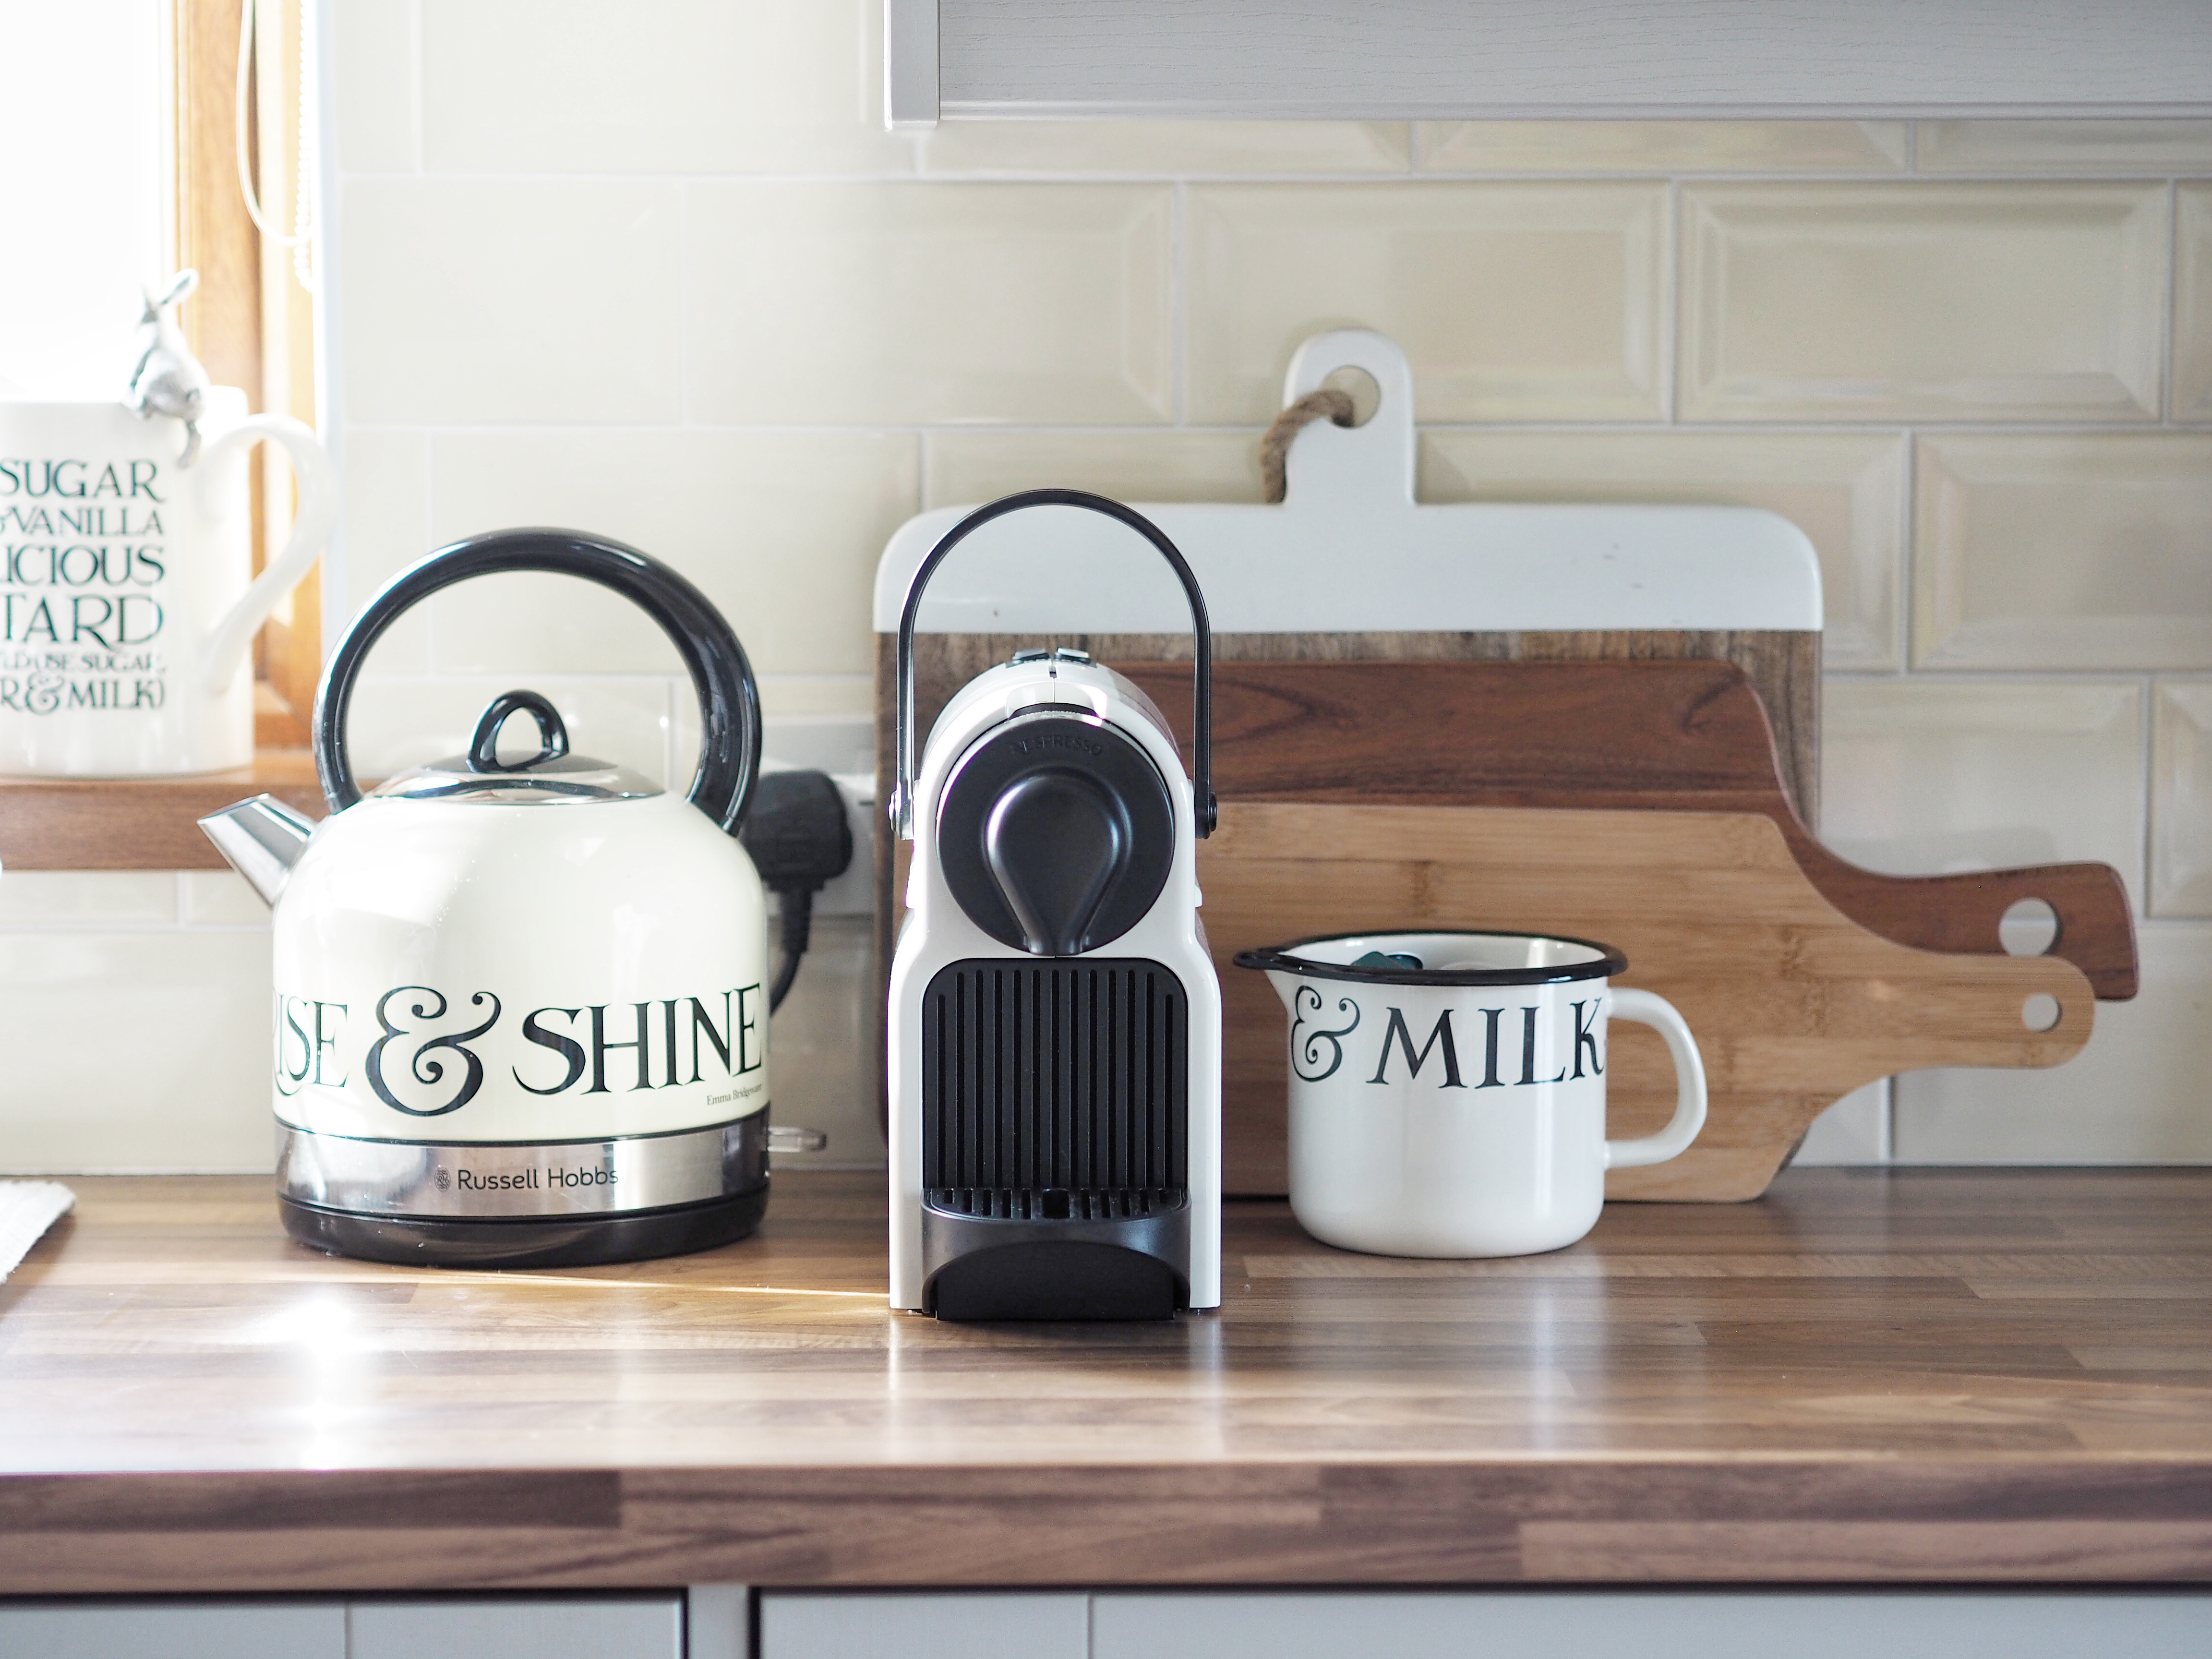
4. Think about things you might want to hide

I am not a fan of seeing plug sockets in my kitchen so often use chopping boards, platter plates and framed prints to hide them where i can. I also hide the plugs and leads of appliances using the same techniques.

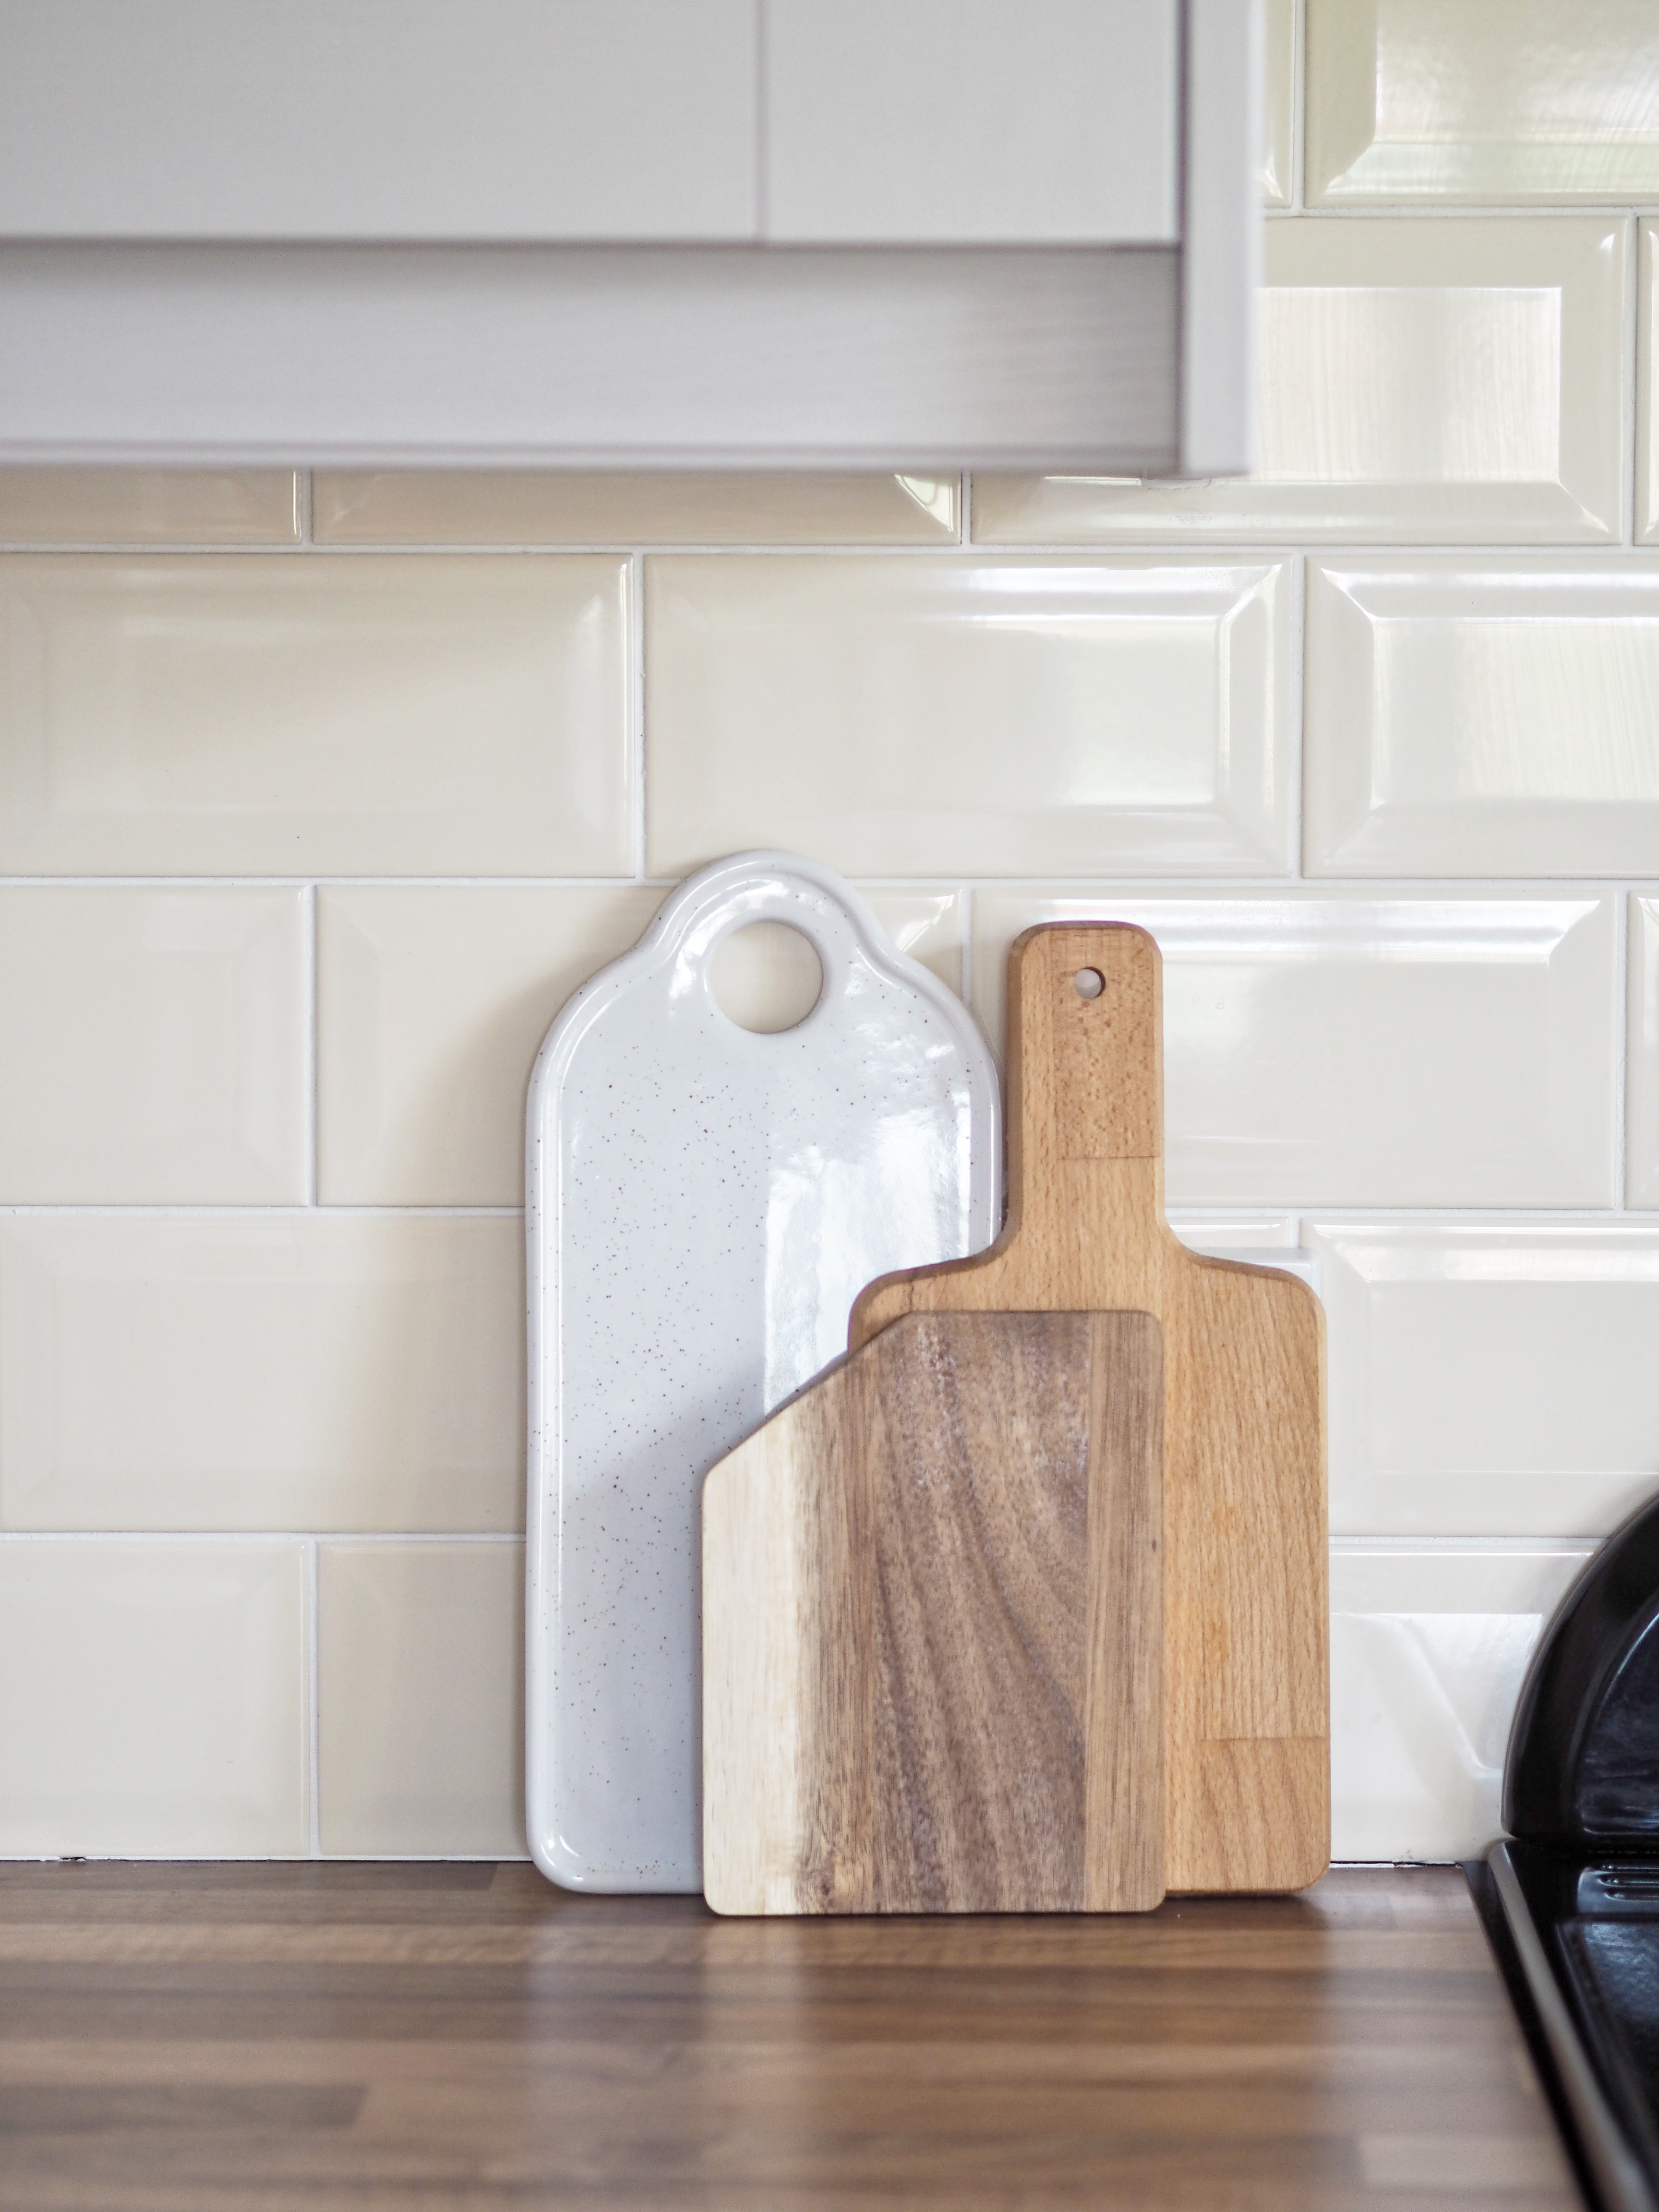
5. Add height, colour and texture

Setting appliances and accessories on top of chopping boards can help create a feature and add height.

Adding hooks from the cupboards above is a great way to incorporate accessories without taking up counter space.

6. Accessorise, accessorise and accessorise!

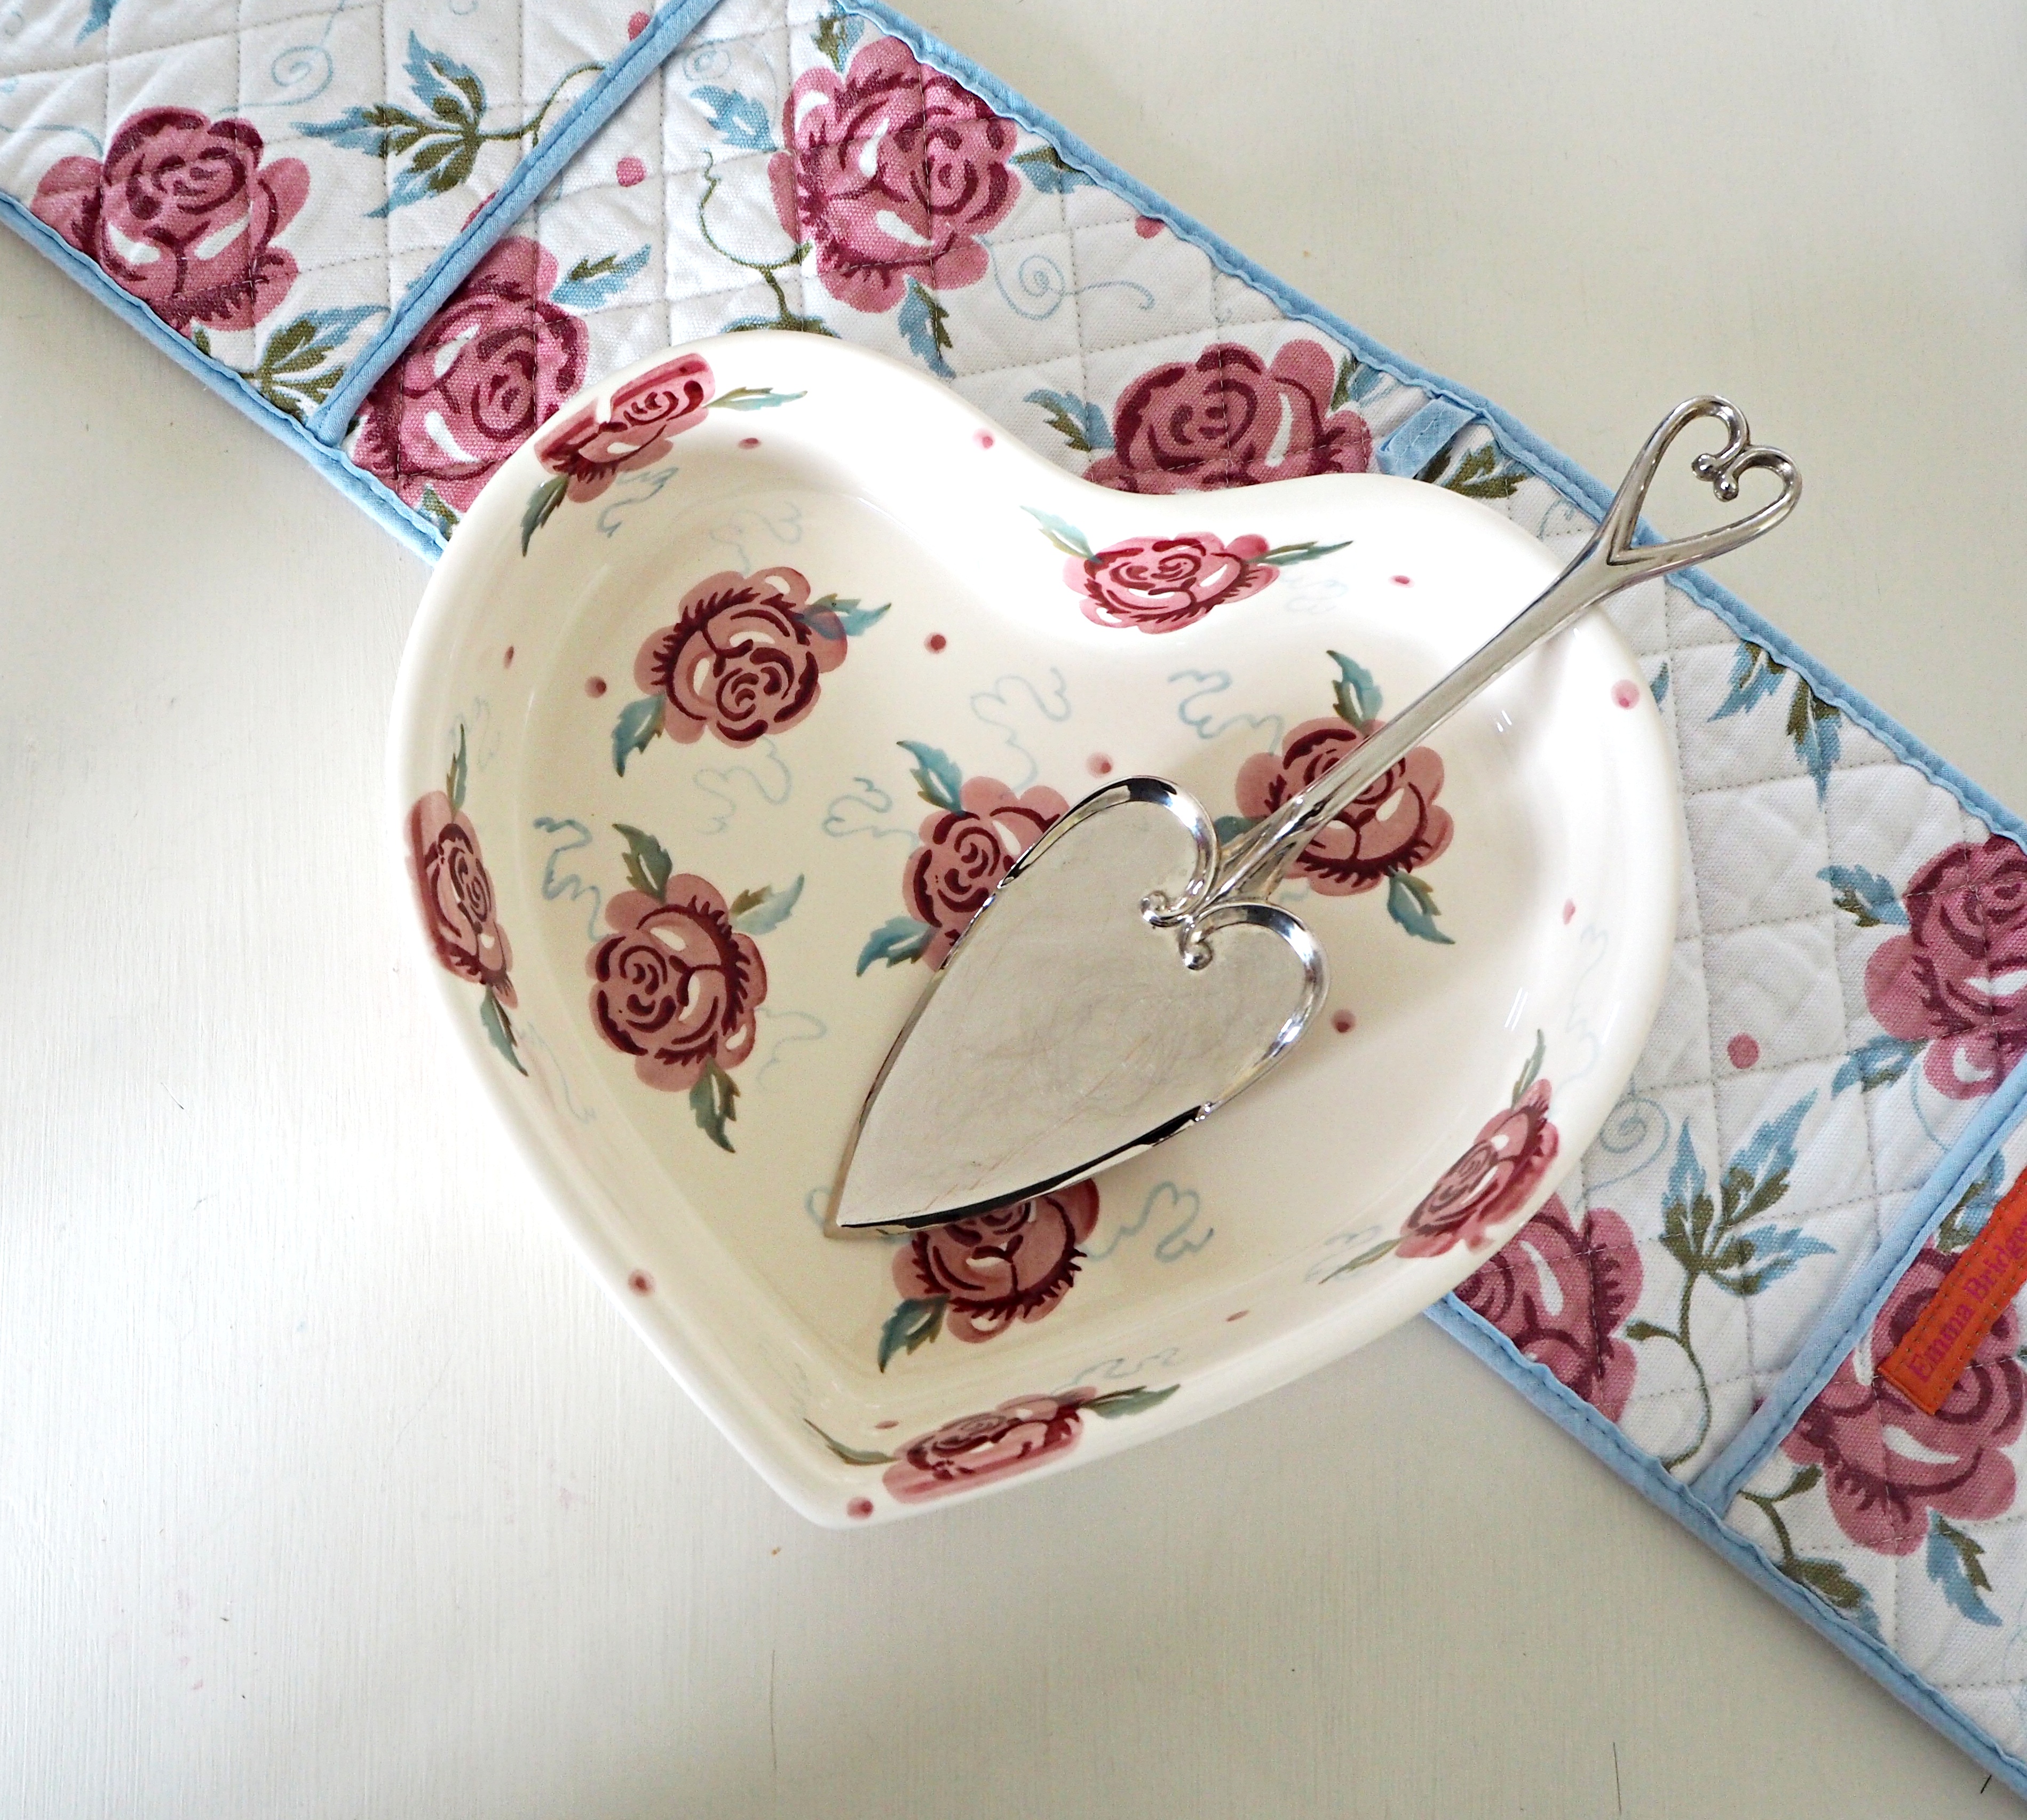
The majority of the accessories in my kitchen are Emma Bridgewater, I am a massive fan and enjoy the country kitchen feel they give. Think about mixing colours, textures and sizes when using accessories, adding plants and flowers too.

Have you any great tips on how you style your own kitchen? I’ll love to hear them!

Hope you enjoyed reading, as much as I enjoyed writing!

INTERIORS

Harry’s Bedroom Makeover

Hi there!

I can hardly believe we are at this stage with Harry….moving him into a big boy bed! I knew time would fly when we had him (because everyone and their Granny warns you!!) but I really cannot take it in!

For any one who missed out on what his wee room was like before, I’ve linked 2 blog posts below…who doesn’t love a good before and after eh?!

Harry’s Little Room

Harry’s Room gets a little make over in Collaboration with Søstrene Grene 

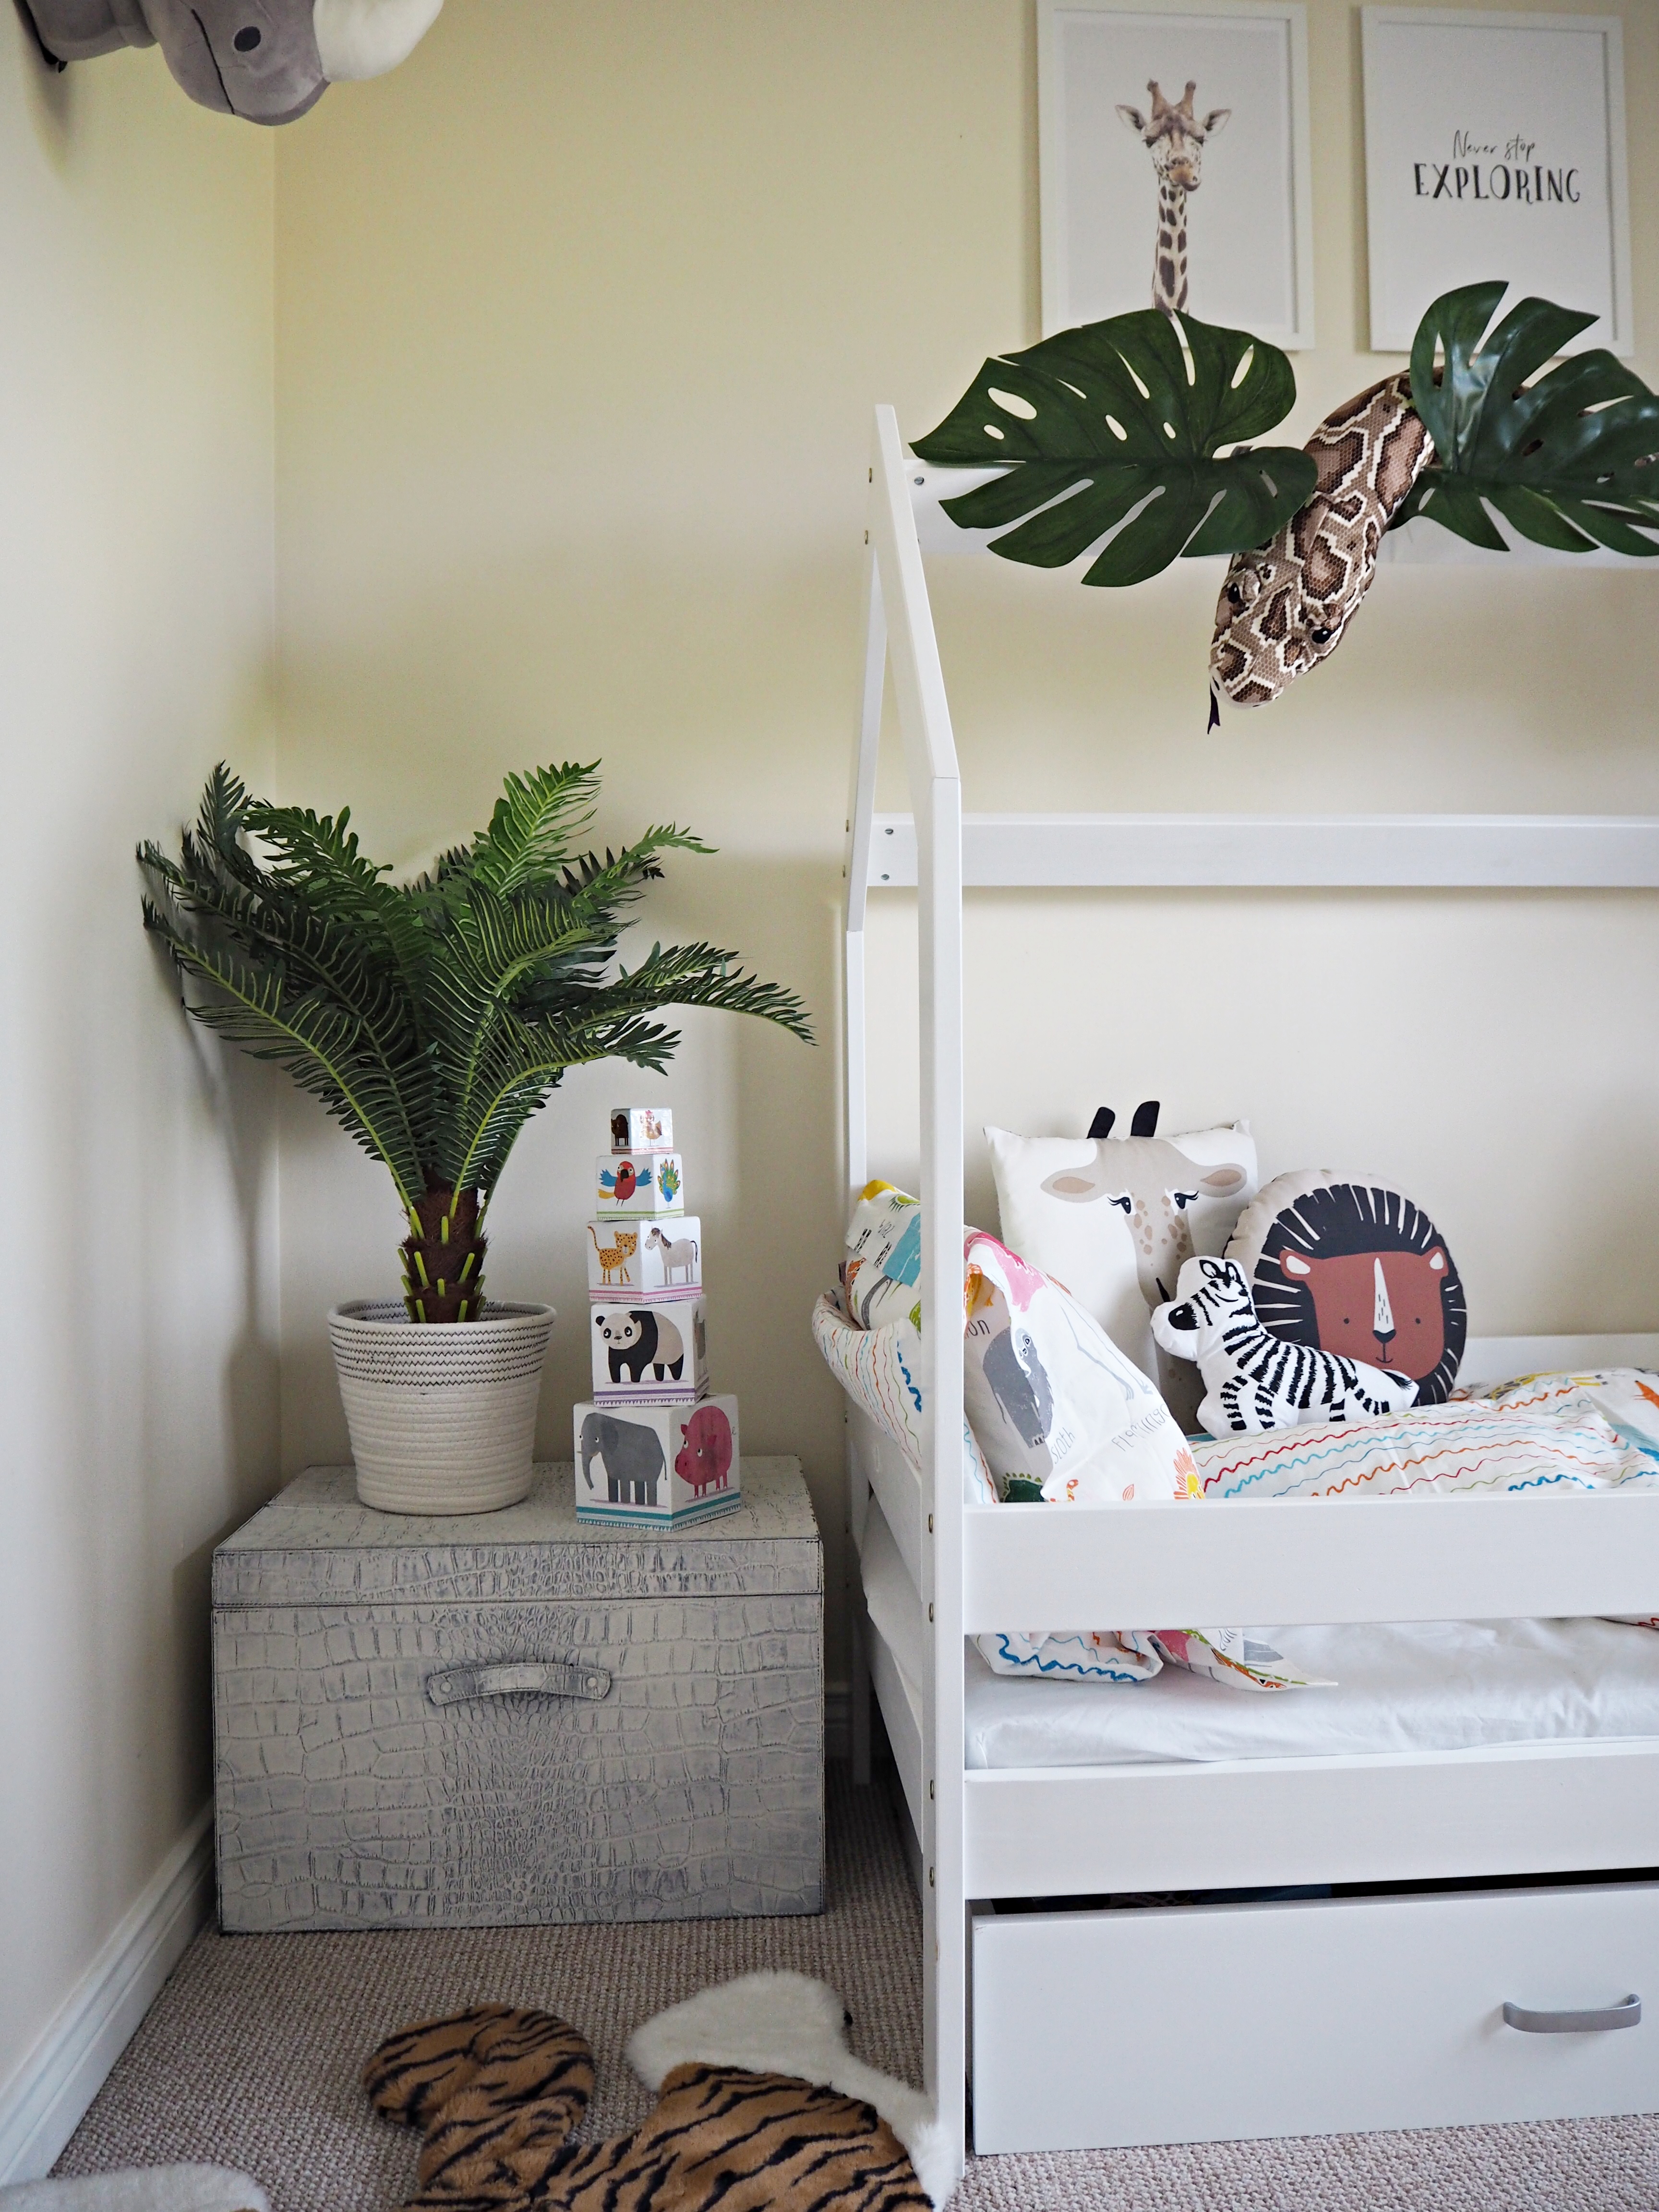
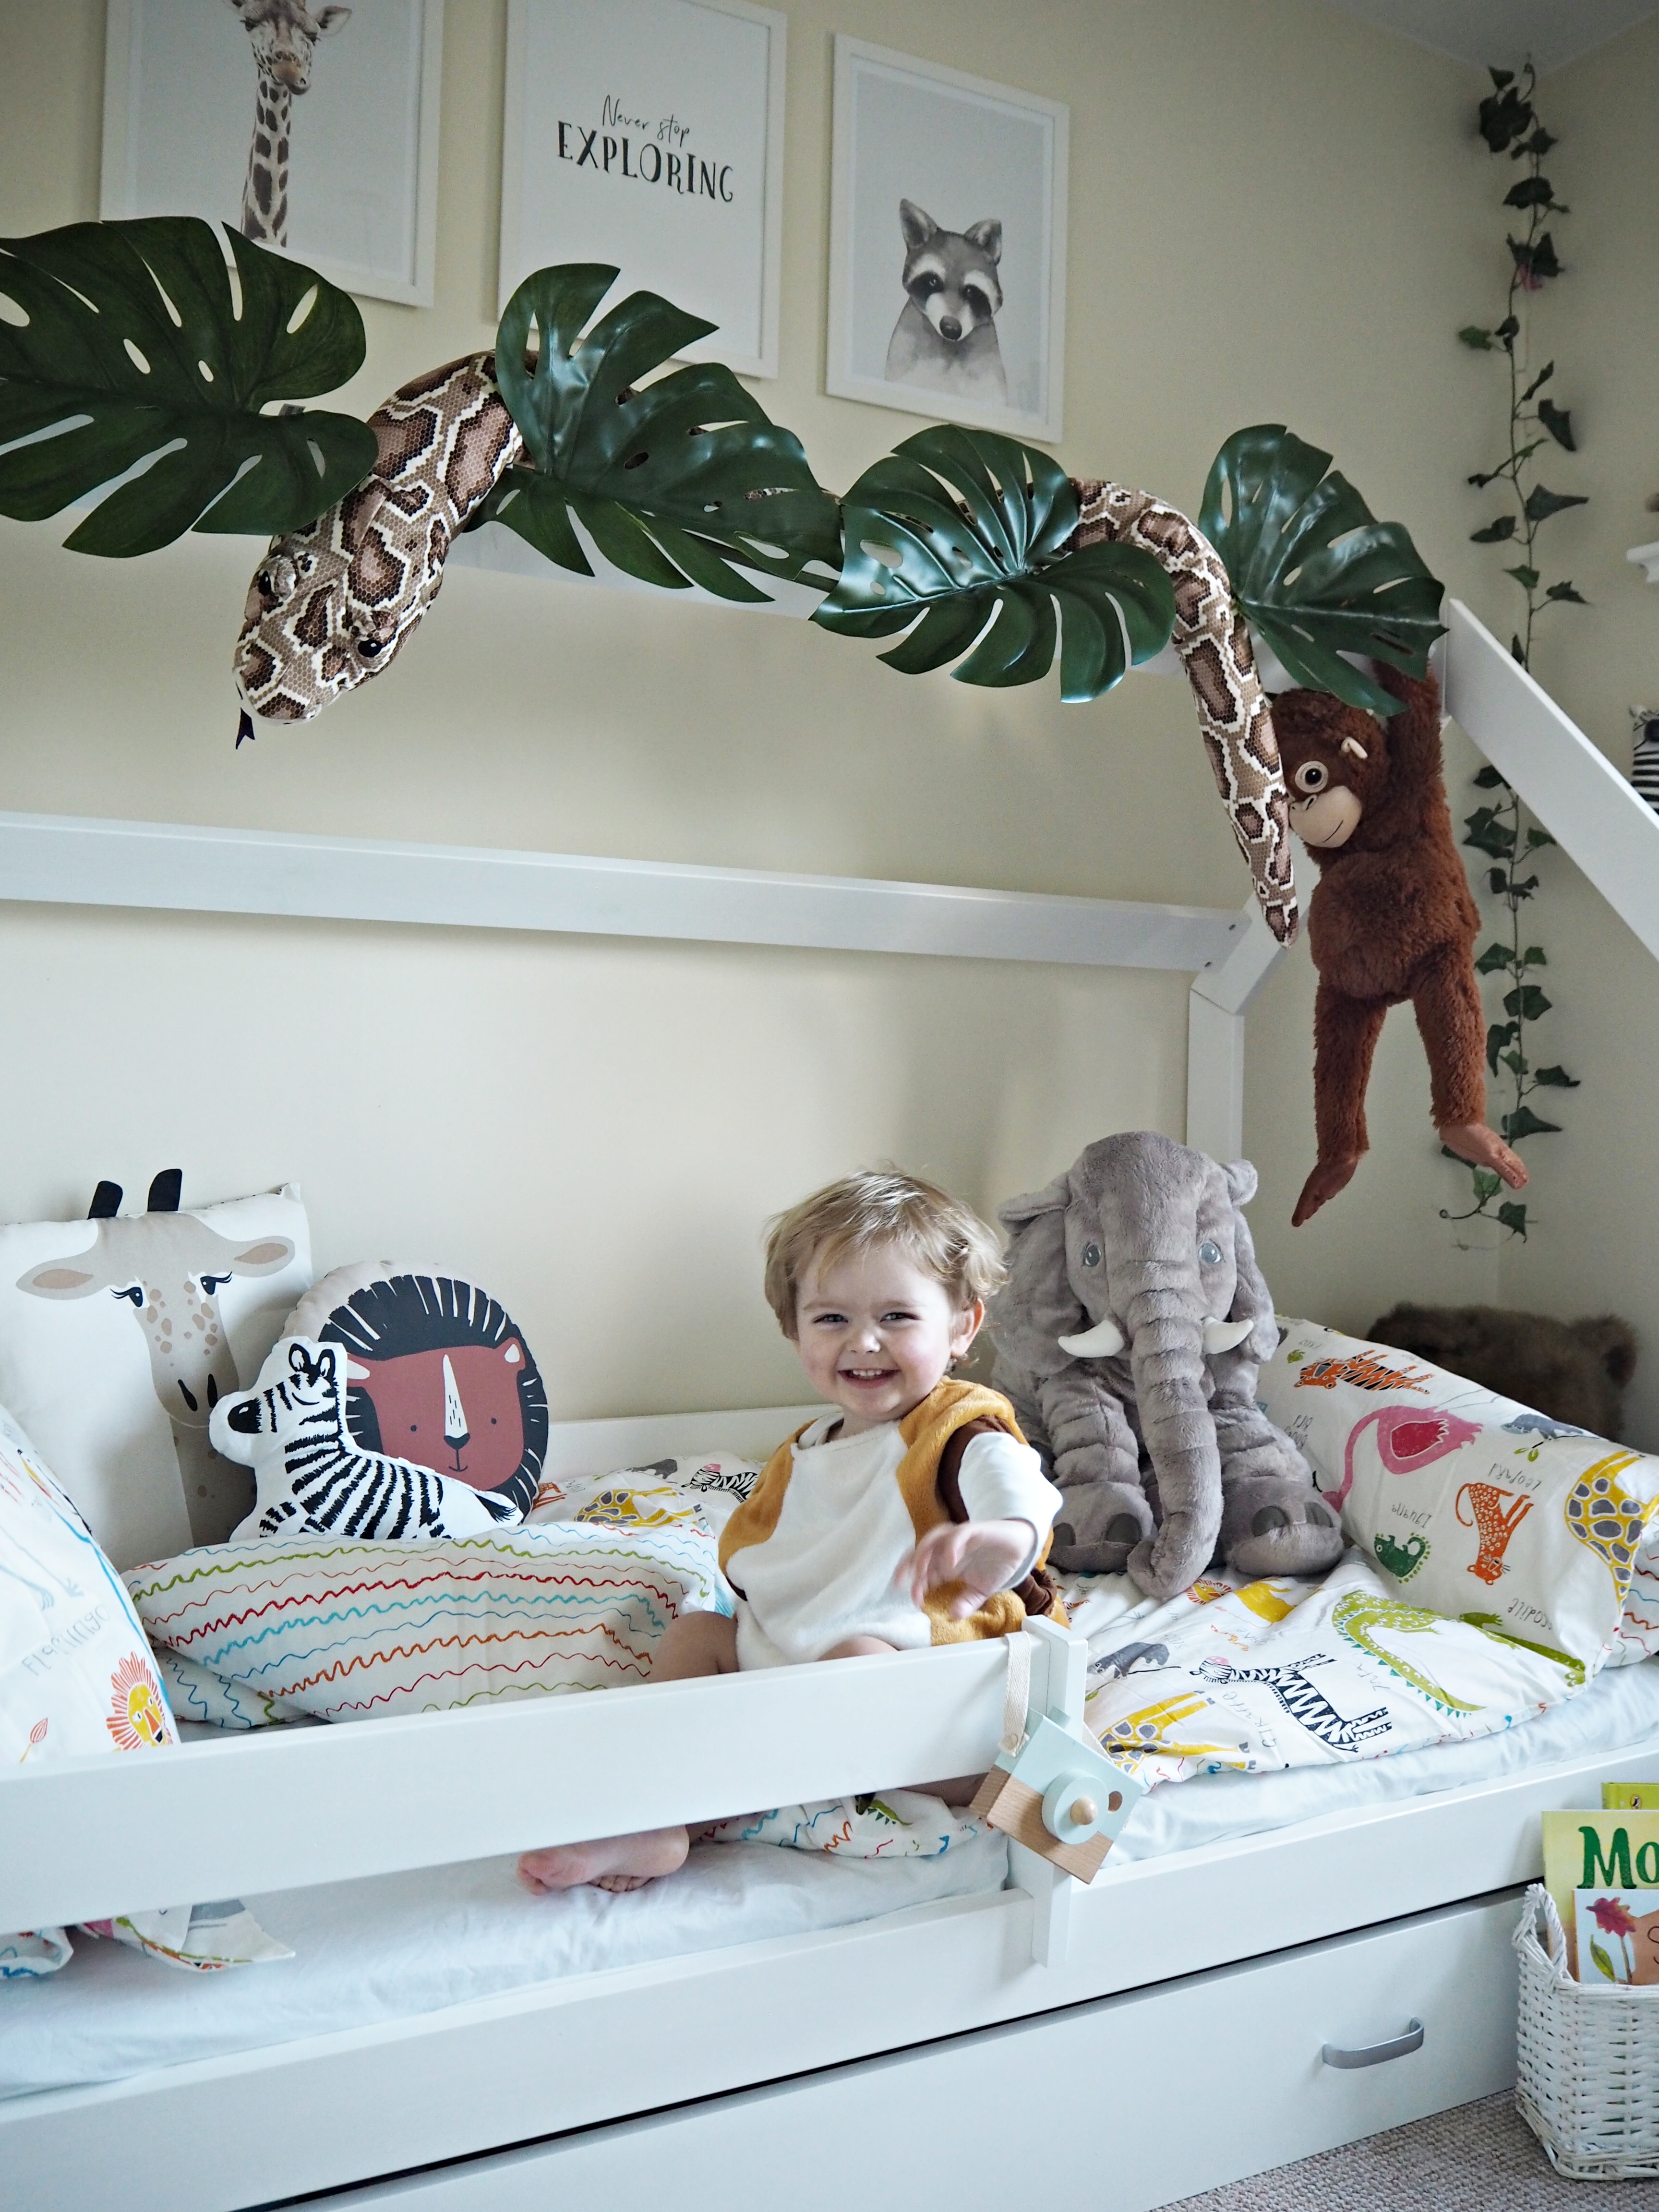
In preparation for the change, I did hours of scrolling on Instagram and Pinterest for inspiration.  I kept saving and pinning images all with a similar bed frame, so knew this was the one! I built the jungle theme around the bed and after numerous Ikea visits and online basket checkouts his room was finished!

OLYMPUS DIGITAL CAMERA

Bed Frame (We added the storage drawer, side rail and matress) – Buy here

Tiger Mat – Local Selling Site

OLYMPUS DIGITAL CAMERA

Trunk – Bedeck (Was black leather which I white washed with Annie Sloan paint)

Plant – Ikea

Basket – Primark

Building Blocks – The Works

OLYMPUS DIGITAL CAMERA

Animal Heads – https://www2.hm.com/en_gb/home/shop-by-room/kids-room.html

OLYMPUS DIGITAL CAMERA

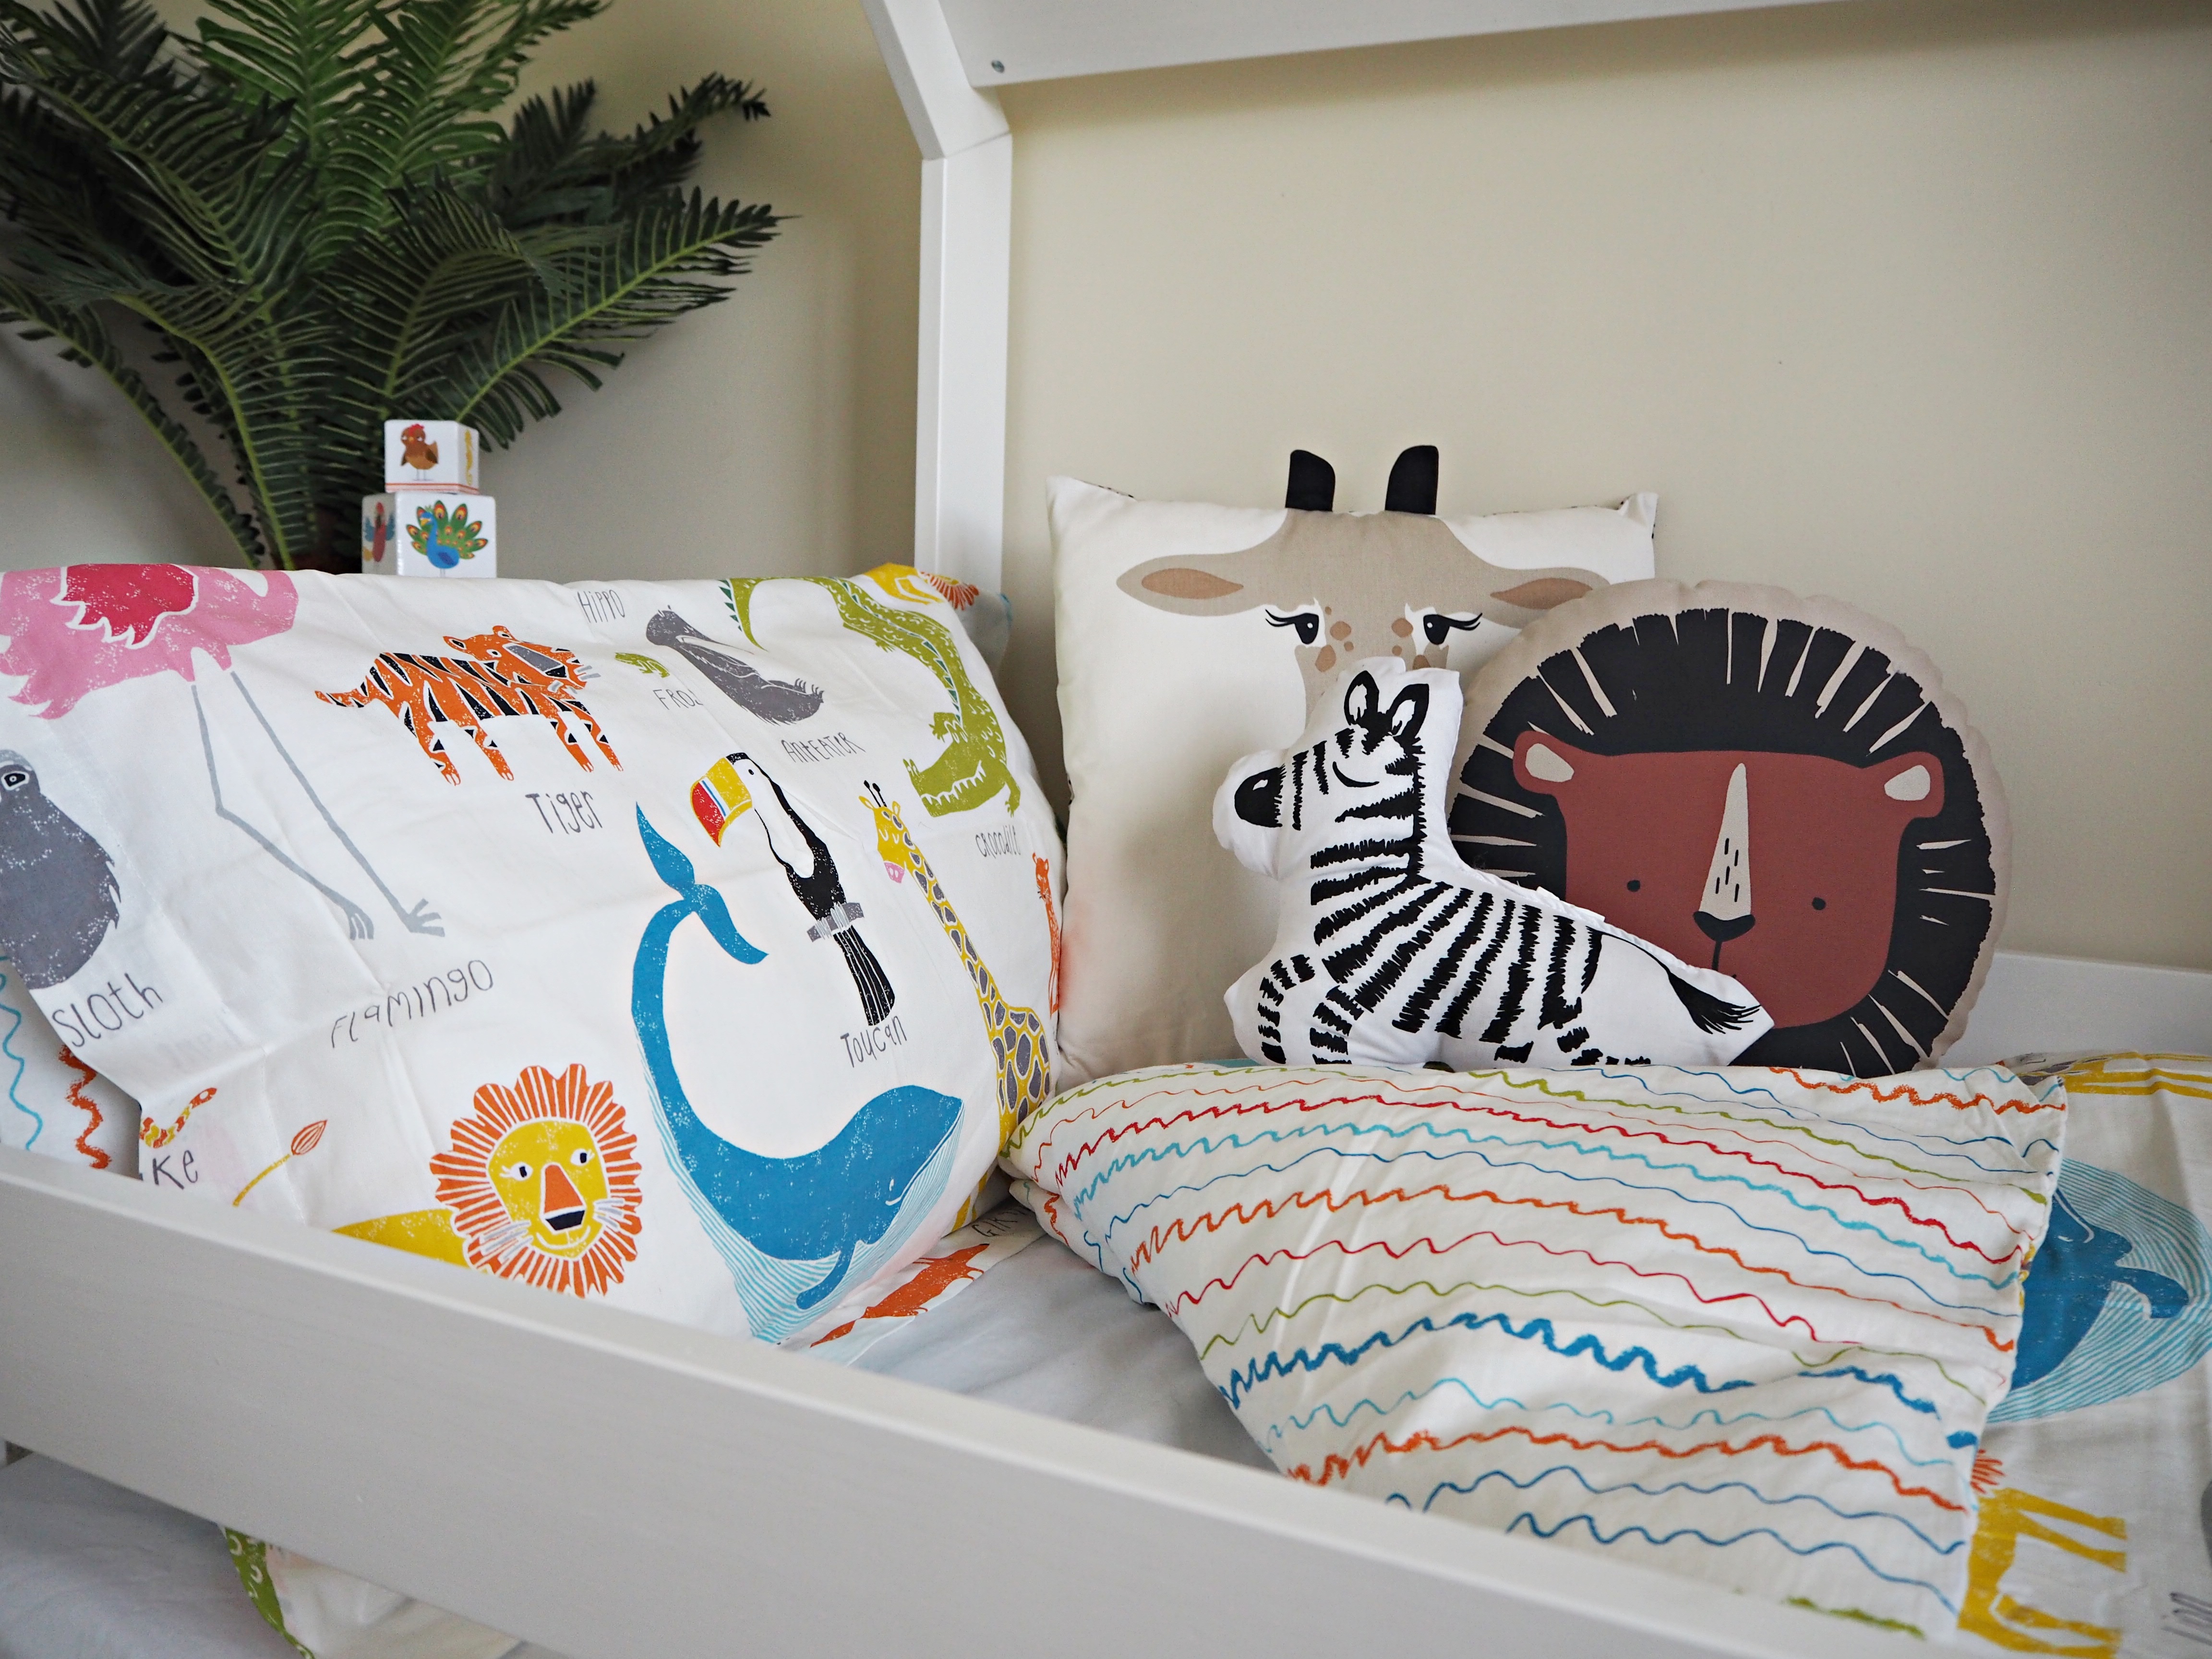
Cushions – https://www2.hm.com/en_gb/home/shop-by-room/kids-room.html and Sostrene Grene

Bedding – Scion from Bedeck

OLYMPUS DIGITAL CAMERA

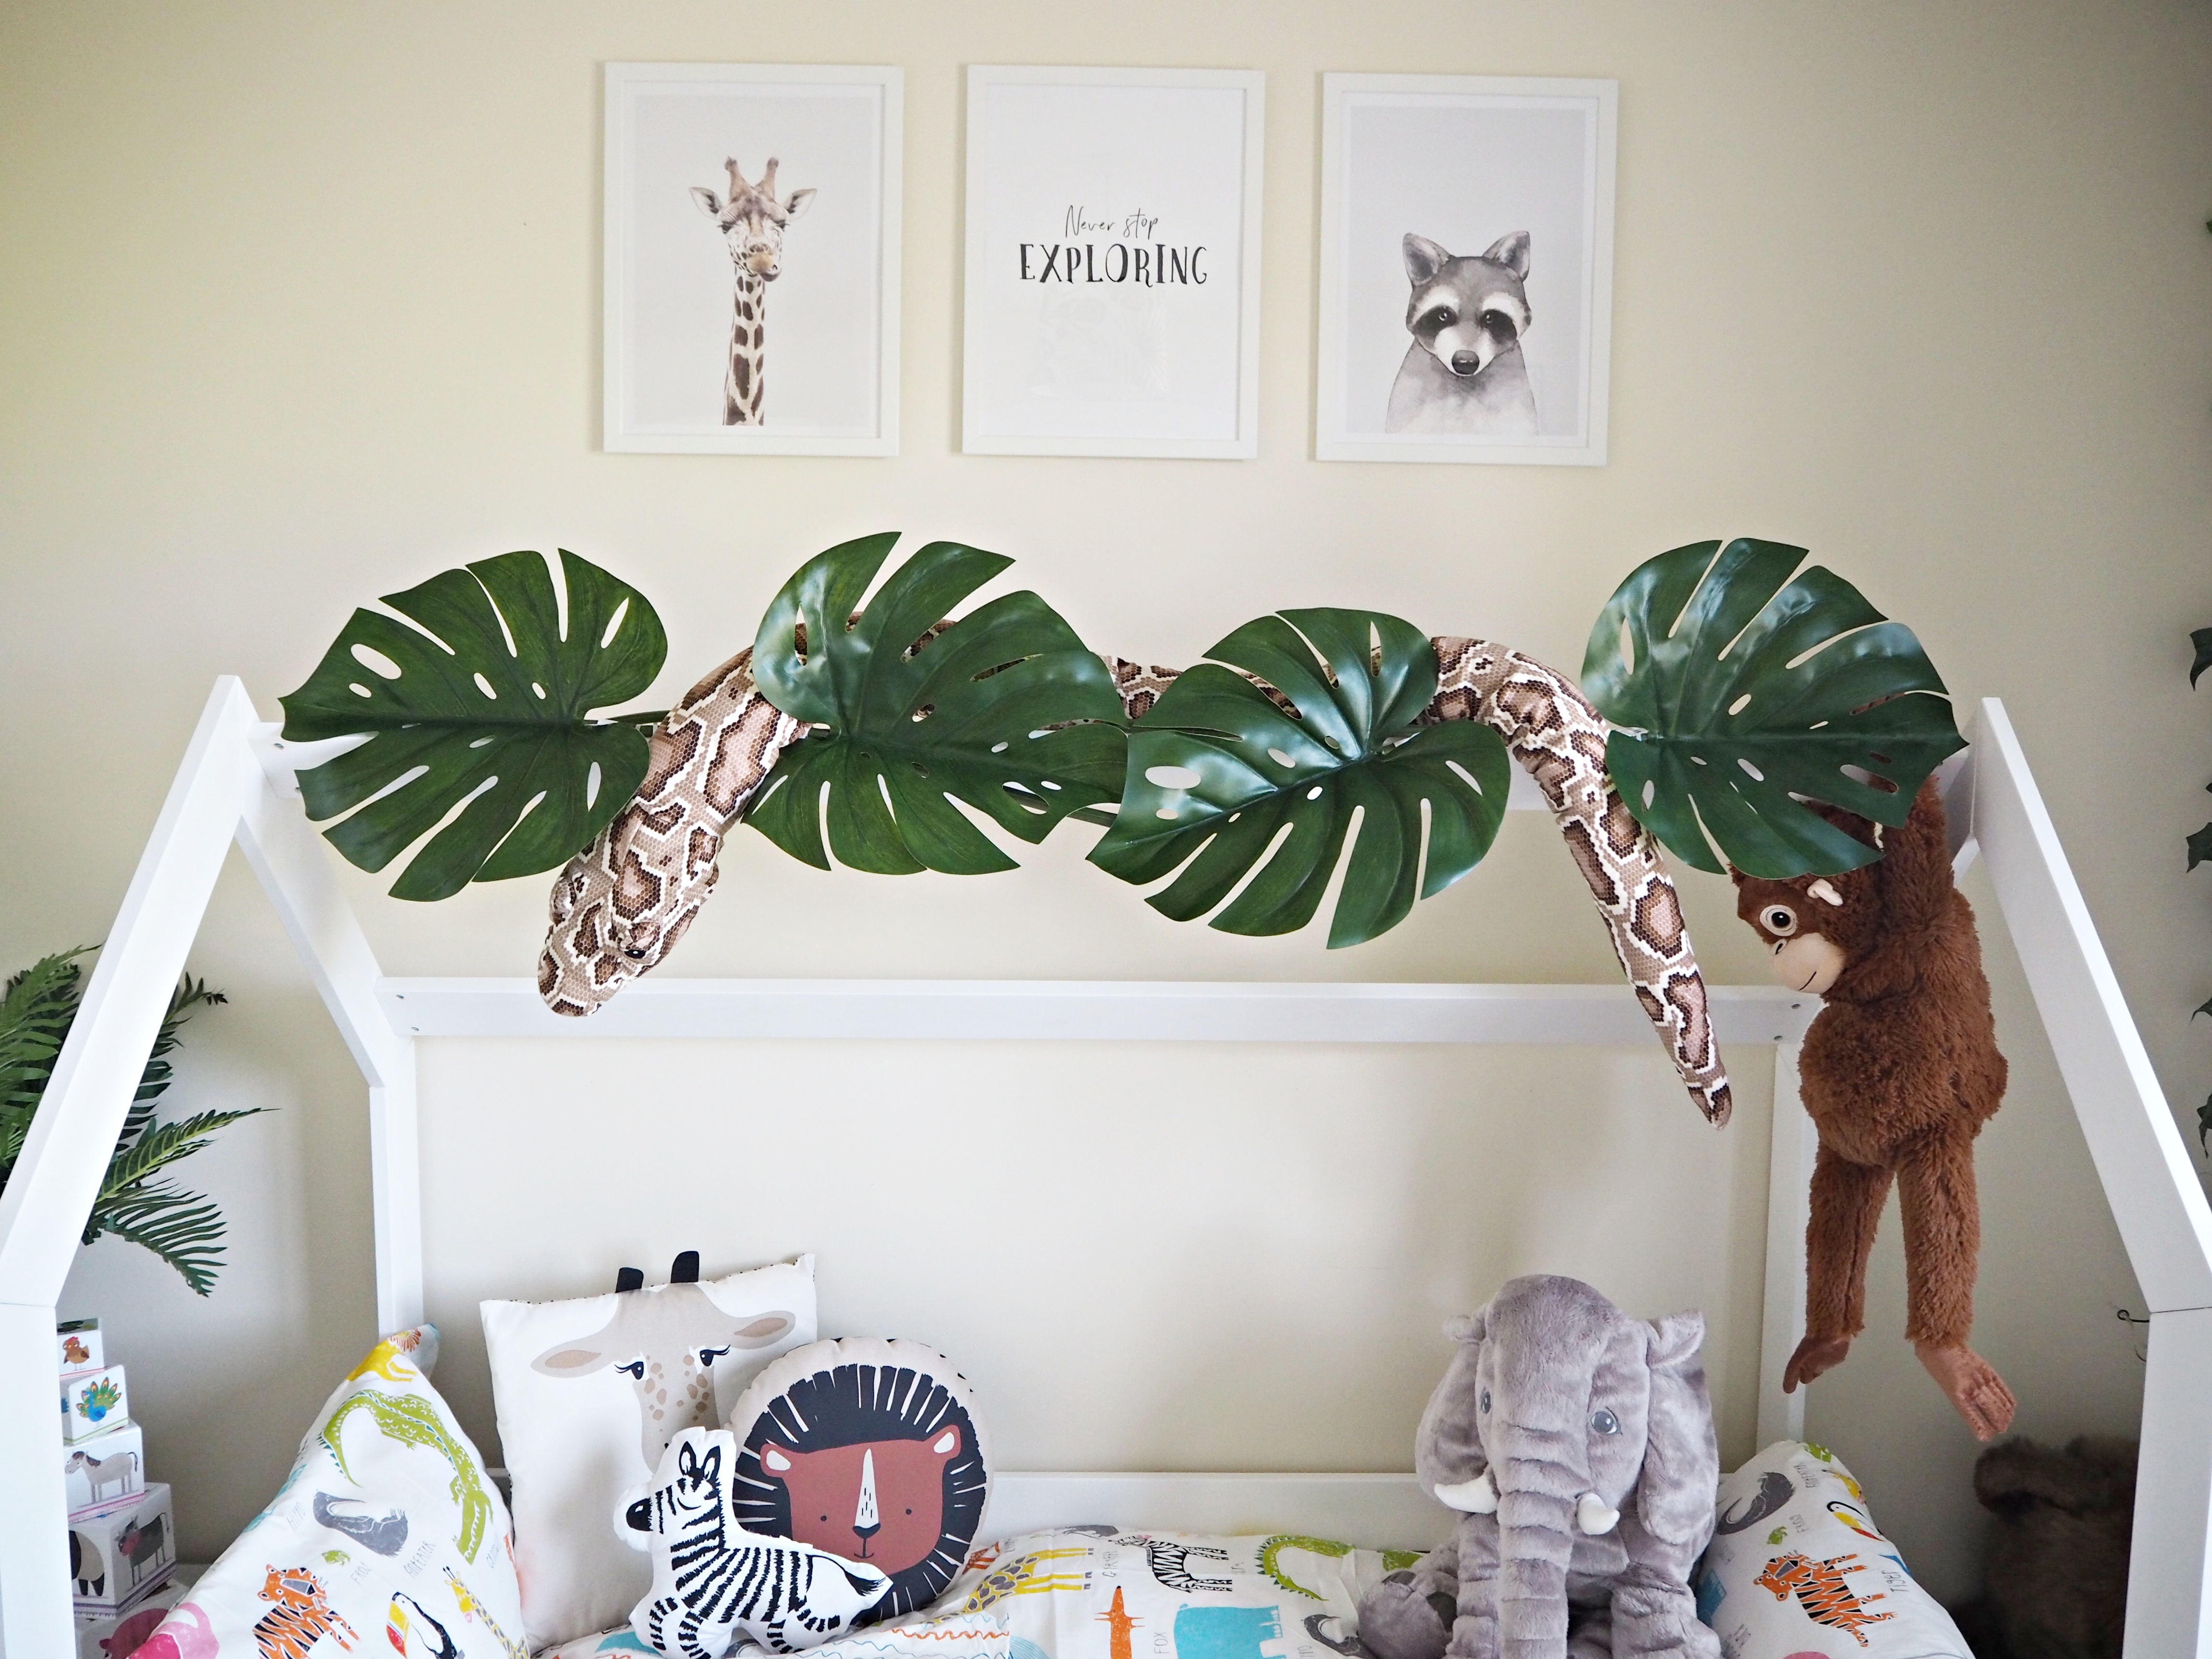
Plush toys – Ikea

OLYMPUS DIGITAL CAMERA

Prints – https://desenio.co.uk/?gclid=EAIaIQobChMIzbLF38iO4AIVBrDtCh010QV0EAAYASAAEgIkgvD_BwE

Frames and snake – Ikea

Green Leaves – Ikea, attached to the bed frame with cable ties

OLYMPUS DIGITAL CAMERA

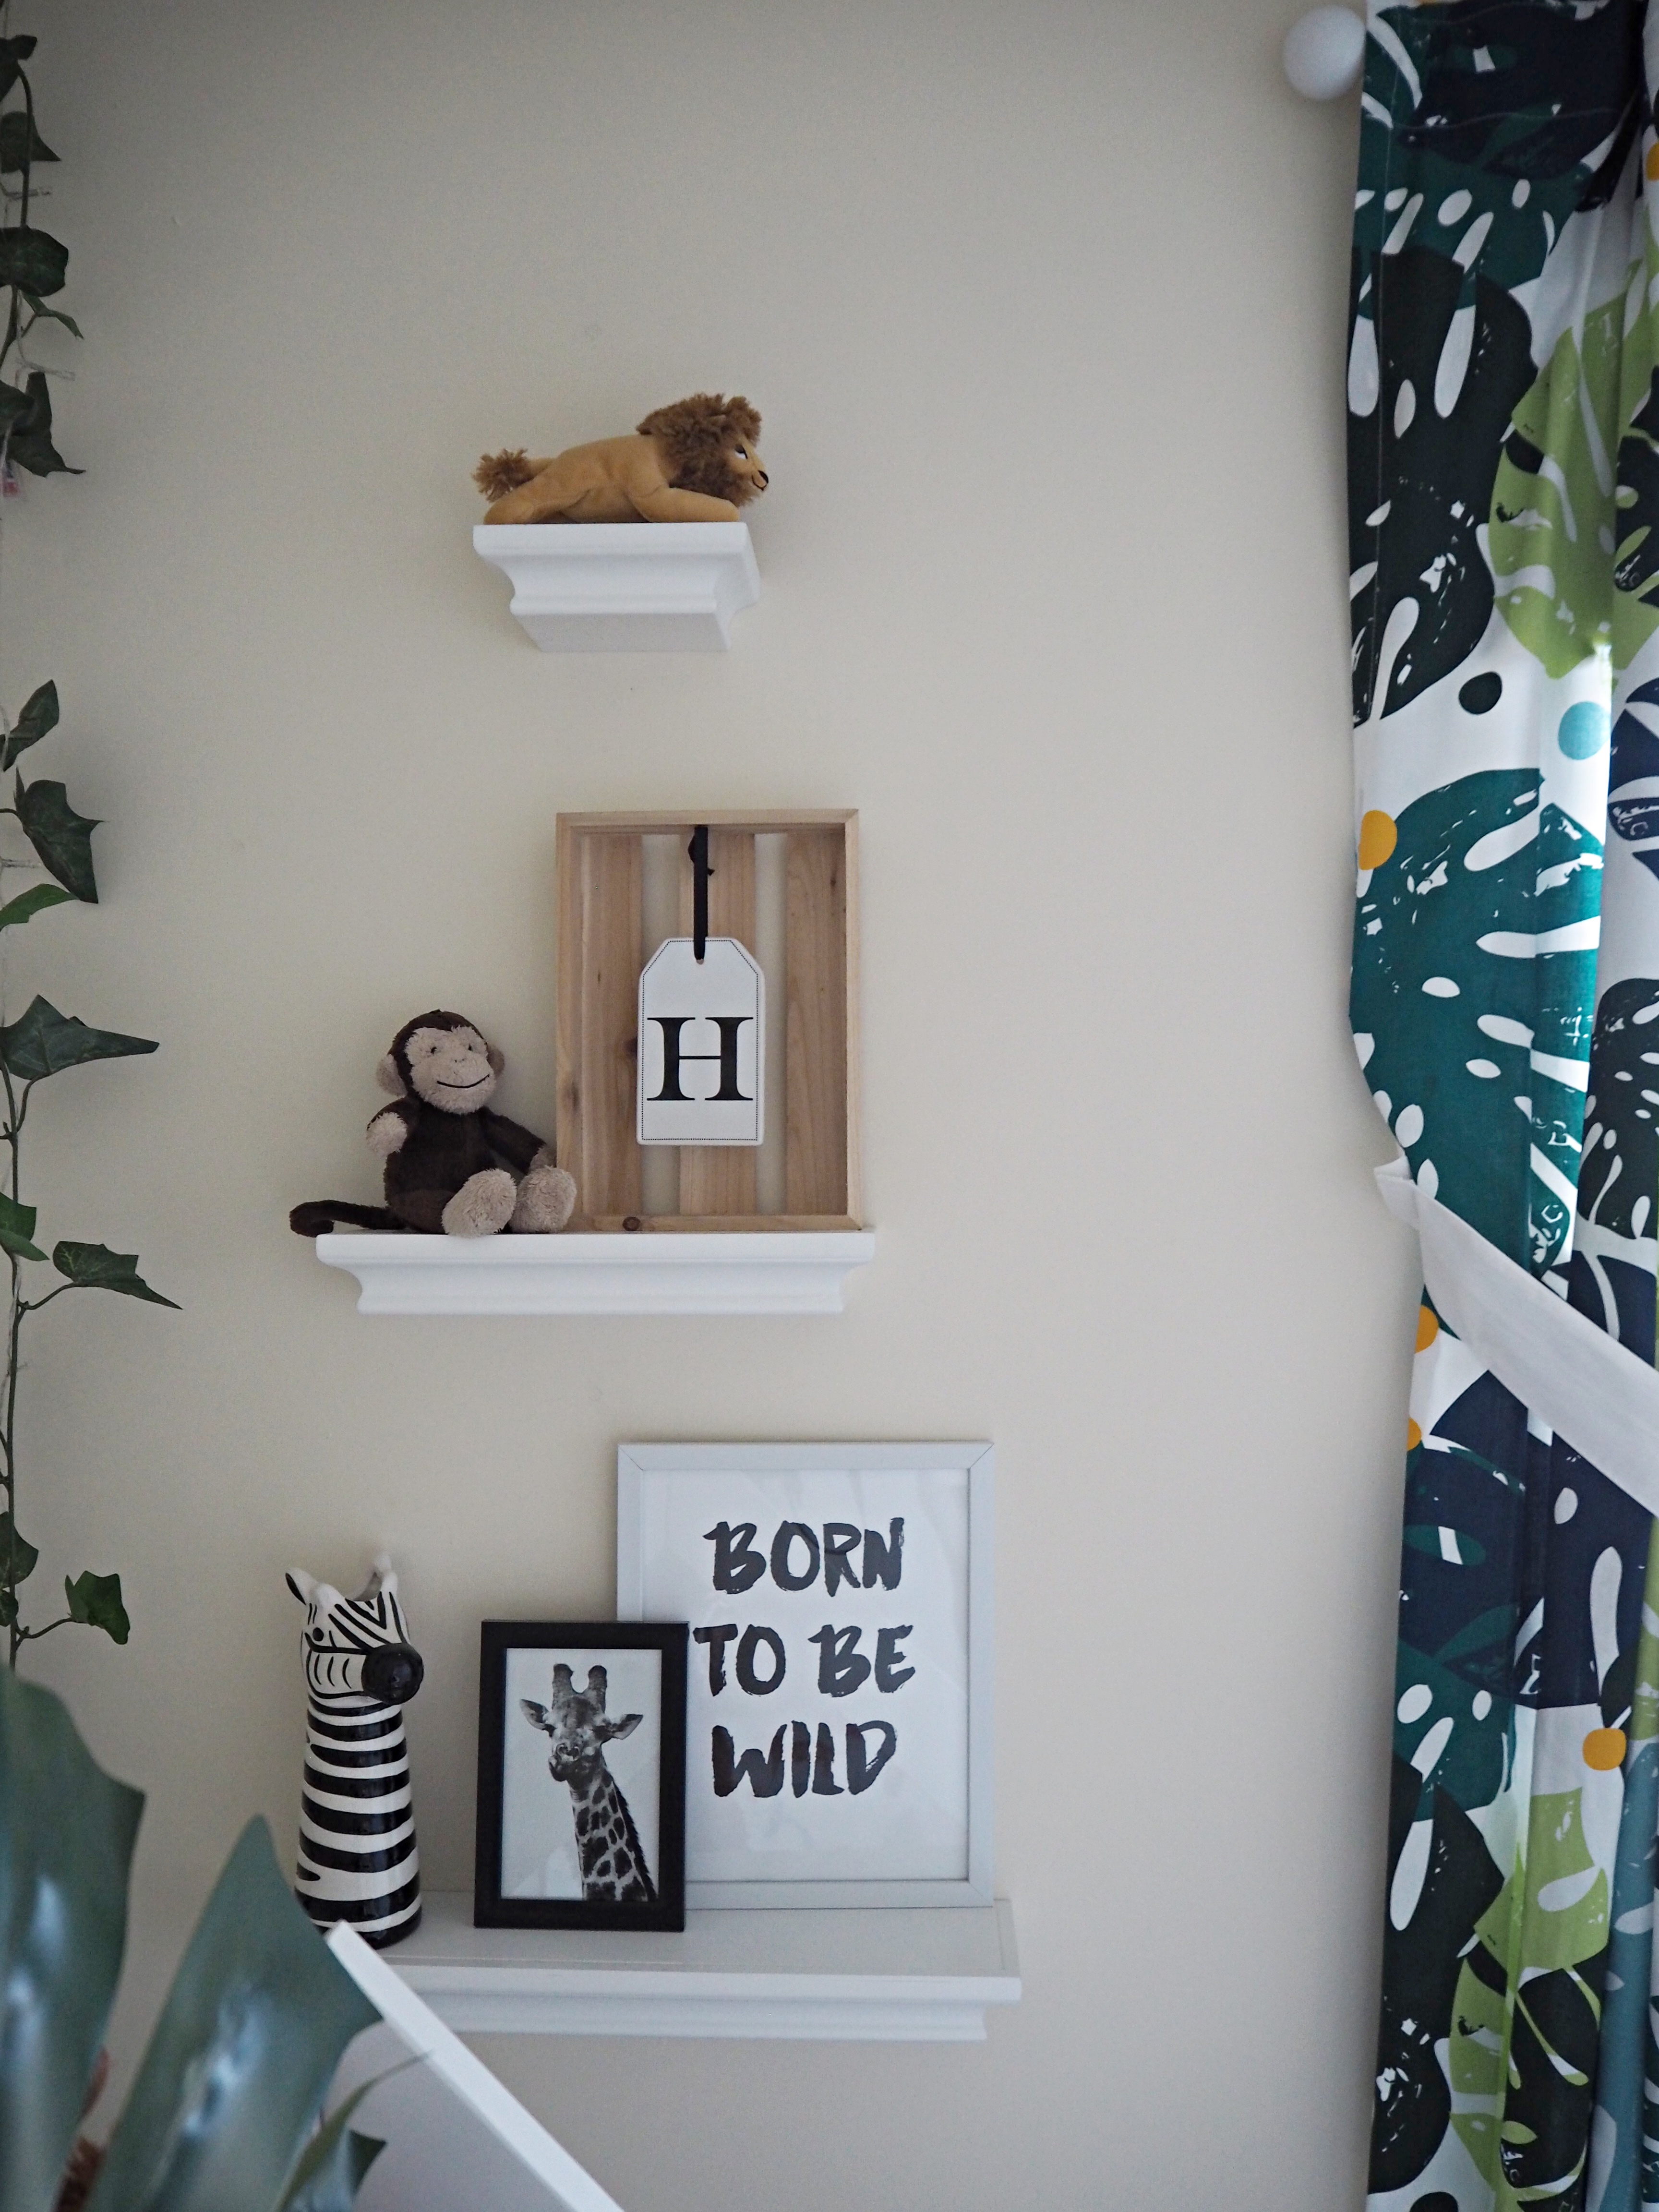
Born to be Wild Print from Desenio – Link above

Giraffe print, frames, zebra vase – Poundland

Plush toys – Ikea

Wooden Crate – Sostrene Grene and I added hanging luggage tag from Next

Curtains – Ikea

OLYMPUS DIGITAL CAMERA

Bags – H&M Home (Linked above) and Sostrene Grene (Gifted from previous collaboration)

OLYMPUS DIGITAL CAMERA

Prints – Desenio and Poundland

Wire basket, giraffe and frames – Poundland

Mice and plant- Ikea

OLYMPUS DIGITAL CAMERA

As you can see this little lion is loving his new room and bed! Lets hope that means lots and lots of sleep in it!!!!

I’d really love to hear your thoughts on the makeover! I’ve tried my best to tell you where everything is from and given links where I can; but as always, if you have any questions please get in touch!

Hope you enjoyed reading, as much as I enjoyed writing!

Jill

INTERIORS

Collecting Emma Bridgewater on a Budget

Hello there!

When we starting planning our move into Rose Cottage, my mind immediately went into overdrive picking things to furnish it.  When I thought about pottery, I knew I wanted to collect Emma Bridgewater.  I admired the unique and colourful patterns, and appreciated the time and patience which went into each piece.

Having built up quite a collection, I thought I would share with you some tips on how I buy Emma Bridgewater without it ending in divorce or featuring on the next series of ‘Cant pay, we’ll take it away’!

So here goes:

  1. Look out for Emma Bridgewater items popping up on local selling sites.  You can be lucky with websites such as Gumtree, Buy and Sell pages, Shpock and EBay.  If the seller has little/no knowledge of the true value, you can pick up a real bargain.OLYMPUS DIGITAL CAMERA

2. Watch out for Sale time on the Emma Bridgewater website.  Sales happen on the website a few times throughout the year and further reductions follow the main sale.  You can pick up mugs from as little as £4.99 at the sales final reductions!

OLYMPUS DIGITAL CAMERA

3. Reduction codes – There are always codes floating about which can entitle you to things like free personalisation, free postage and packaging, 15% off, 10% off etc.  These are discount codes which you can enter on the Emma Bridgewater website at checking out.  Before completing a transaction, please get in touch with me if you’d like a code (best to get me over on Instagram @homeatrosecottage).

OLYMPUS DIGITAL CAMERA

4. Buy from the seconds and discontinued section on the Emma Bridgewater website.  This is where I normally pick up my dinner plates and mugs as I don’t worry about using them daily and throwing them in and out of the dishwasher.  If something gets broken or chipped I won’t worry as much as I haven’t spent too much money on it.

OLYMPUS DIGITAL CAMERA

5. Buy from small businesses selling decoupaged items/ items using Emma Bridgewater fabric/ items inspired by Emma Bridgewater to compliment your collection.  A few of my favourite pages to buy from are @thekookyfox @natyshasvintagehome @bettys_shabby_chic_boutique @loveheartlane @katrina.lyall_dippyduck.  You will find them over on Instagram.

6. Buy from the melamine range.  This is more like picnic wear in the same pattern as the pottery but at a fraction of the price.  These pieces are also great to use when children are about – they can use what they think is the same crockery as the adults without the worry!

OLYMPUS DIGITAL CAMERA

7. Don’t keep any item you don’t love – sell it to buy something which you do!  If you keep looking at a piece of Emma Bridgewater which you have bought and just can’t fall in love with it, don’t hold onto it.  Sell it on to someone who will love it and treat yourself to something on your wish list!

OLYMPUS DIGITAL CAMERA

Let me know if you have any other tips and happy shopping!

Hope you enjoy reading, as much as I enjoy writing!

Jill

LIFESTYLE

Pure Bliss

Hello there!

Having recently read lots of blogs, from people I closely follow, on their skincare routines I thought I would share my skin journey…

I always had great skin through my childhood and teenage years so it was never really anything I gave a second thought. This all changed when my skin badly broke out, especially across my forehead and chin. My lifestyle was exactly the same, I was using the same products, eating/drinking the same so I couldn’t understand what was happening! My skin would ache constantly and I would go to any extreme to hide it – from wearing heavy duty makeup, to pulling scarves up over my chin and mouth, I even got a fringe!!!

I had just got engaged and started to panic about my skin for the wedding day. After doing some research, I came across a little salon based close to where I live. This just happened to be the lovely Michelle from Bliss Skin and Beauty Dromore; I immediately made contact. At this point I’d like to say this blog post is in no way, shape or form sponsored. I truly believe in Michelle and how she transformed my skin then and continues to do so today!

I explained to Michelle what my skin concerns were and that my wedding day was fast approaching; she invited me into the salon to have a further in depth conversation and some face mapping. From the moment I walked into the salon I was put at ease and made feel right at home. The salon is a beautiful space and with Michelle greeting you at the door, it couldn’t be more inviting!

On my, and anyone’s first visit to the salon, Michelle will carry out a full consultation and face mapping.   This allows for a truly prescriptive treatment enabling her to target different skin concerns in different zones on your face.  It also includes a conversation on your lifestyle, health and any skin goals you may have.  She will then recommend the best course of action and treatment on what she has discovered.

You spend your treatment under the covers, on her heated couch and listening to relaxing music.  Michelle has magic hands and I’m always asleep before the end of the session!  Her knowledge, experience and professionalism is evident throughout the treatment and the aftercare; I could see results from my very first visit.

Michelle will recommend some products to continue your skin journey at home and has a vast range of products to buy in the salon, but is in no way forceful in selling these. She is more than happy to provide you with samples to take home and try out before investing in any.

When going to a salon, I feel you choose it as much on the staff, as you do on the premises and quality/range of treatments.  Michelle is a beautiful person inside and out.  She has been through many life stages with me from engagement, hen parties, wedding, miscarriage, pregnancy, grief and the list goes on. She has been my go to; regardless of what life has thrown at me. I don’t think I’ve ever really thanked her for that, but I hope that by me returning and supporting her it shows.

So girls, what are you waiting for?! You can book in with Michelle via social media or on the phone at 07912784382.

I have spoke in this post about skincare and facials but Michelle also provides other treatments including massage, pedicures, waxing, reflexology.   Find out more about what she offers on Instagram here and Facebook here.


Hope you enjoy reading, as much as I enjoy writing!
Jill


LIFESTYLE

Easter Egg Hot Chocolate

Hello there!

I hope you have had a fun filled Easter full of memory making! If you are lucky enough to have buckets full of chocolate eggs you might be looking for other ways to eat them (apart from stuffing them all in your mouth at once!!!).  I made some yummy hot chocolate with a few of my eggs so thought I would share the idea with you!

Firstly here’s the ingredients:

OLYMPUS DIGITAL CAMERA

An Easter egg, milk and marshmallows.

Firstly, pour some milk into a saucepan to heat.

OLYMPUS DIGITAL CAMERA

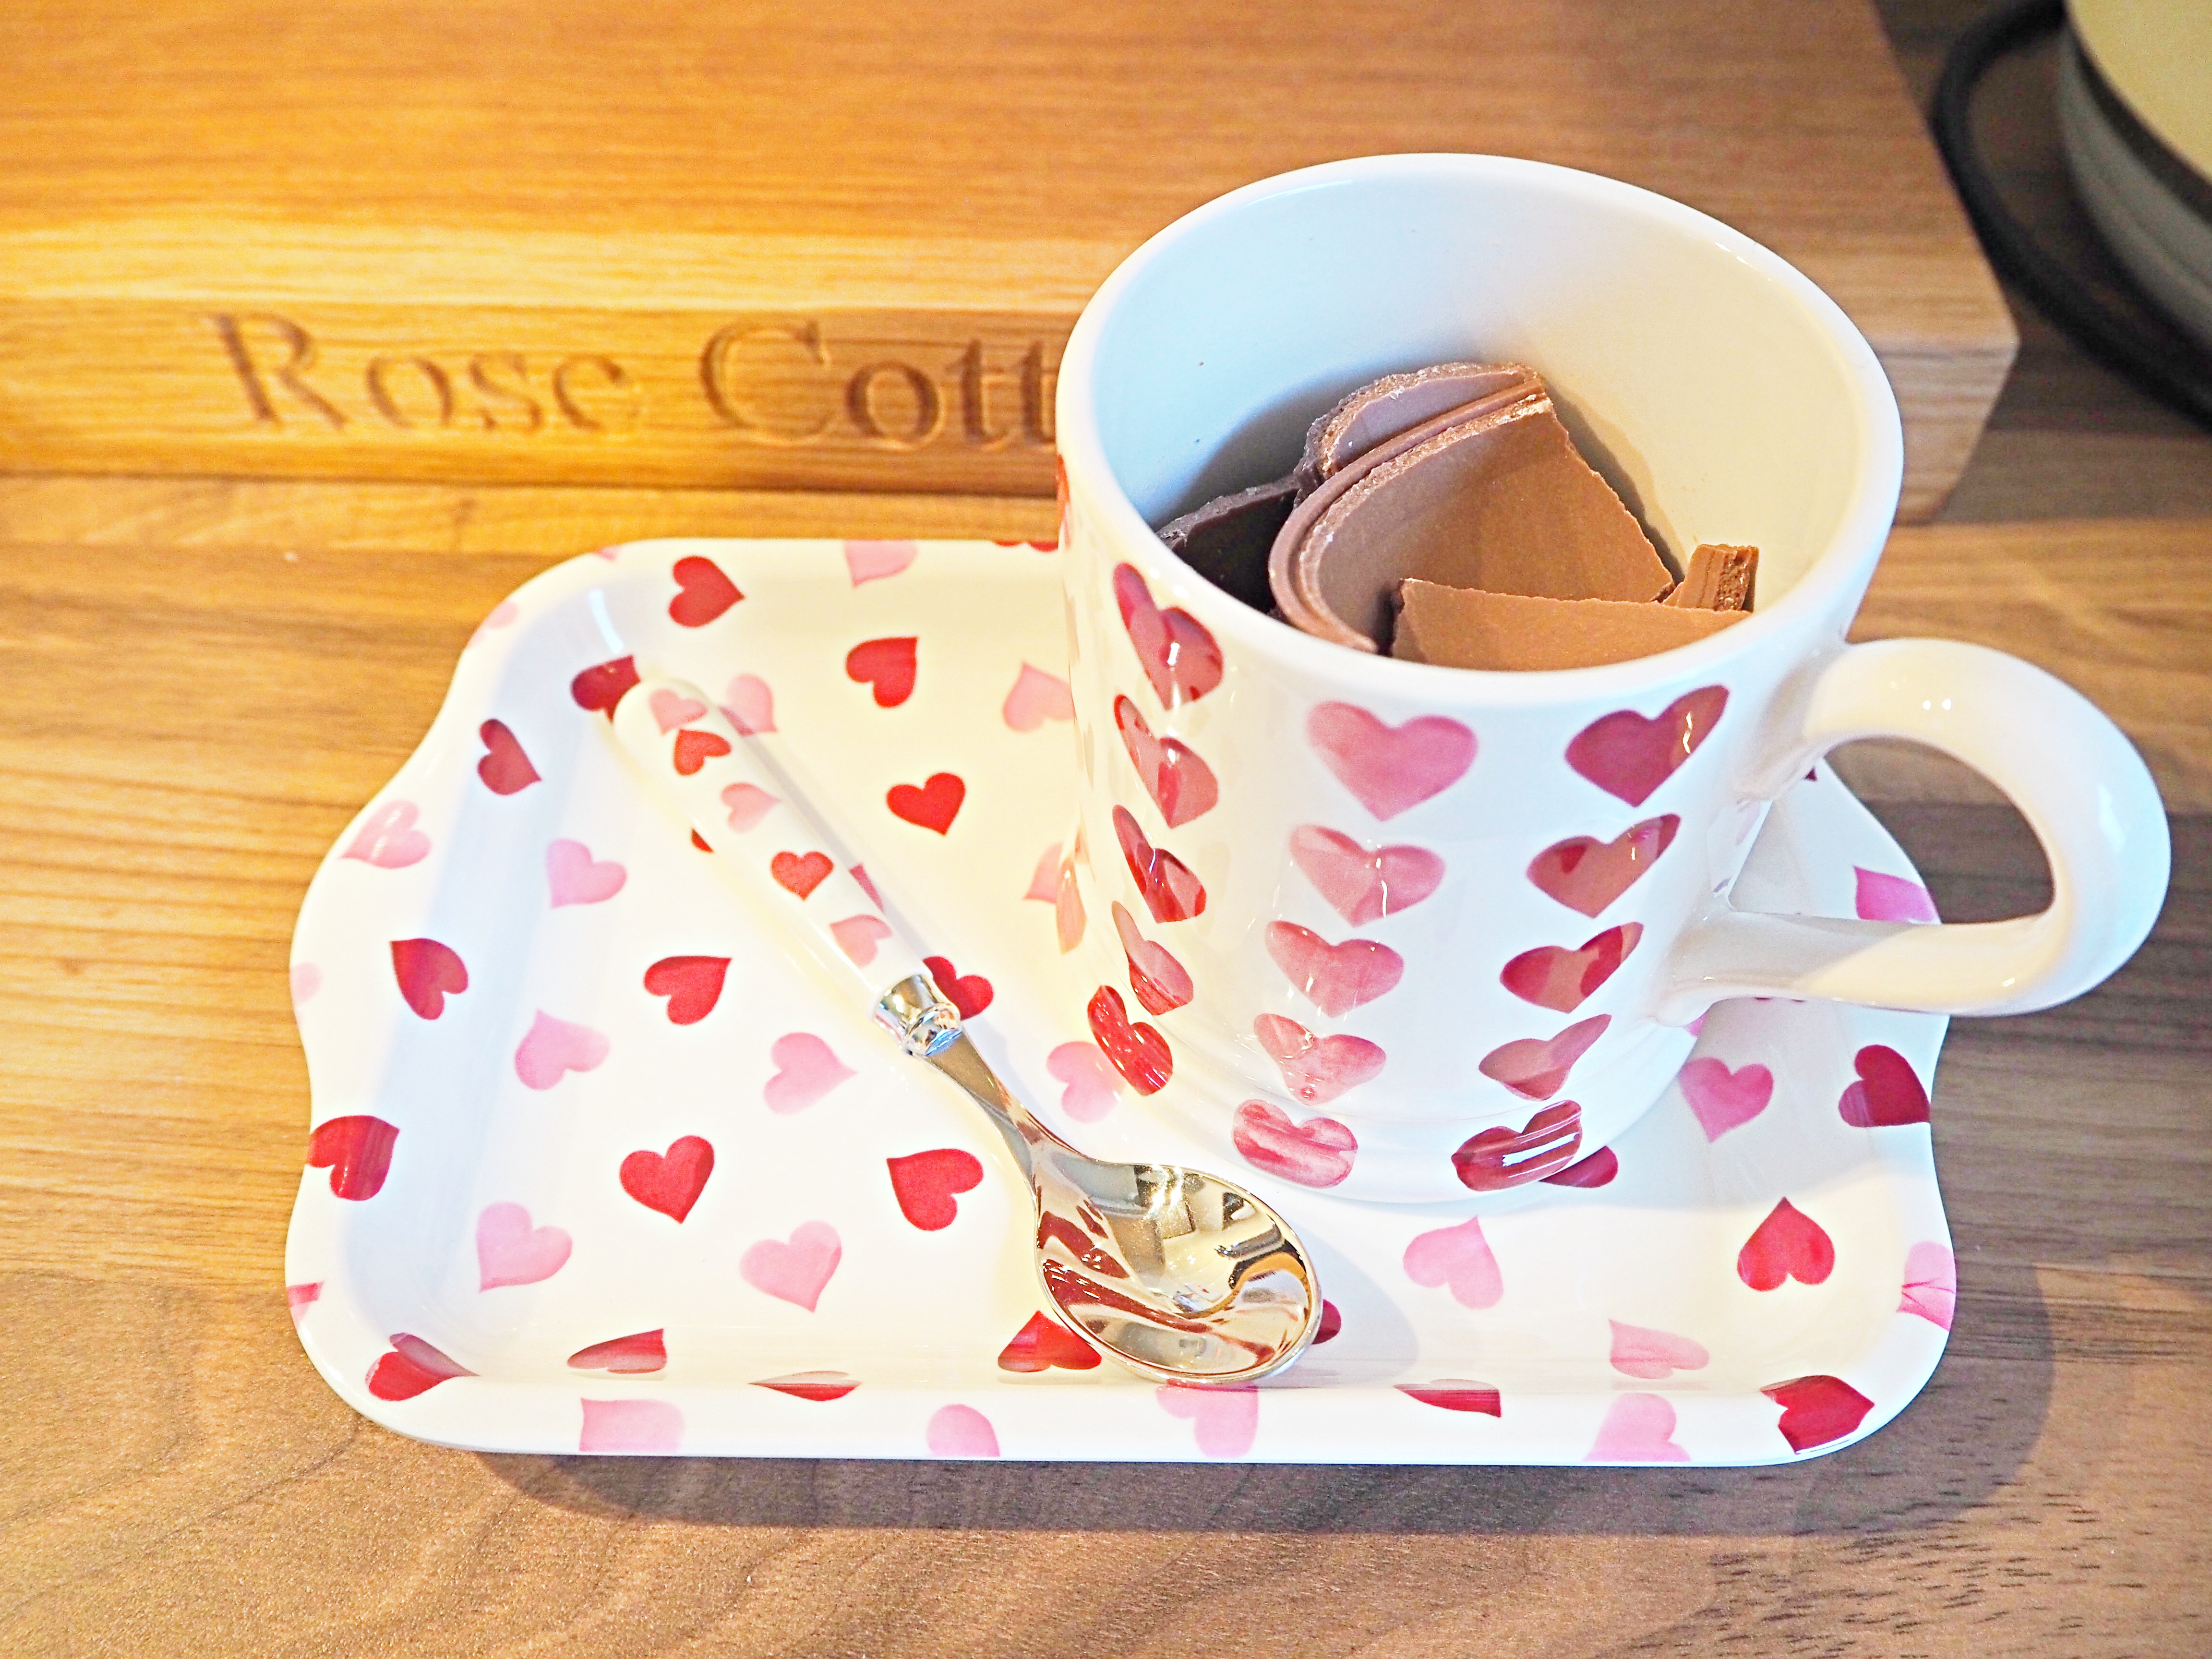
Then break up your chocolate egg into a mug.

OLYMPUS DIGITAL CAMERA

Once your milk has heated up, pour it into your mug over the broken chocolate.  The warm milk will melt your chocolate when stirred.  OLYMPUS DIGITAL CAMERA

Then add some marshmallows on top. You could add other toppings like whipped cream, chocolate sprinkles, chocolate sauce – whatever you like!

OLYMPUS DIGITAL CAMERA

Then enjoy!

I’d love to hear if you have any other ideas using chocolate Easter eggs!

Hope you enjoy reading, as much as I enjoy writing!

Jill

Collaborations, LIFESTYLE

Weaning (In collaboration with Glenisk)

Hello there!

There is nothing more my wee Harry loves eating than yogurt; so when Glenisk got in touch asking if they could send us some of their products I jumped at the chance!

Glenisk, who are best known for their award winning natural yogurts, are a local family business based just outside Tullymore. They are celebrating an amazing 30 years of business and have just launched an Absolutely No-Added sugar Organic Baby yogurt range. These yogurts are packed with calcium, protein and nutrients making them a perfect first weaning food for babies over 6 months!

OLYMPUS DIGITAL CAMERA

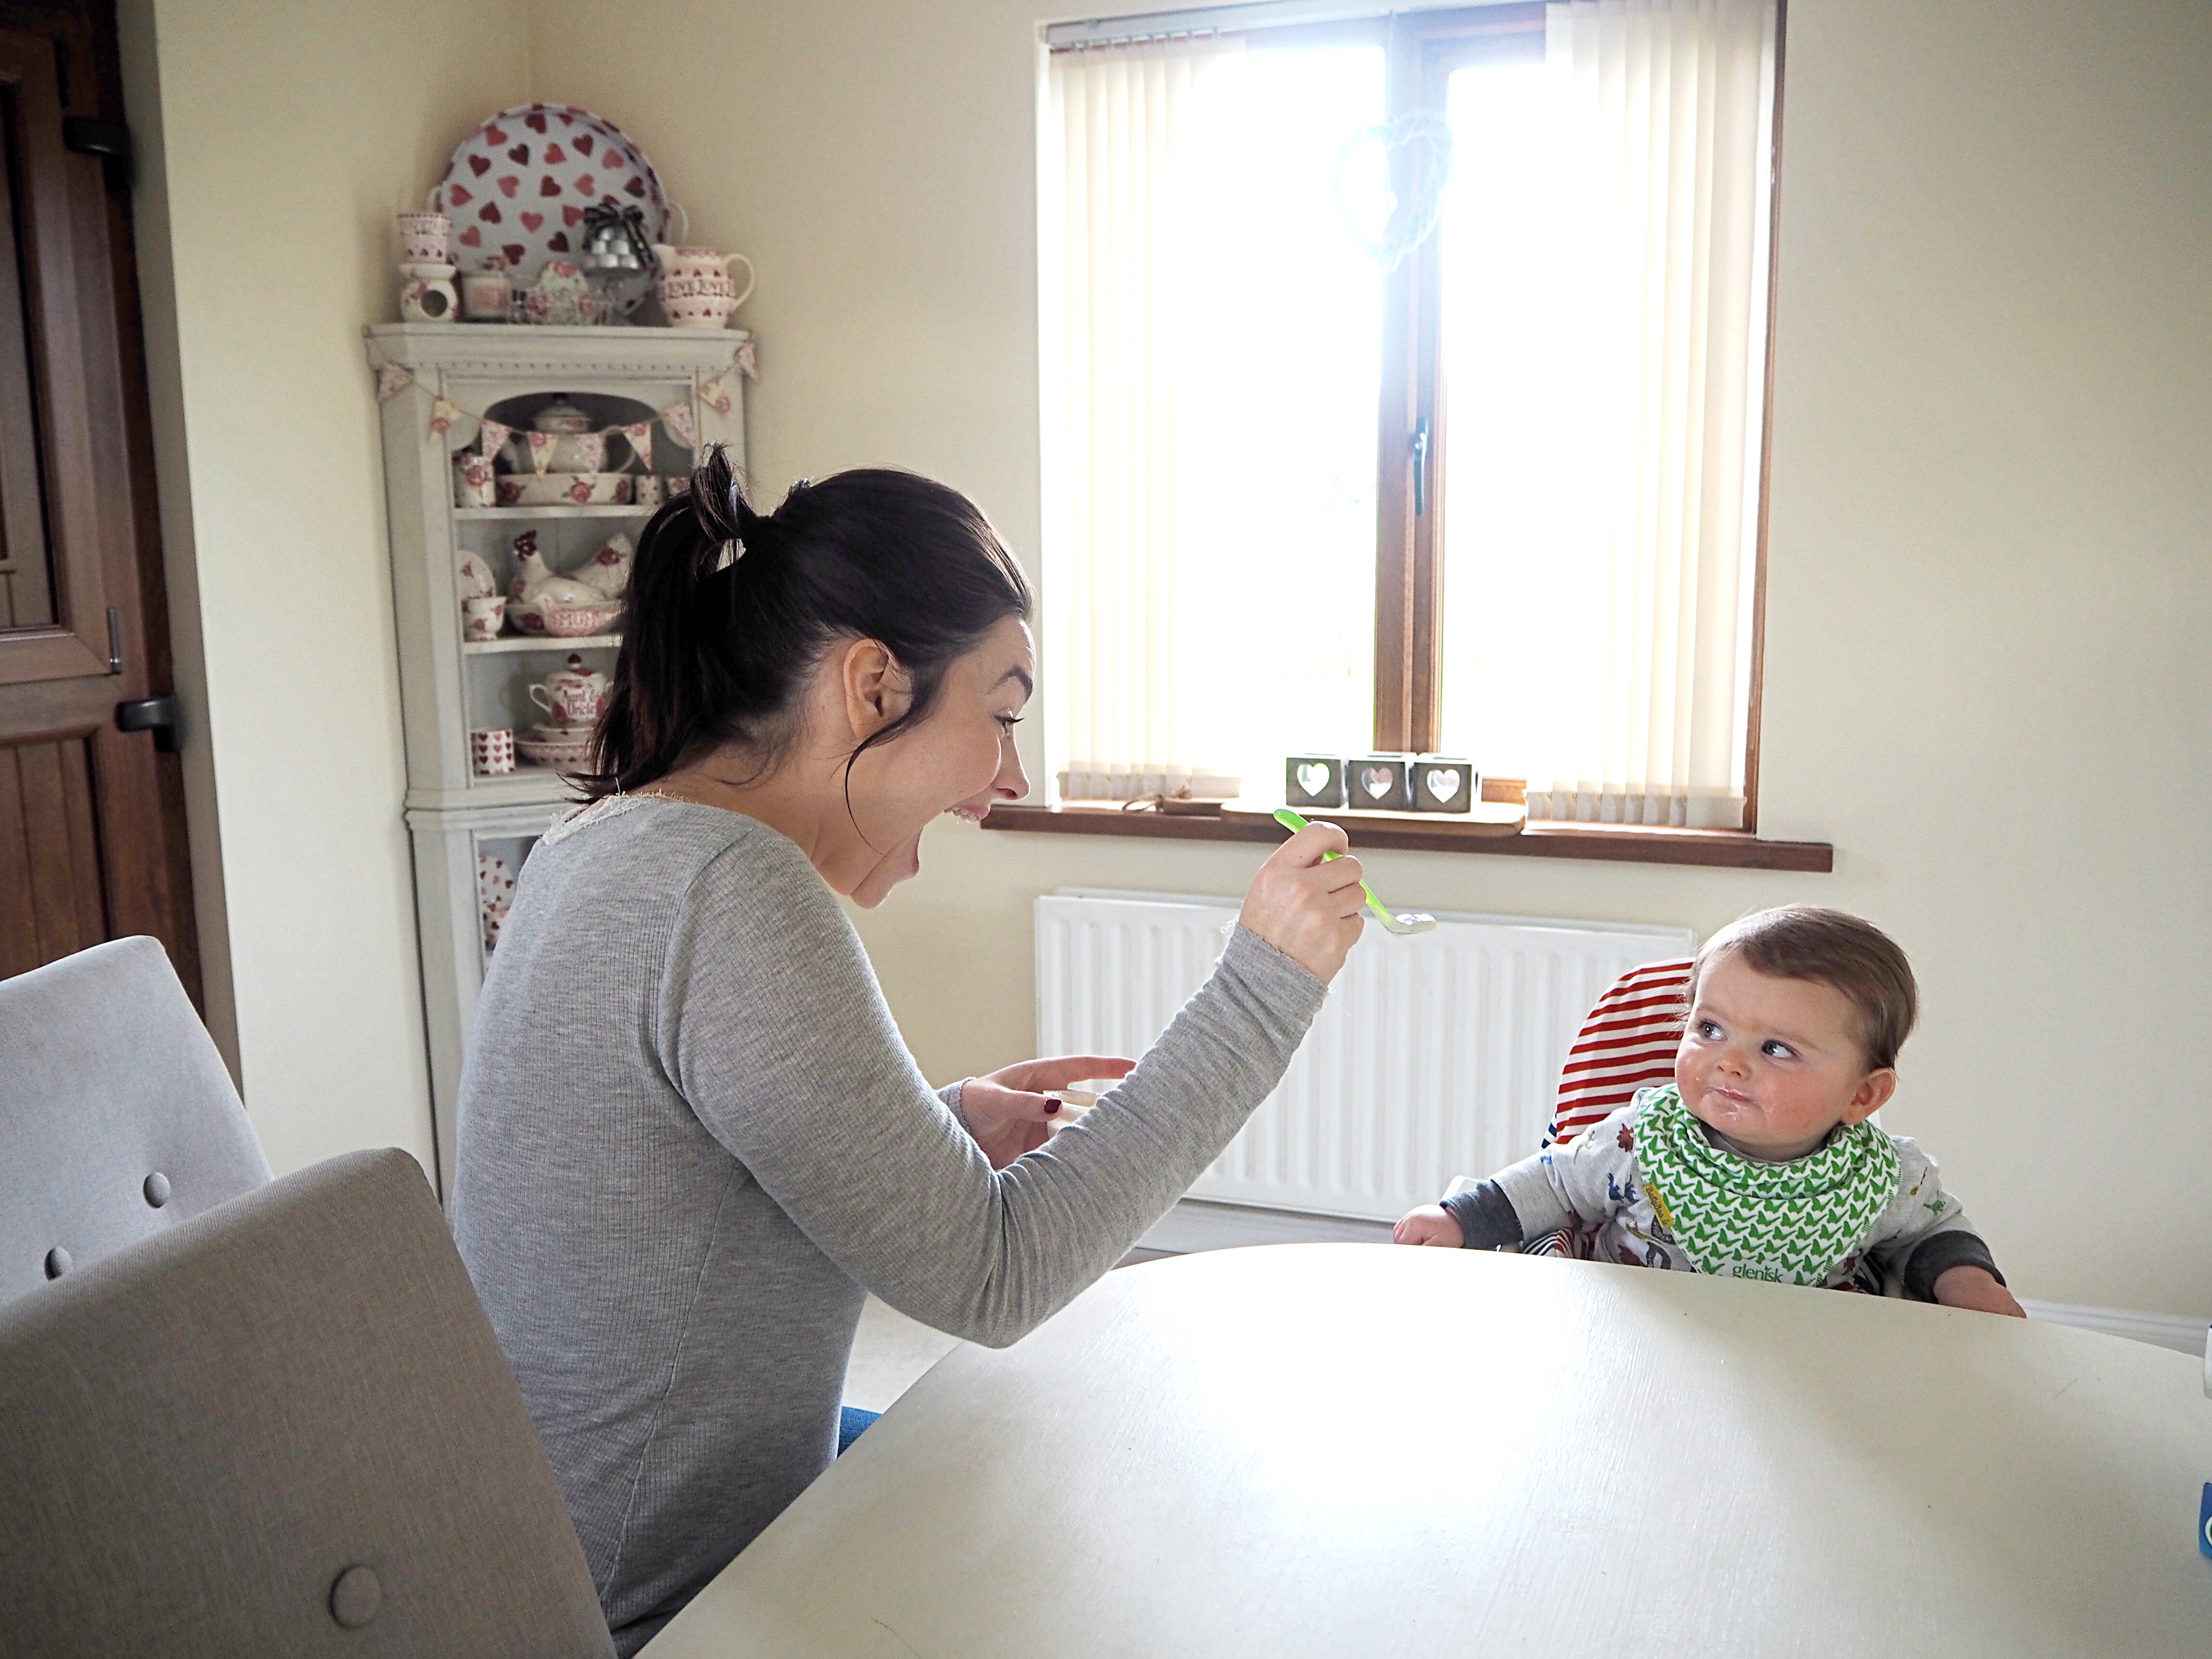
From early on in Harry’s weaning journey I introduced yogurts and they are definitely a favourite of his.  I struggled to find a yogurt in the supermarket with little or no added sugar and it is really important for me to be giving Harry the healthiest option out there.  Glenisk is the perfect solution to this struggle as it has no-added sugar, nothing artificial and is a great source of calcium. This makes it the perfect snack, or to use as part of a recipe.  The little yogurt pots are full of organic milk, organic fruit and nothing else!

OLYMPUS DIGITAL CAMERA
Glenisk kindly sent us a range of flavours to try; these included: natural, apple & pear, apple & strawberry and banana & peach.  Harry has sampled all of the flavours now and you can see from his face in the photo below he loved them!

OLYMPUS DIGITAL CAMERA

Banana and peach is a firm favourite with Harry so I will be stocking up!  They are available in Asda and Tesco NI now so super handy to pick up when doing your weekly shop!  If you would like to try a sample for free use the link here to sign up: http://glenisk.com/win/new-organic-baby-yogurts

Hope you enjoy reading, as much as I enjoy writing!

Jill


LIFESTYLE

Harry Potter Themed Party

Hello there!

My Sister is always super kind when it comes to special occasions, so when a close friend of hers got in contact about organising a surprise party I jumped at the chance!  The friend arranged the hire of a hot tub for the weekend, and I provided the venue and food.  I decided to go for a Harry Potter theme as my Sister is a super fan!  I searched through Pinterest a few evenings and came up with the following:

So first in the kitchen, I had a drinks table and called it ‘Snape’s Potion Class’.  I used a light box, string lights, bulb glasses and bottles under bell glasses.

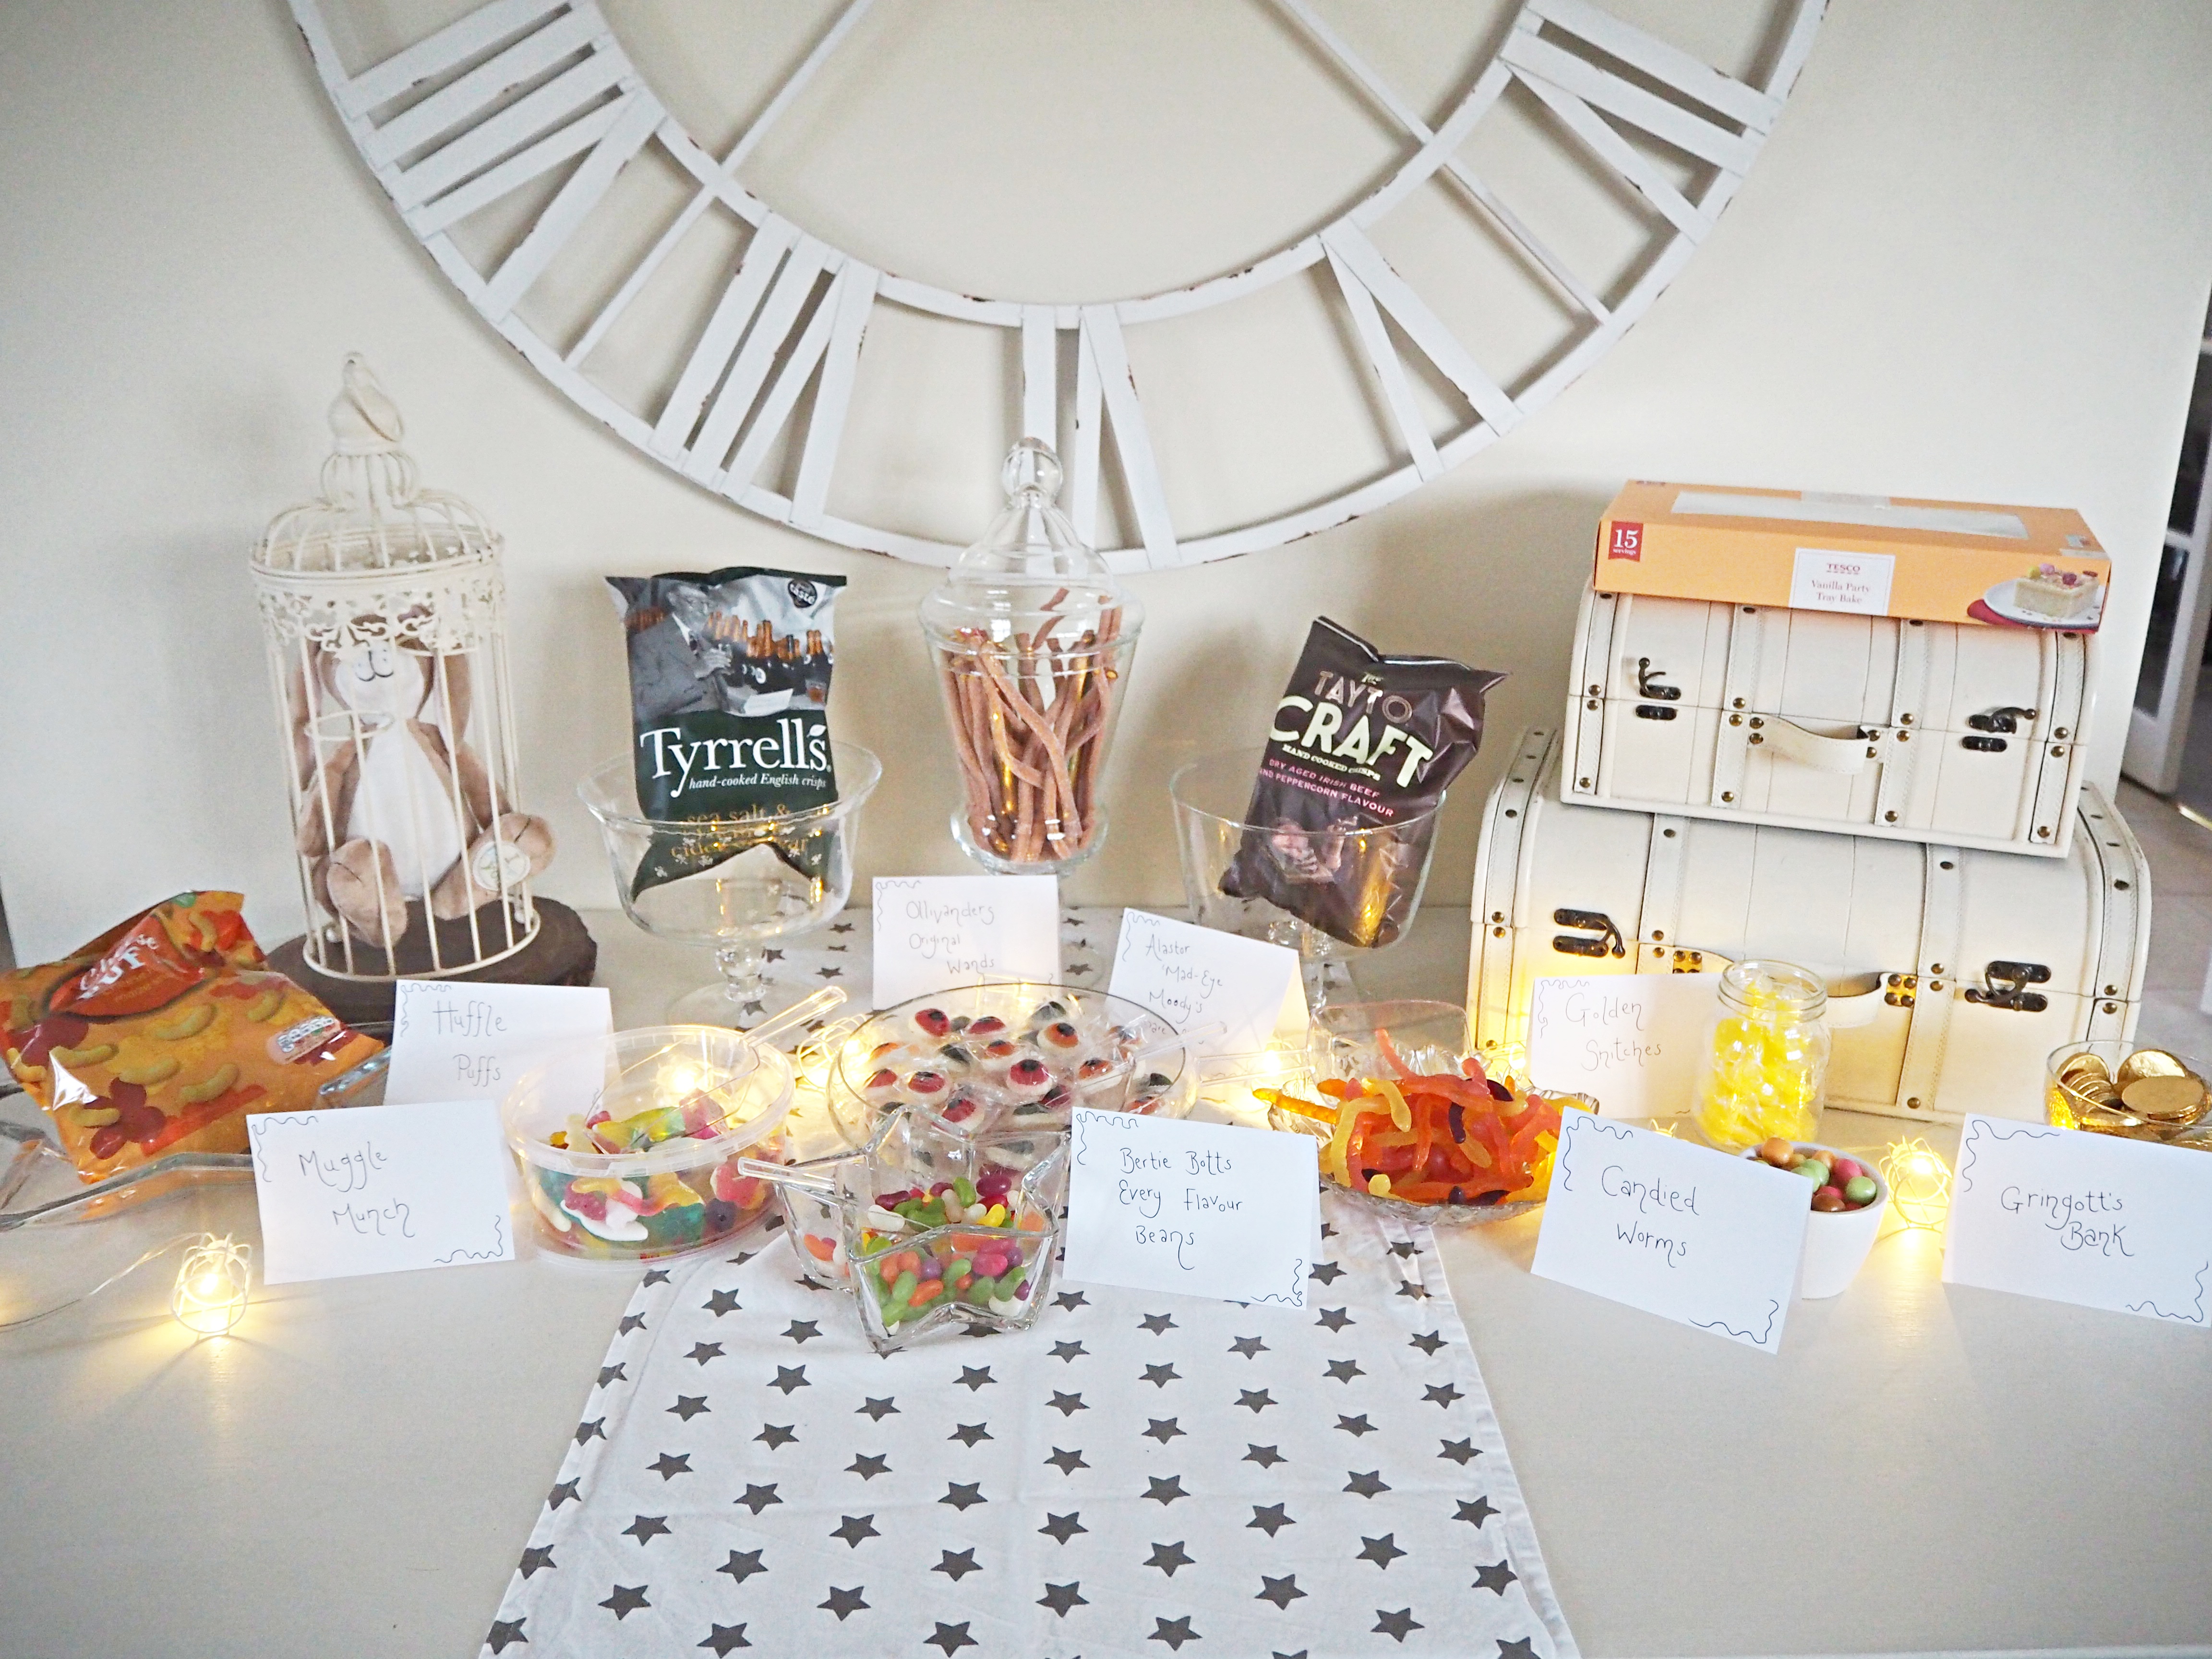
I also had a sweetie table with suitcases, a cage (put a rabbit inside instead of an owl as an inside joke!!) and snacks with Harry Potter names.

OLYMPUS DIGITAL CAMERA

Moving onto the living room; I had an invisibility cloak stand using a frame, broomstick and some hangers.

OLYMPUS DIGITAL CAMERA

Then letters coming out of the fireplace, using a string of flashing lights and some a5 pieces of paper folded over and taped.

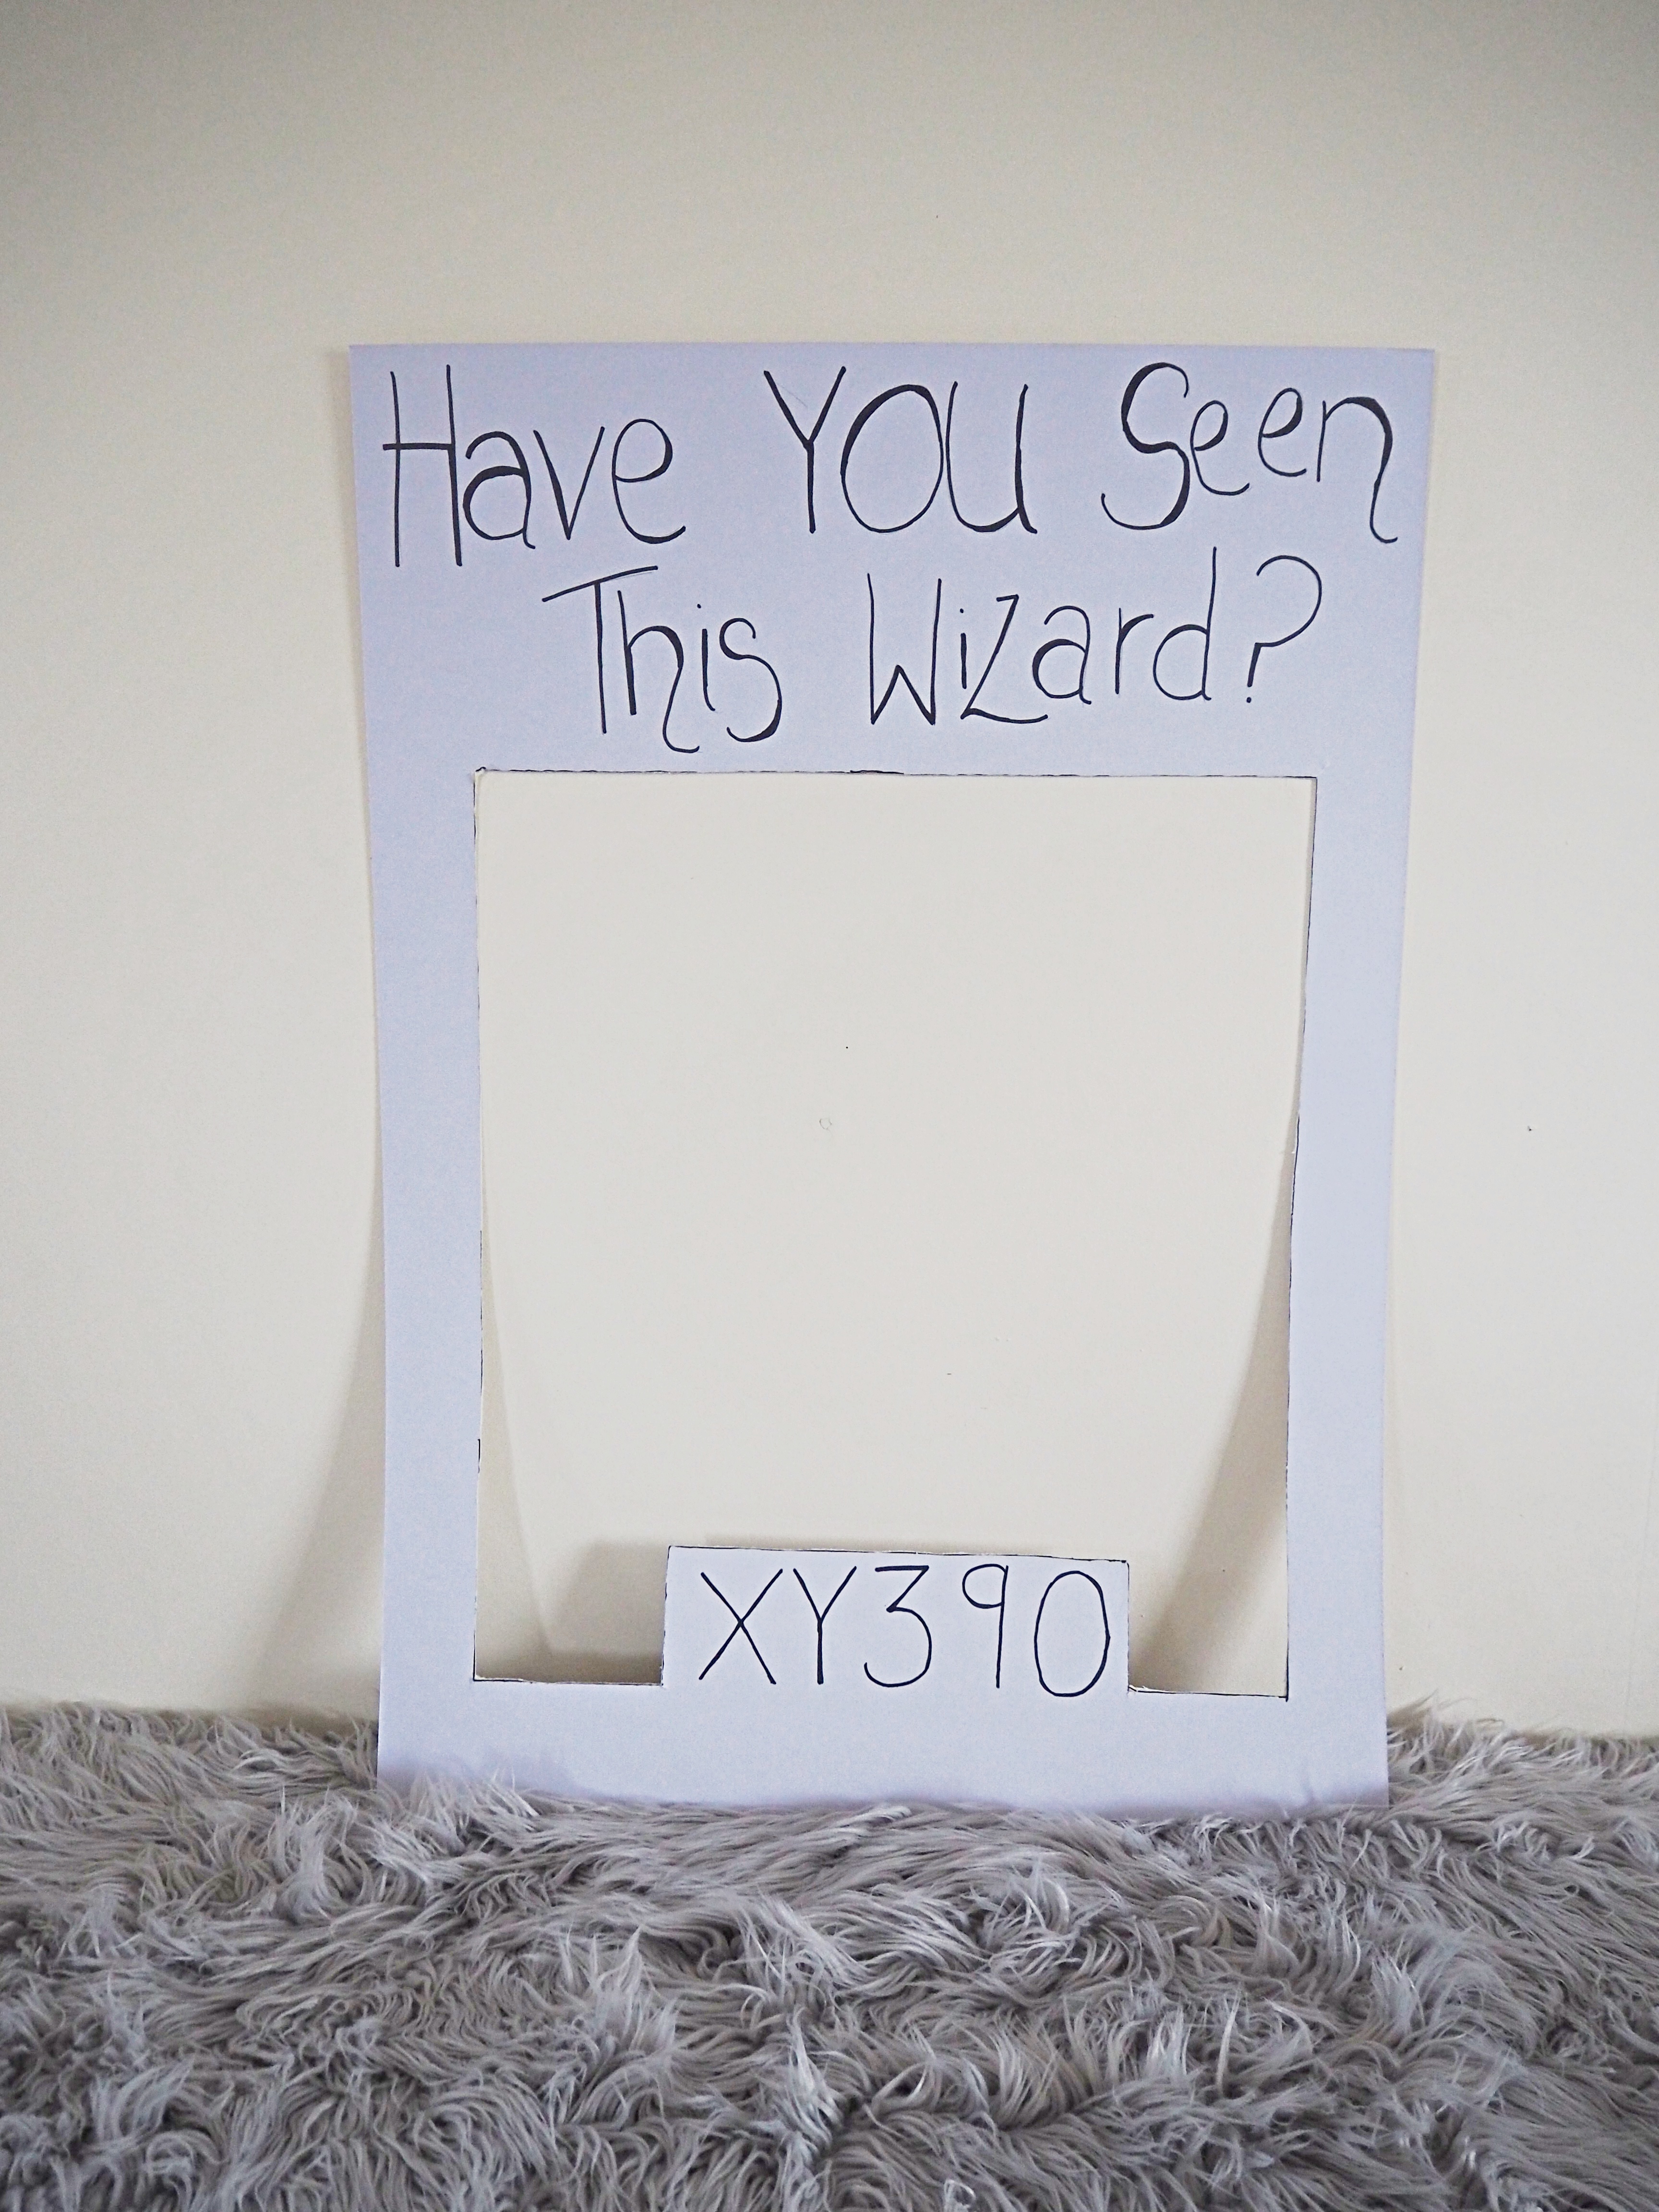
I made a Photo Booth from a large piece of card.

OLYMPUS DIGITAL CAMERA

I wrote on the mirror with lipstick.

OLYMPUS DIGITAL CAMERA

Then in the bathroom I placed a sign on the top of the toilet and wrote on the mirror.

And lastly heres the Birthday girl herself after 3 hours in the hot tub!!!

OLYMPUS DIGITAL CAMERA

These decorations were all created on a super tight budget and most things I already had!  It just shows you don’t need to spend a fortune when you can be creative with what you have in your home!

Let me know if you have any other great party ideas!

Hope you enjoy reading, as much as I enjoy writing!

Jill

INTERIORS

Setting up the table for Christmas at Rose Cottage

Hello there!

So with Christmas Day fast approaching, this week has seen me set up the table to enjoy dinner on at Rose Cottage.  Being the self-labelled queen of faffing, there is nothing more I love than making up the table and rearranging it 152 times!  I have collaborated with Ferguson Flowers on this post, who have supplied me with the most stunning centre piece you ever did see!  My whole table setting was planned around this statement flower arrangement which has created the most beautiful focal point.

To create my Christmas table firstly I roped in a few friends to help me paint placemats onto the top.  (I will maybe do a blog post on the details of how I done this if there’s any interest…let me know!)  Initially I had hoped to write onto the placements with a chalk pen who would be sitting where, but ran out of room!  I think the black really sets off the flowers and plates, and is a nice contrast against the white table.

OLYMPUS DIGITAL CAMERA

Next I placed one large Emma Bridgewater black toast dinner plate onto each place setting and a smaller side plate on top.  The napkin was then put on top of this.  The cutlery placed to one side along with 2 wine glasses.  I tied some gold sprayed eucalyptus  along with beaded hearts onto the back of the chairs and a fur throw onto the bench.

Lastly (and most importantly!!) the beautiful floral centre piece was placed in the centre on top of a gold runner.  This arrangement is full of eucalyptus, which is my absolute favourite, along with large cream roses and a fast selection of seasonal greenery.

OLYMPUS DIGITAL CAMERA

I think you’d agree these flowers are simply stunning and really make the table display special? The staff at Ferguson Flowers are amazingly talented and so helpful! It is a leading online delivery store, with over 40 years experience in the florist industry. They deliver flowers throughout Northern Ireland, and your still in time to order for Christmas!  They can be contacted via the following –

Website here

Instagram here

Facebook here

Phone 02890 240111

Or you could pop into their beautiful store found on 45 Belmont Road Belfast.  Their shop has stunning wreaths, arrangements, bouquets and gift ideas available already made up to purchase; or they can make them up bespoke.

I would love to hear how you will be styling your Christmas table!

Hope you enjoy reading, as much as I enjoy writing!

Jill

blog, LIFESTYLE

Wrapping up Christmas as Rose Cottage

Hello there!

We are into week 3 of the run up to Christmas at Rose Cottage, which sees us wrapping up the gifts and placing them under the tree.  I love being creative with gift wrapping, trying to think of new cost effective ideas to make them look that extra bit special! Wrapping presents like these shown can be so simple to do and will sit beautifully below your tree.  I have been sharing these ideas this week over on insta stories and the response has been totally overwhelming…Seems my followers love gift wrapping as much as me!

The first gift wrapping idea I’d like to share is using brown paper bags.  These can be bought in packs of 6 from the pound shop for £1 – making them super cost effective! I have added a few extras to each bag to give them a real Christmassy feel.

On the first bag, I have folded down the top and placed a white paper doily over with a little peg to keep it in place.  I have also stamped onto the doily who the gift is to.

OLYMPUS DIGITAL CAMERA

The second bag also has the top folded down.  I have punched a hole in the top right hand corner, poked a berry pick through and bent it down at the back to hold it in place. The bag was then stamped with ‘Merry & Bright’.

OLYMPUS DIGITAL CAMERA

The third bag has a tree shape on the front which was created with a cotton bud dipped in white paint and dotted on.  I then added 2 little tree baubles onto the handle at the top.

OLYMPUS DIGITAL CAMERA

I punched 2 holes in the top of the forth bag between the handles and threaded a ribbon through.  A label was then added with who the gift is from.

OLYMPUS DIGITAL CAMERA


The second gift wrapping idea is using brown paper.  The again is so cheap to buy and can be bought in rolls found in any of the pound or discount stores.

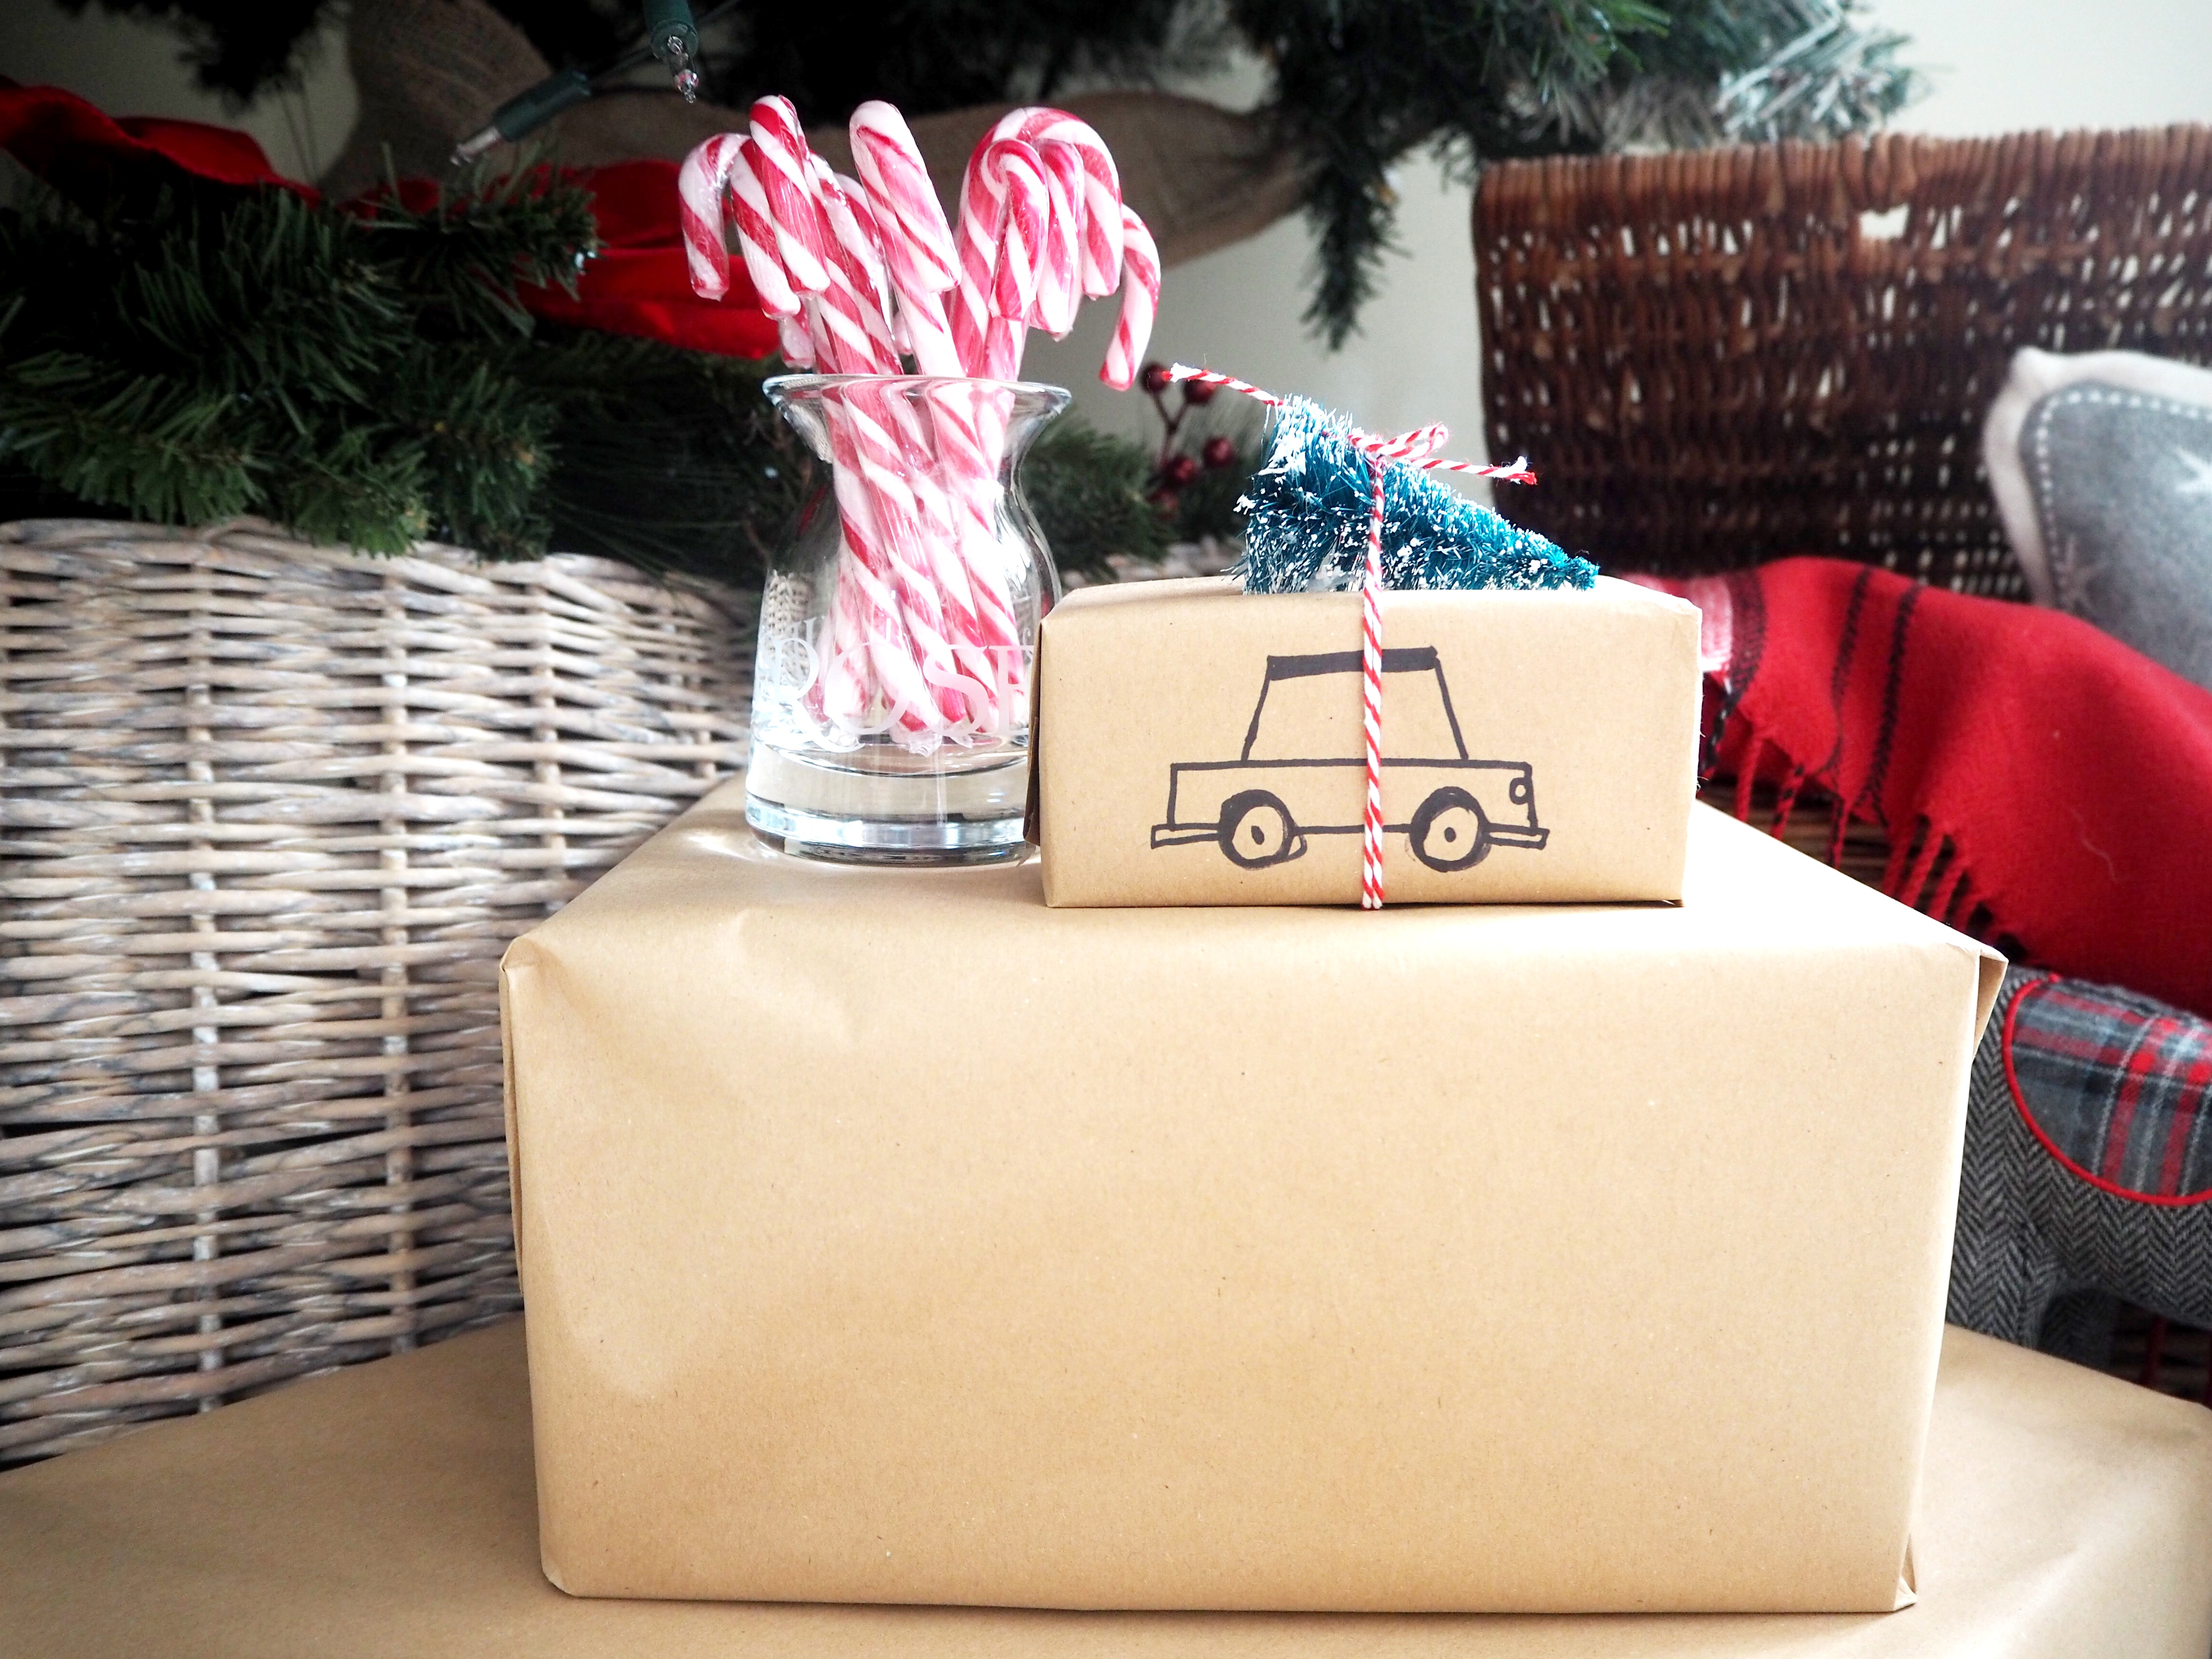
The first brown paper wrapped present has a little car drawn onto the side with a sharpie pen.  I’ve then tied a tree onto the top with some red and white twine.

OLYMPUS DIGITAL CAMERA

The second has a paper doily tied onto the present and then stamped with who the present is from and to.

OLYMPUS DIGITAL CAMERA

The third has a tree shape put onto the front using some ribbon.  The ribbon is bent back and forward, then attached to the present using a glue gun.  I then put some cord around the gift and 2 little baubles.

OLYMPUS DIGITAL CAMERA


The third gift wrapping idea is using a small crate from Ikea which can be purchased here.  I have put a piece of tissue paper in to line the bottom of the crate and then my goodies on top.  Bigger items to be put at the back and smaller at the front.  If you find some of your smaller items are getting lost in the crate, then scrumple up some tissue paper and set the item on top of it.  I have then wrapped the whole crate with some cellophane by first setting it on top of the roll.  Pull the sides up to measure how much you need.  Once you have cut it to size, gather up the ends and use some string to hold together.  Then tidy up the sides, like you would a present, by using some cello tape to keep it in place.  I’ve then added a ribbon tied into a bow and a stag Christmas tree decoration on top.

I hope these ideas have given you some inspiration and I would love to hear if you have any money saving gift wrapping ideas!

Hope you enjoy reading, as much as I enjoy writing!
Jill