blog

Styling your kitchen worktops

Hi there!

Hope you are all enjoying the frosty cold weather?…it puts me into full on faffing mode and the latest place in Rose Cottage to get hit is the kitchen worktops! When I share my kitchen over on Instagram I always get lots of compliments on the styling of it so thought I would share a few tips over here on how I put it all together. The tips are nothing too complicated but they sure are effective…

1. Separate your kitchen into sections

Think about your worktops in smaller more manageable areas, rather than as a whole. Concentrate on one area at a time, make sure your really happy with how you’ve dressed it before moving onto the next.

Think about whether the area will be for practical use or simply decorative; or it could be a mix of both! It’s useful to have certain appliances close to particular cupboards eg mugs near the kettle (especially handy on busy mornings!!). Keep this in mind when choosing what appliances you will need in each worktop section. Also most appliances will need plug sockets so give this consideration too!

2. Start with a blank canvas

I always clear the space I am working on before deciding where anything will go. It helps see the full size of the space and will make it easier to experiment with different accessories.
3. Give the area a good clean

Use the opportunity to give the area a good scrub; clean the worktop itself, the wall/ tiles behind and any appliances or accessories you will be using.
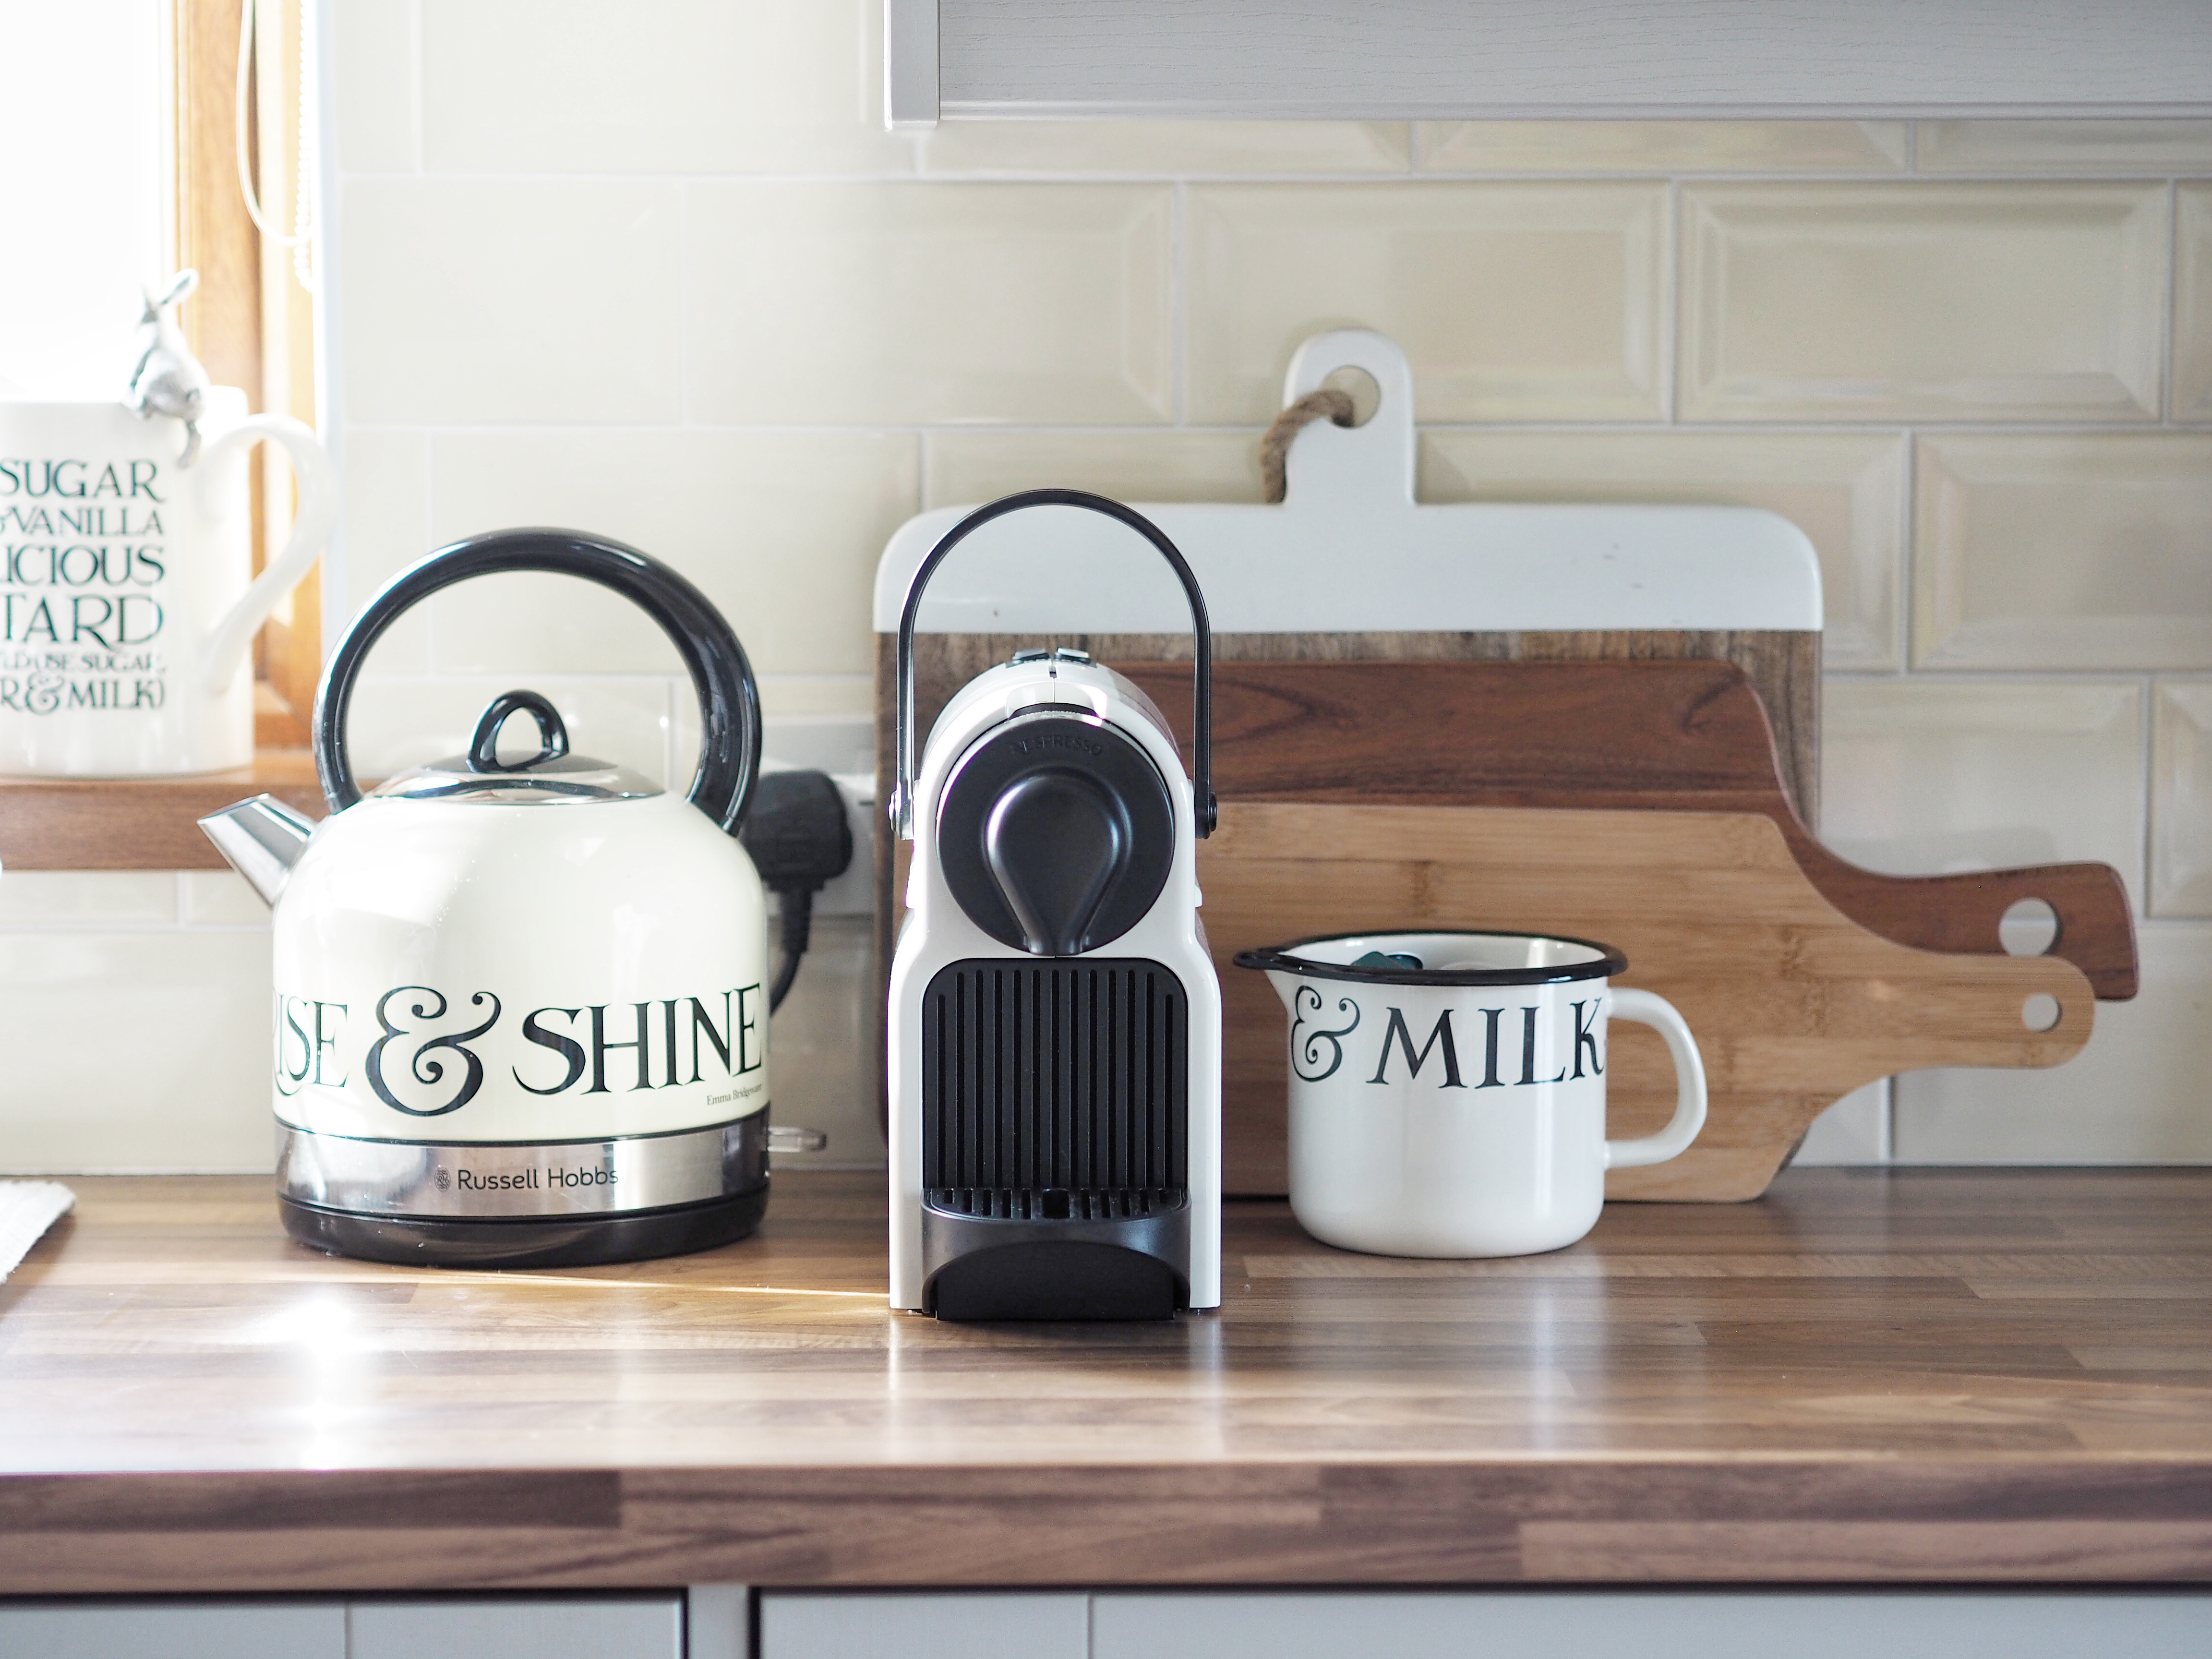
4. Think about things you might want to hide

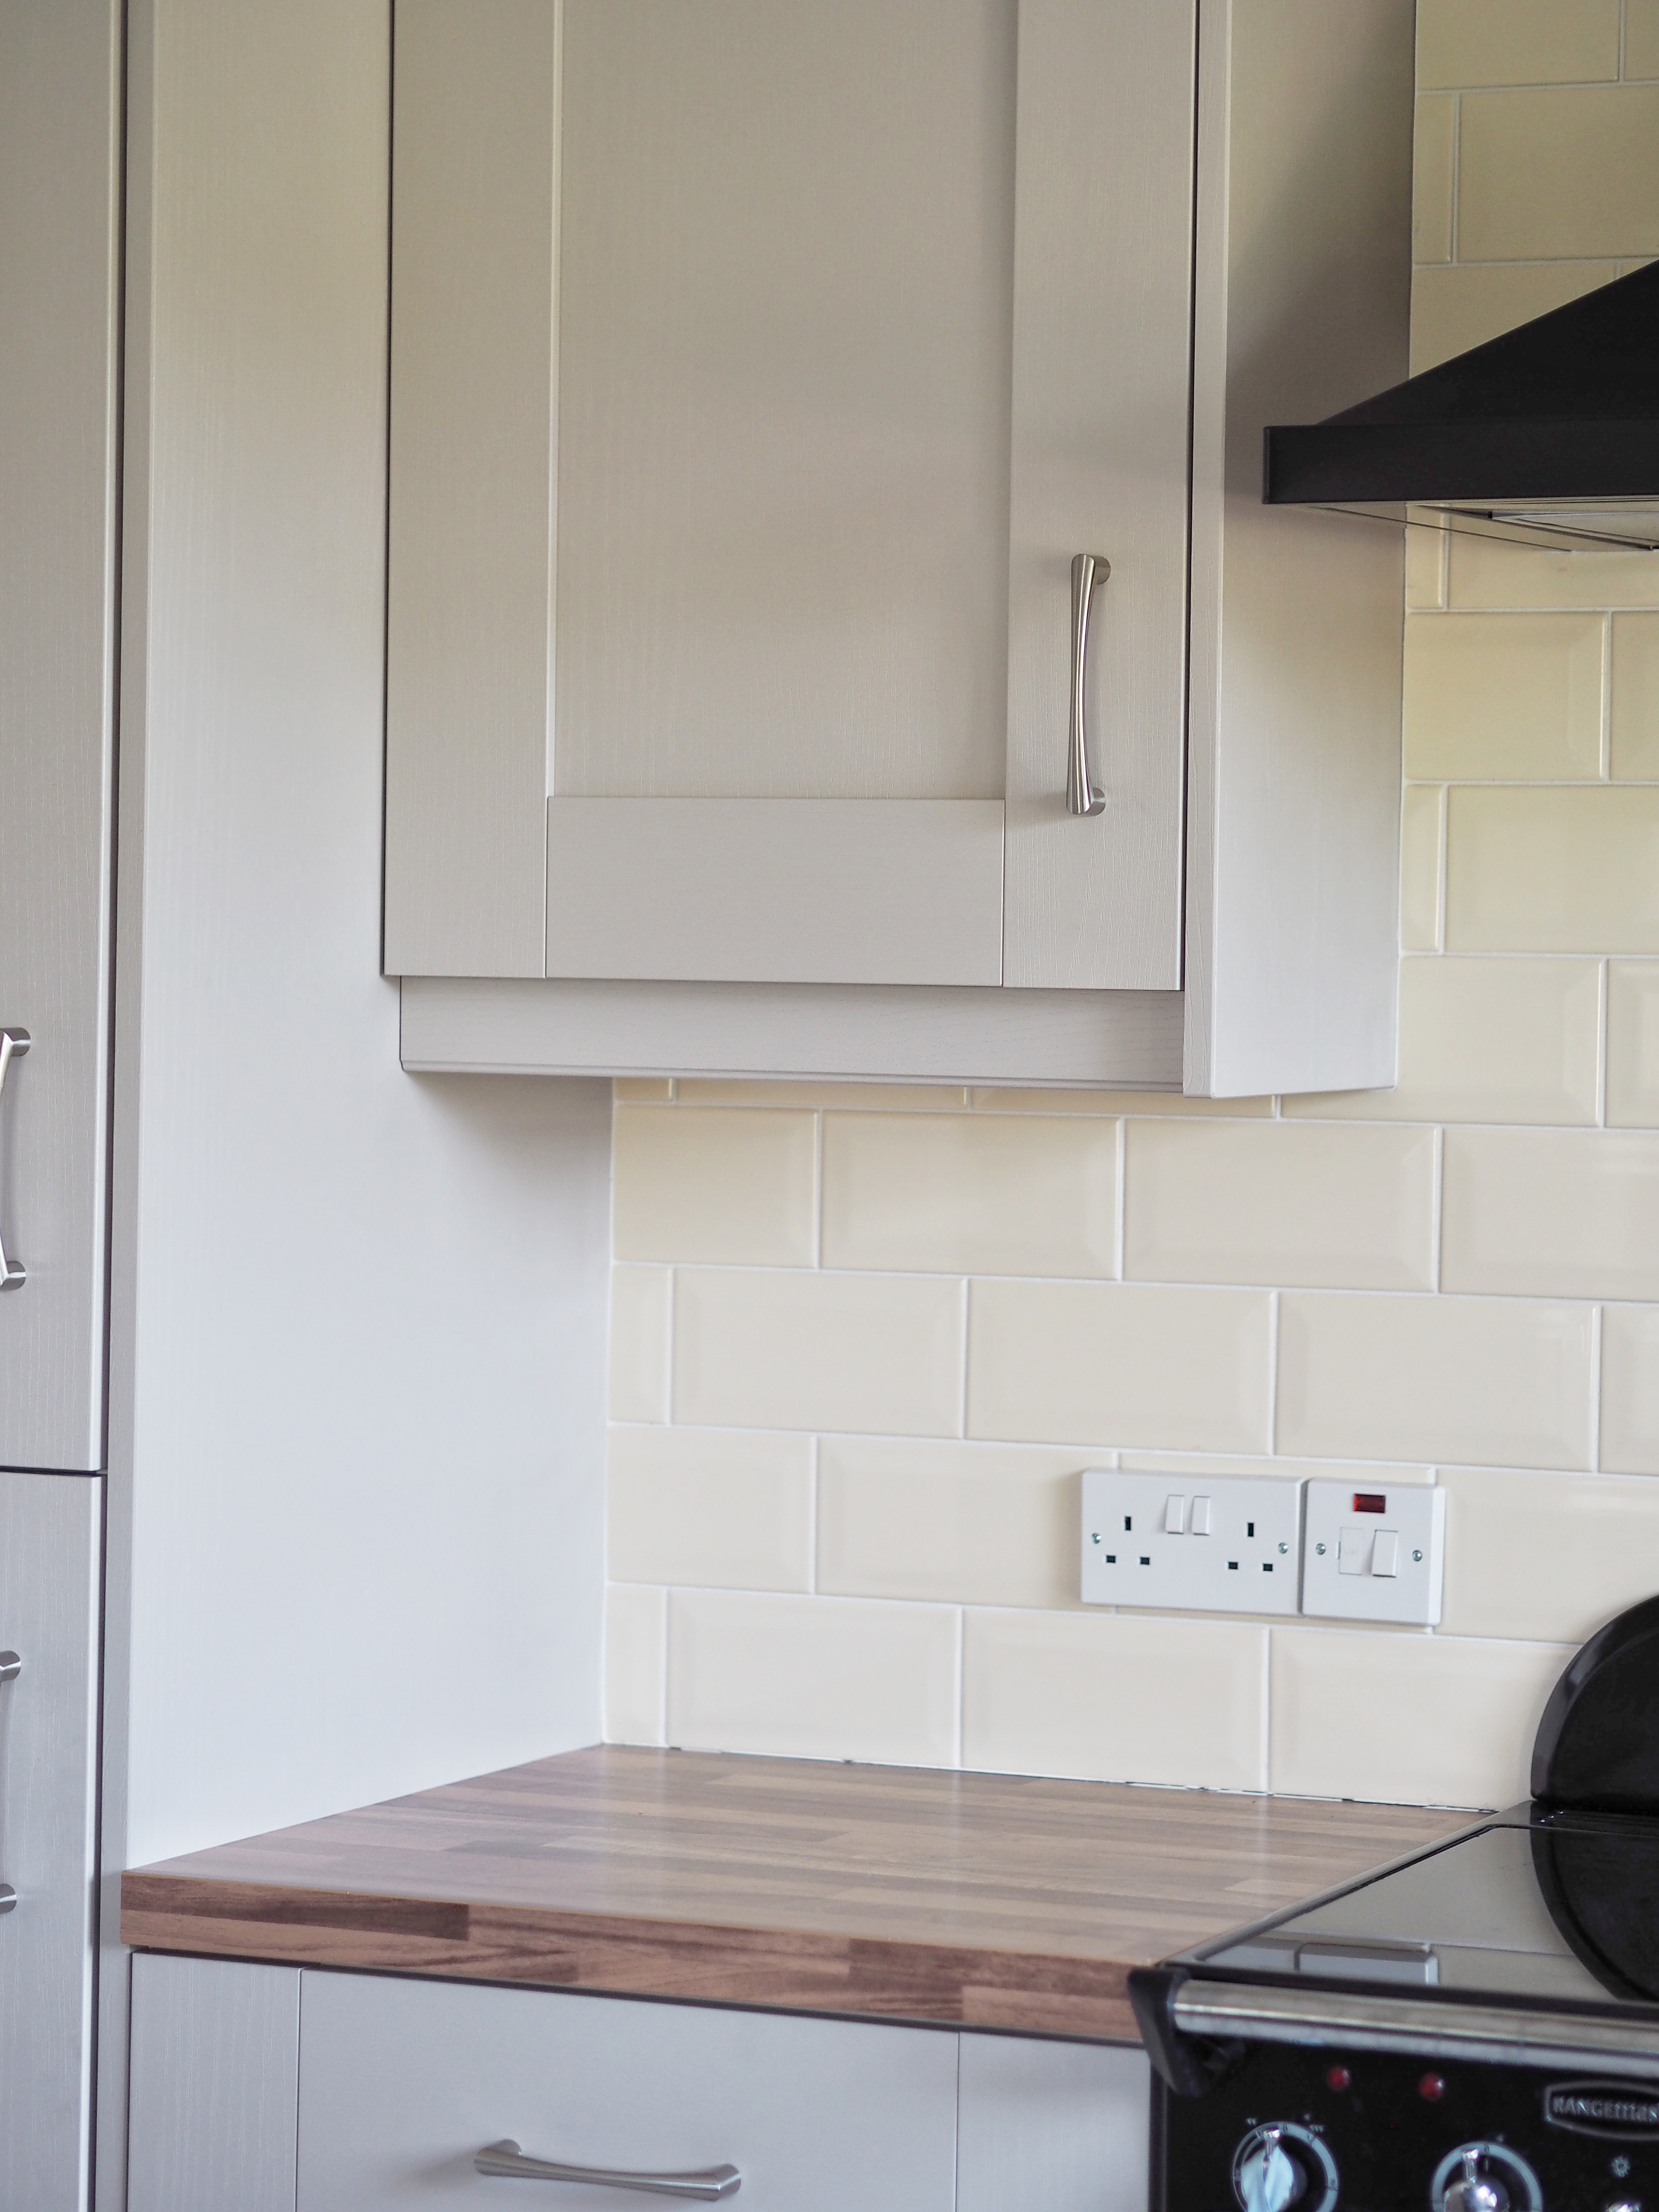
I am not a fan of seeing plug sockets in my kitchen so often use chopping boards, platter plates and framed prints to hide them where i can. I also hide the plugs and leads of appliances using the same techniques.

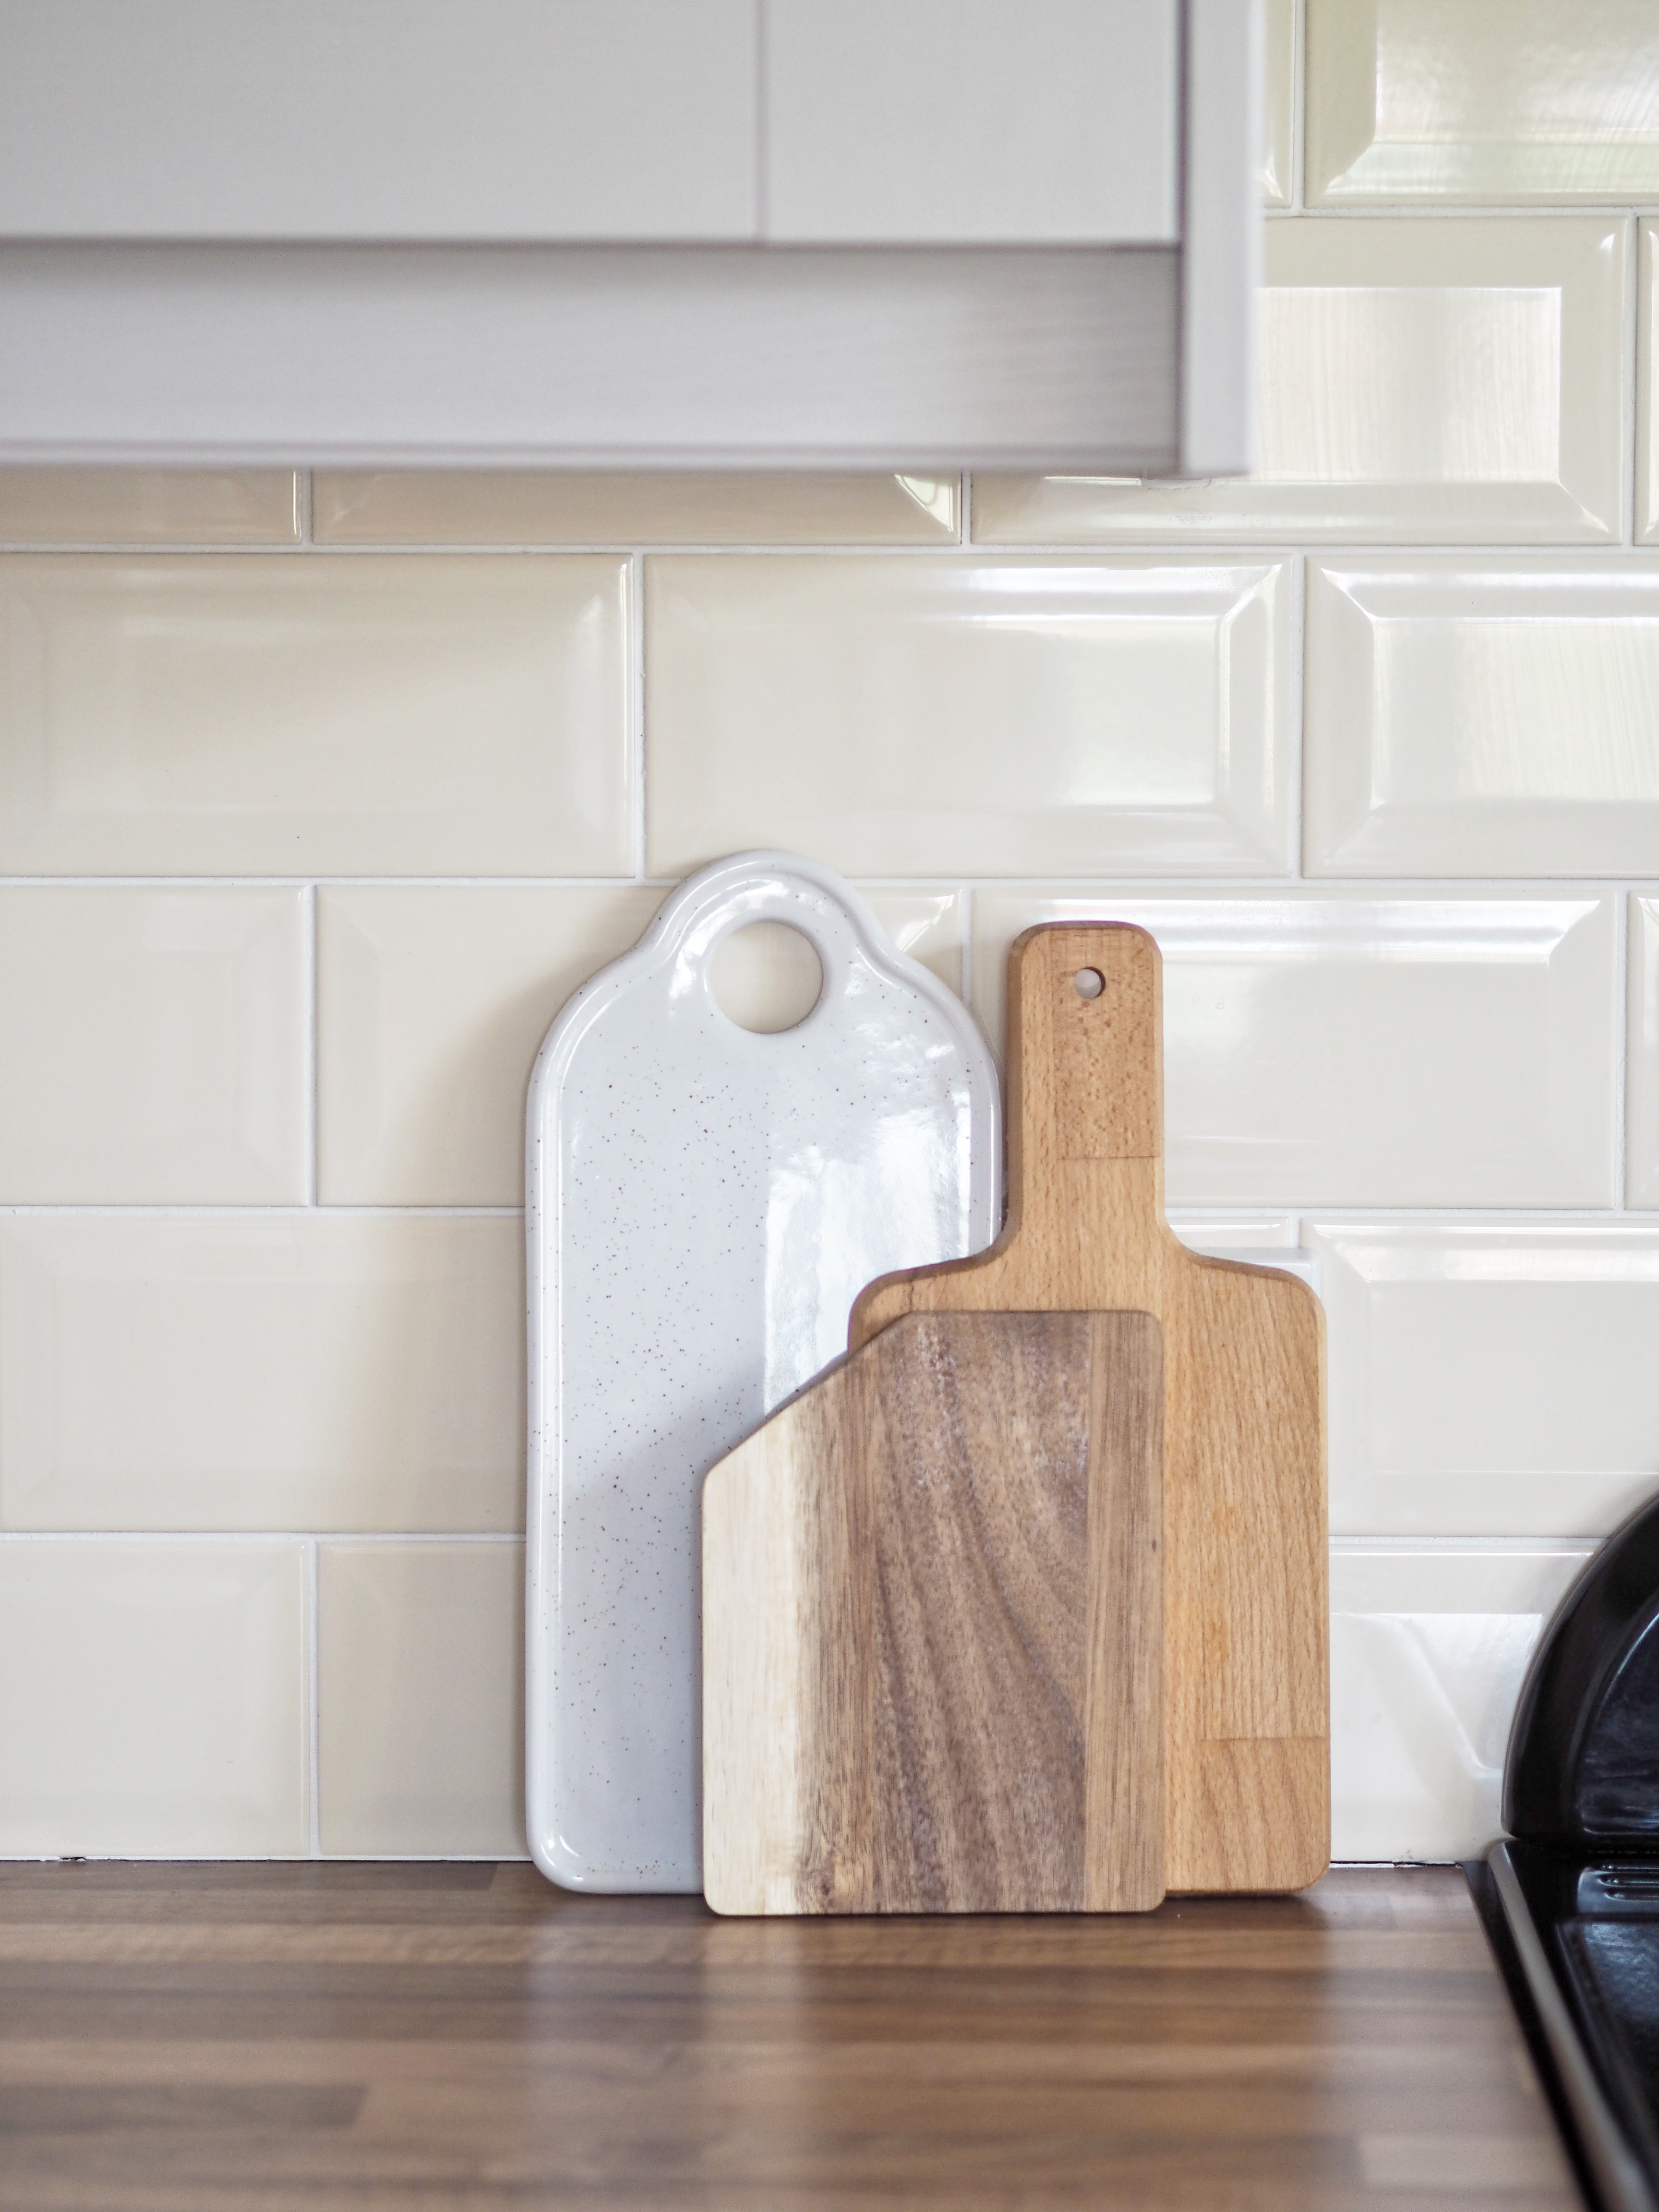
5. Add height, colour and texture

Setting appliances and accessories on top of chopping boards can help create a feature and add height.

Adding hooks from the cupboards above is a great way to incorporate accessories without taking up counter space.

6. Accessorise, accessorise and accessorise!

The majority of the accessories in my kitchen are Emma Bridgewater, I am a massive fan and enjoy the country kitchen feel they give. Think about mixing colours, textures and sizes when using accessories, adding plants and flowers too.

Have you any great tips on how you style your own kitchen? I’ll love to hear them!

Hope you enjoyed reading, as much as I enjoyed writing!

blog

Everything you need to know about appearing in an Interior Magazine

Hello there!

If you follow me over on Instagram you will know I’ve had a photographer in today taking some photos of Rose Cottage for a local magazine.  We have featured in one before just over a year ago, so it was a pleasure to do it again!  My inbox has been flooding with messages asking about the experience so I thought it would be easier to put all the info into a blog post.

Here’s everything you need to know about appearing in an Interior Magazine (in my own experience!!!)

  1. You don’t always need to be asked

From the messages I’ve received, everyone assumes you always get asked to feature; but, this is not always the case! If you think you have a beautiful home you can contact the magazine yourself, send over some images and ask to be considered.

OLYMPUS DIGITAL CAMERA

2. You will most definitely feel like a dirty bruit

Because you become this mad cleaning person, who wants to clean everything in sight, you will find masses of dirt in places you didn’t even know existed!…Queue thinking you could grow spuds behind your sofa!

OLYMPUS DIGITAL CAMERA

3. You will spend alot of time faffing

Painting over toothpaste splatters, delicately positioning potatoes in a crate and karate chopping cushions will only be a few crazy activities you will undertake in preparation.

OLYMPUS DIGITAL CAMERA

4. Hiding anything that is even remotely ugly

This may include bins, tv buttons, multi-coloured plastic toys and even family members; which leads me on to….

OLYMPUS DIGITAL CAMERA

5. Bailing your family out

You most definitely will not want any small people hanging about on the day of the shoot (Kids and expensive camera equipment will not mix) so I recommend getting rid of them as soon as you can – a week before the shoot is just about perfect!!

OLYMPUS DIGITAL CAMERA

6. You will become the most awkward and out of place thing in your own home

Trying to keep out of the way of the photographer is hard, especially if you don’t live in a big house.

OLYMPUS DIGITAL CAMERA

7. You will be out of money

You will convince yourself your home needs to be able to feed the 5000 and have more fresh flowers than chelsea flower show.

OLYMPUS DIGITAL CAMERA

8. The experience will be as enjoyable as you make it

Take your time, enjoy your home and soak it all up!

OLYMPUS DIGITAL CAMERA

As always if you have any questions, please get in touch!

Hope you enjoy reading, as much as I enjoy writing!

Jill

blog

Master Bedroom

Hello again!

I have finished another room! – Yipeee!

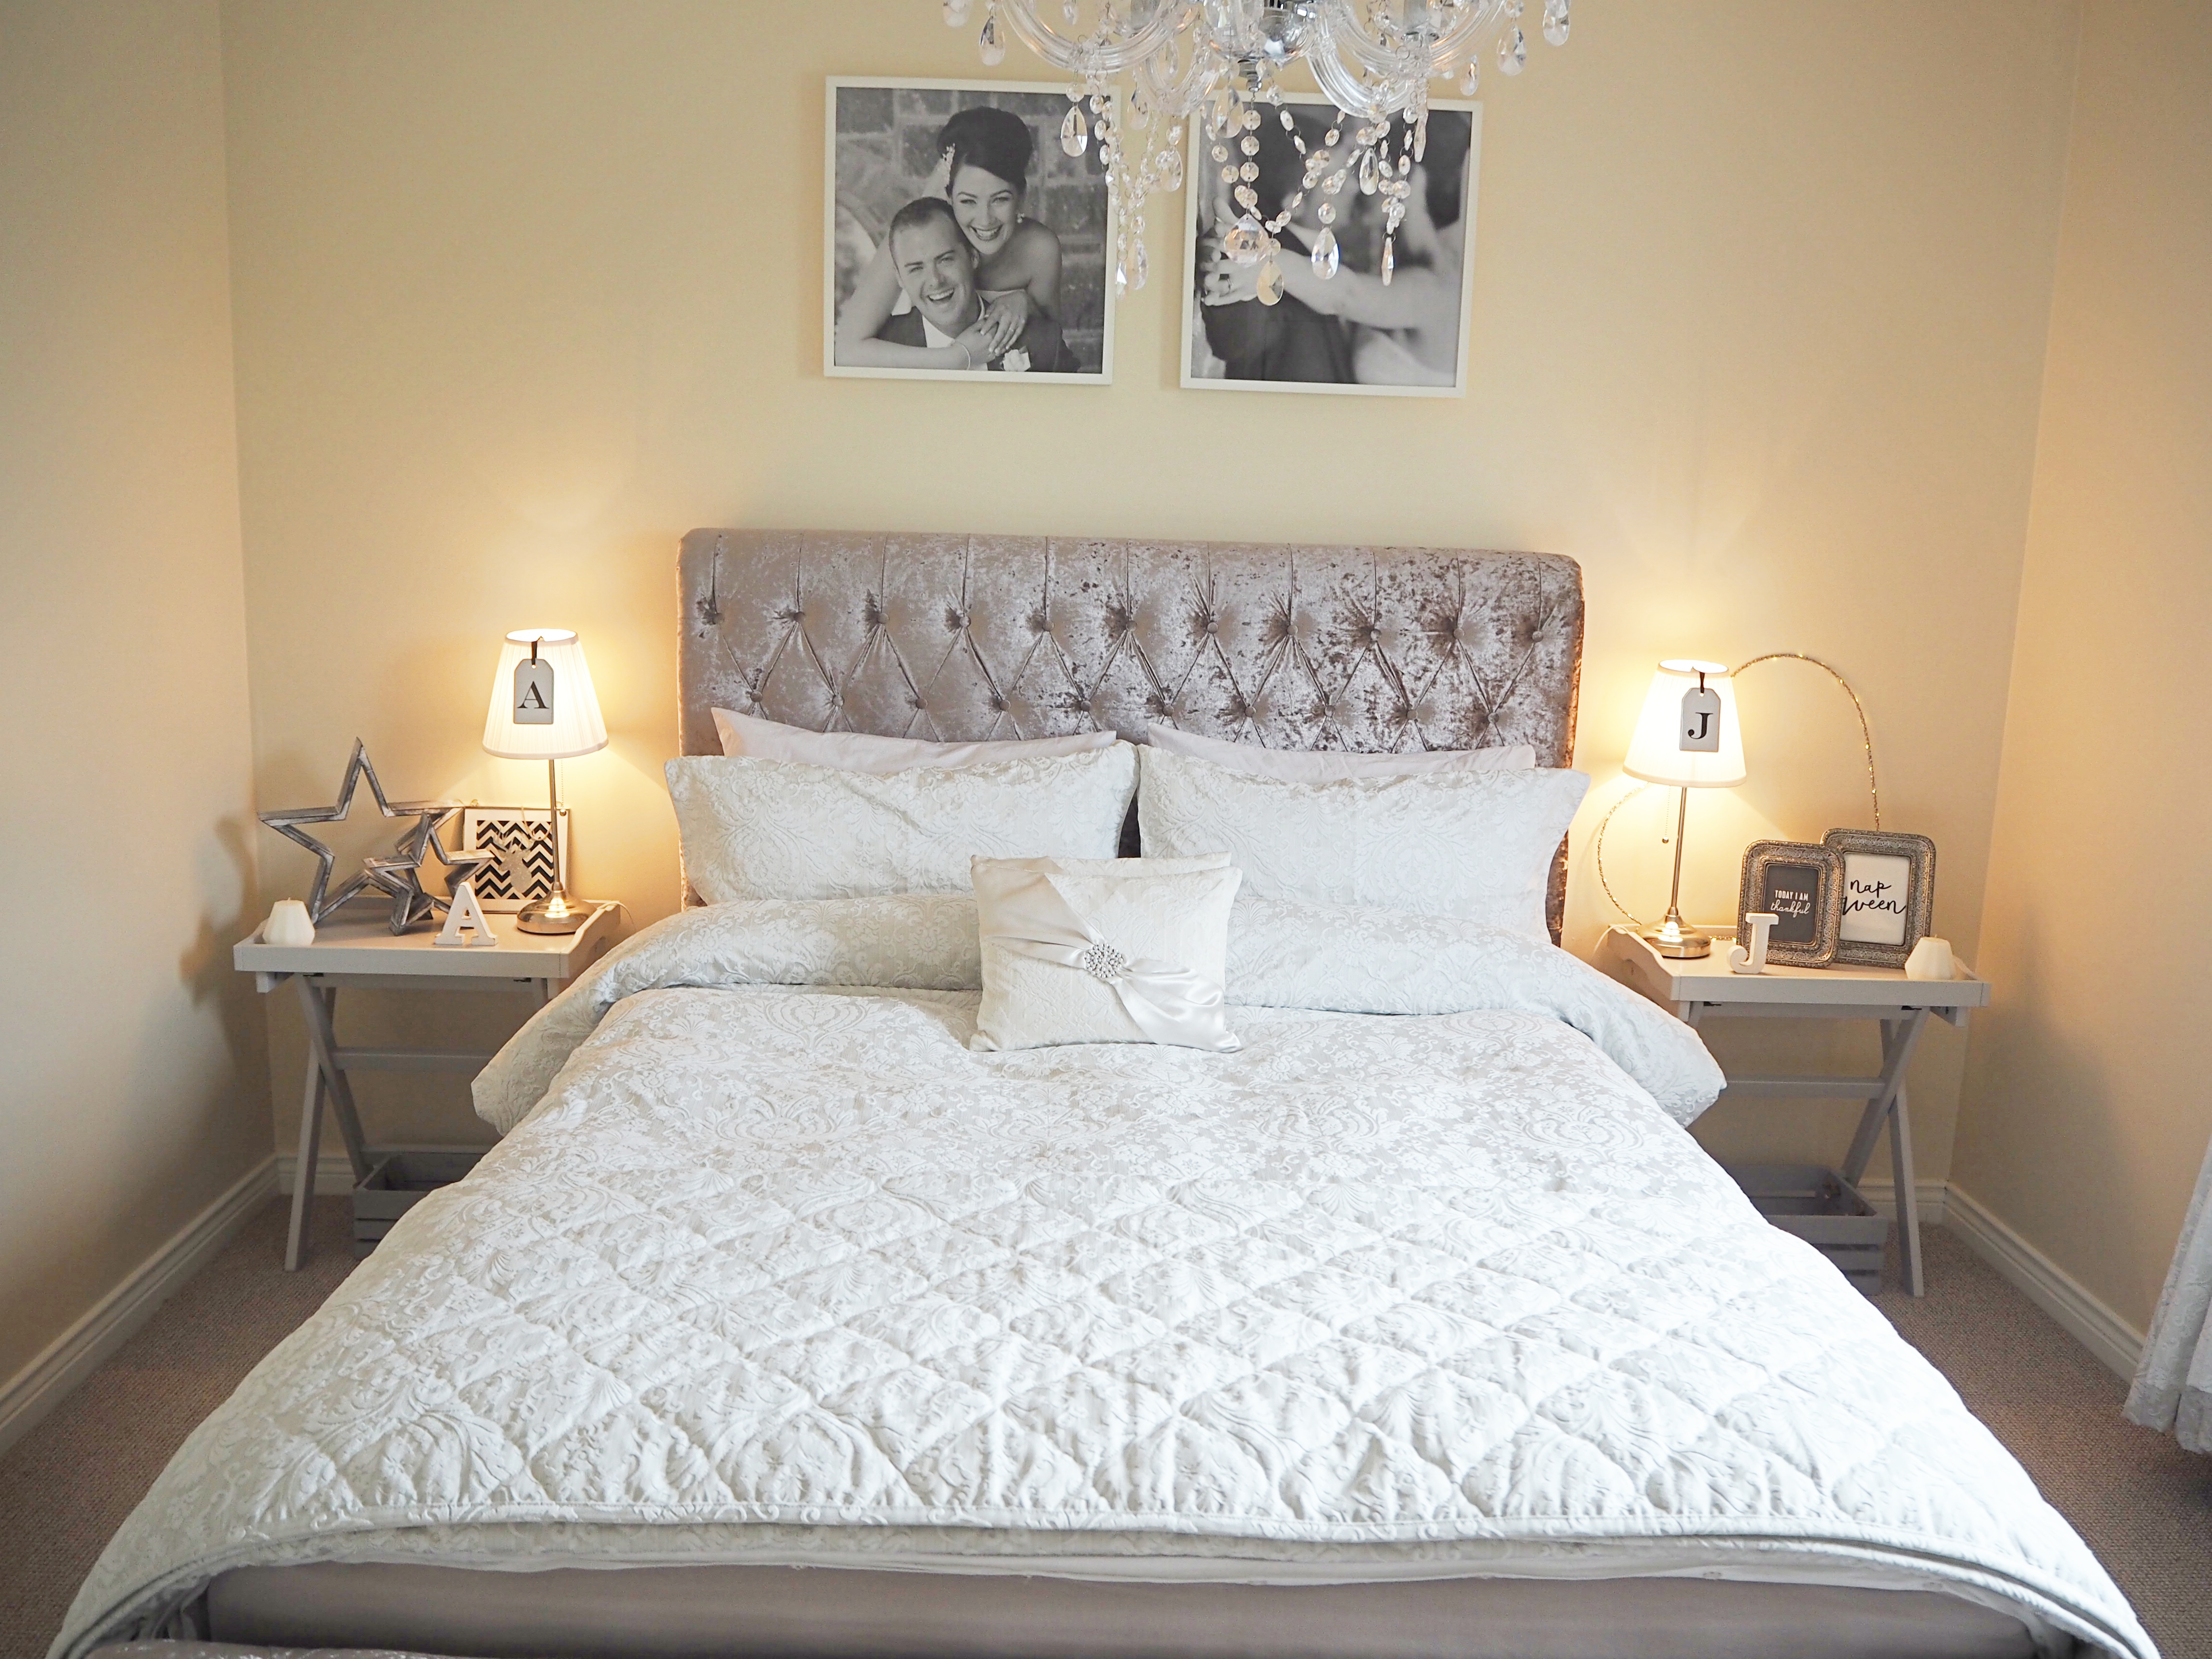
When tackling the master bedroom, I had a few things in mind.  I wanted it to be a tranquil space where hubby and I could go to switch off from the hustle and bustle of the day.  I didn’t want the walls to be cluttered with fussy wallpaper and floral canvases but everything to have a plain and clean look.  As new parents I felt it was important our bedroom was a place of sanctuary away from the brightly coloured toys which play nursery tunes on repeat all day everyday!   I wanted this to be the room in the house where I could completely relax and enjoy some well deserved ‘me’ time.

OLYMPUS DIGITAL CAMERA

The paint colour in our bedroom is the same colour as the rest of the house.  When thinking about moving into Rose Cottage I didn’t want the hassle or to spend the time deliberating over paint colour for each room individually so I just painted the whole house in magnolia!  I done the same with the carpet and carpeted the whole house the same.  I know to some of you this sounds incredibly uncreative and boring, but to me it creates a flow throughout the house which I love.  I find these neutral colours to be warm and inviting as well as being able to easily match accessories to.

OLYMPUS DIGITAL CAMERA


Bed – http://creations-interiors.com/?page_id=77&cat_id=34&product_id=845

Bedding –http://www.bedeckhome.com/sanderson-fabienne-bedding-silver.html#

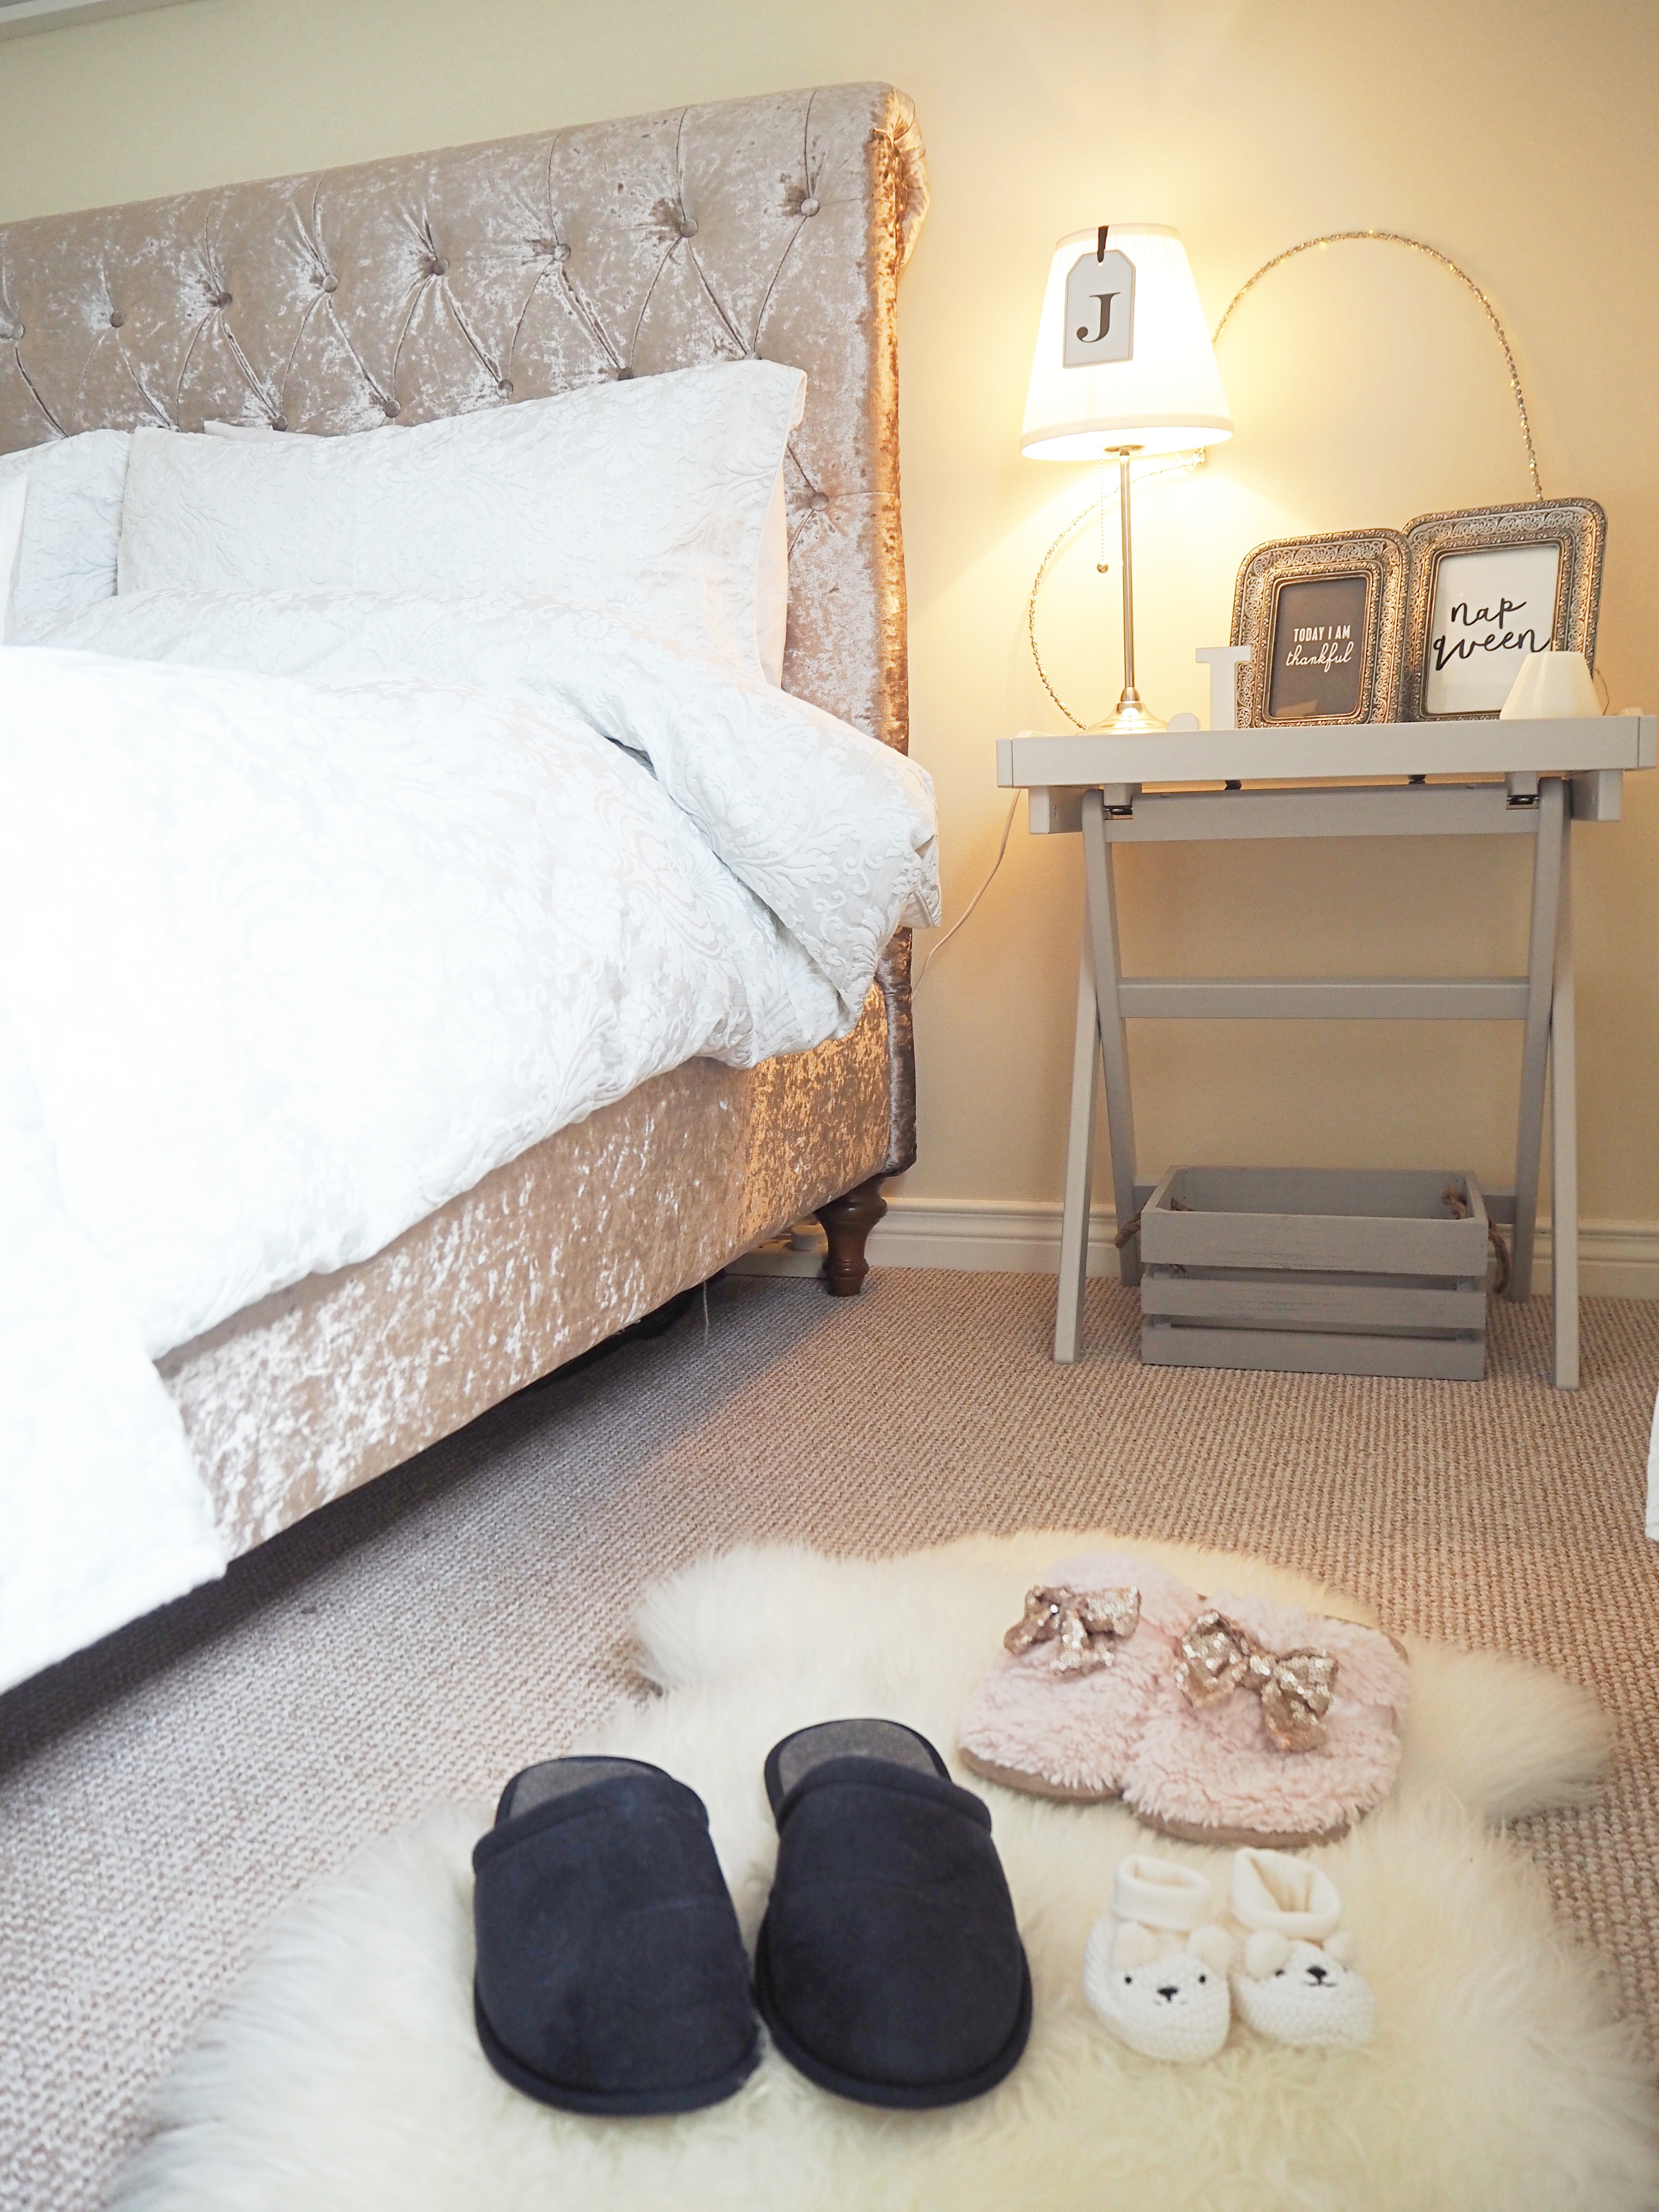
Bedside Table – http://www.ikea.com/gb/en/products/tables/coffee-side-tables/maryd-tray-table-grey-art-90292725/

Lamp – http://www.ikea.com/gb/en/products/lighting/table-lamps/årstid-table-lamp-nickel-plated-white-art-00280637/

Stars – http://www.thewhitelighthousefurniture.co.uk/accessories/stars-set-grey.htm

OLYMPUS DIGITAL CAMERA

Light Up Heart – B&M

Prints – http://www.notonthehighstreet.com/themotivatedtype/product/nap-queen-typography-print

Frames – TKMaxx

These 2 pieces of furniture were both up cycling projects – they were both dark wood and I painted with Annie Sloan Old White.

Cushions – H&M Sale

Hello Beautiful Banner – https://www.frenchgreylifestyle.co.uk/collections/all

OLYMPUS DIGITAL CAMERA


Curtains – http://www.bedeckhome.com/sanderson-fabienne-bedding-silver.html

Heart – http://www.dunelm.com/product/chalk-rustic-hanging-heart-1000043859?searchTerm=hanging%20heart

Chandelier – http://www.argos.co.uk/product/4324005

OLYMPUS DIGITAL CAMERA

These photos are from our wedding – I got them printed in black and white from Photobox and put them into Ikea frames.  Simple but effective I think!

OLYMPUS DIGITAL CAMERA

Hope you enjoy reading as much as I enjoy writing!

Jill

FASHION & BEAUTY, LIFESTYLE

What I’m Loving Lately

Hello there!

As I get asked a lot of questions on Instagram about where I purchase things and what I would recommend, I thought I would put together a blog post on a few things I have picked up recently which I really love! I’m thinking this could maybe become a monthly feature if there is any interest? Sure let me know what you think!  This will be a random collection of items, so hopefully everyone will find something they like too.

Interiors

Firstly, these little metal star tea light holders.  As soon as Homely Rose put them up on their Instagram as incoming stock, I tortured Helen to put them onto the website so I could purchase a set!  When I saw them I knew they would look great hanging from my ladder, especially with candles inside at night time. You can find Homely Rose on Instagram here: https://www.instagram.com/homely_rose/?hl=en Give them a follow as they have some really gorgeous home interiors!

Next up is this Toast rack from One Vision cnc.  If you follow me on Instagram you will know how much I love Emma Bridgewater.  This company engrave wooden items which compliment the pottery just perfectly.  I purchased one of their chopping boards over a year ago with Rose Cottage engraved on the side and it’s as good as the day I bought it!  So pleased now to have this little toast rack to match.  You can purchase it here: http://www.onevisioncnc.co.uk/oak-toast-rack—engraved–4-slice-39-p.asp

OLYMPUS DIGITAL CAMERA

You can read here: Making my home beautiful with Zoflora! how much of a huge fan I am of using Zoflora when cleaning.  This next little purchase is the perfect tool to use alongside it.  I picked it up from Amazon after seeing it recommended on another blog.  I have been really impressed by this electric device, which makes cleaning small, more difficult areas a lot quicker and easier.  Get yours here: https://www.amazon.co.uk/s/ref=sr_pg_1?rh=i%3Aaps%2Ck%3Asonic+scrubber&keywords=sonic+scrubber&ie=UTF8&qid=1492355786&spIA=B01MT80ROH,B018NZ85D2,B06XS16LDN,B01MQ6GXCT

Baby

The lovely Julie has took the plunge and set up an amazing business selling beautiful children’s items.  Her stock is so different from what you would find on the high street, which is why I really love it!  Here are some items from her website, so please check it out and follow her on Instagram for stock updates.  Her website is: https://daisybelledreams.com

OLYMPUS DIGITAL CAMERA

Beauty and Fashion

So I picked up this fake tan after it being recommended by a local blogger I follow.  I normally stick to what I know with fake tan but this was on offer in Boots so I thought I would give it a go.  I have to say I am really impressed with this tan – the colour is so natural, smell isn’t too bad and develops almost immediately.  Definitely will be using this one if I don’t have time to tan the night before an event.

OLYMPUS DIGITAL CAMERA

And lastly, these shoes!! I ordered these from H&M after seeing a few people/ celebs wearing similar ones.  I wasn’t too sure if I would suit them or if I could style them well, but I am totally in love! I am a huge fan of the metallic shoes which are in fashion at the moment, as they can be easily dressed up or worn casually.  They are also really comfy to wear, which is a big bonus!  Find them here: http://www2.hm.com/en_gb/productpage.0474111004.html#Silver

Let me know what your loving lately!

Hope you enjoy reading as much as I enjoy writing!

Jill


LIFESTYLE

Hoppy Easter!

Hello there!

‘No matter how long the Winter, the Spring is sure to follow.’

Like most of you, I am always happy to welcome Spring.  Longer days, warmth of the sun and all the bright colours out and about.  I’ve been spending this weekend putting some Easter decorations around Rose Cottage so thought I would share some ideas with you!

Firstly, an Easter tree.  I used this porter vase from Emma Bridgewater and put in 6 strands of artificial pussy willow from Dunelm.  You can find it on this link: http://www.dunelm.com/product/artificial-pussy-willow-stem-1000001995?itsearchTerm=flowers%20artificial

I bought these beautiful eggs from Katrina at DippyDuckHQ on Instagram – she is really talented and decorates these eggs by hand.  I love Instagram for connecting with small businesses and finding quirky little items you can’t get on the high street.  Here’s the link to her page: https://www.instagram.com/katrina.lyall_dippyduck/

OLYMPUS DIGITAL CAMERA

OLYMPUS DIGITAL CAMERA

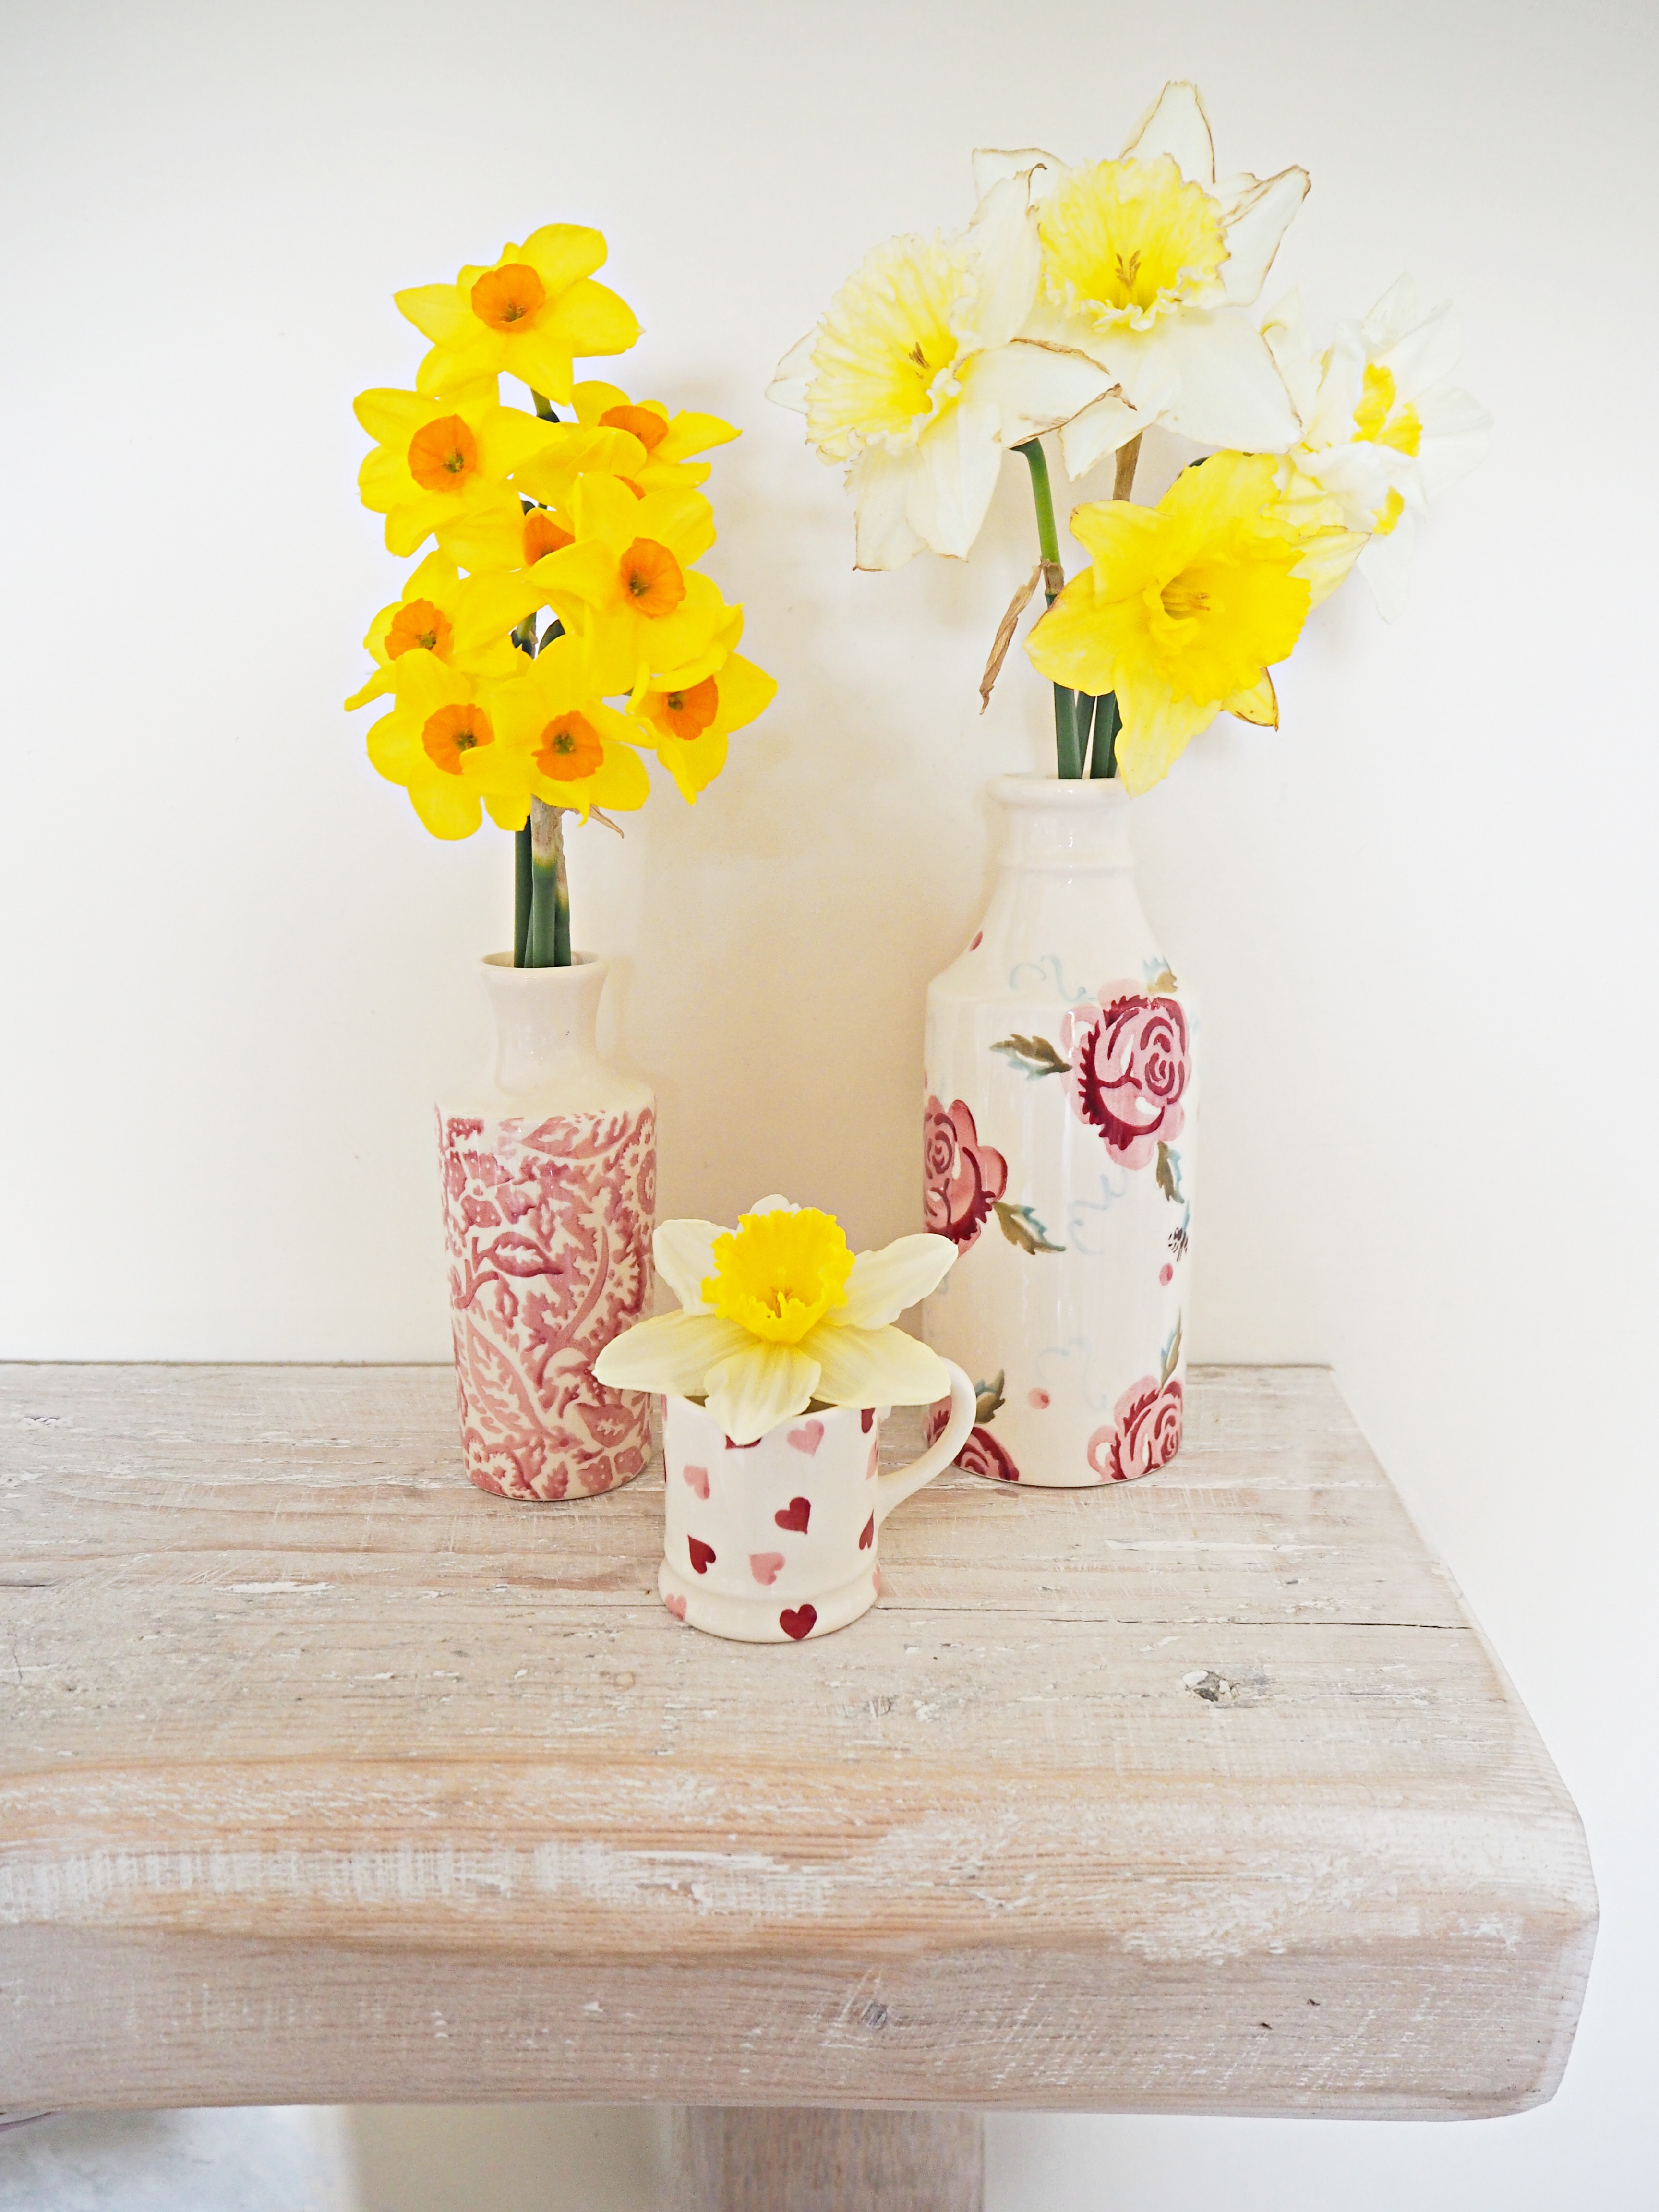
A cheap and cheerful way to make your home look bright and cheery for spring is daffodils.  I picked these this morning from our garden and have them scattered around the cottage in little vases.

OLYMPUS DIGITAL CAMERA

I don’t like to spend a lot of money on Easter decorations as they are only out on display for a short time.  I brought together some of my favourite pottery pieces and stacked them up, largest at the bottom to smallest at the top.  I think it looks really effective yet so simple.

And lastly, how cute are these little rabbit spoons which I picked up from here: https://www.tuttidecor.co.uk/product/rabbit-spoon/  Adding a little Easter touch to some afternoon tea!

The hubby and I normally go to his family’s caravan over the Easter holidays so we are excited now to bring Harry along this year too.  Hope you all have a lovely Easter celebrating with friends and family!

Hope you enjoy reading as much as I enjoy writing!

Jill

LIFESTYLE

Putting up the Christmas Tree at Rose Cottage

Hello there!

We are in week 2 of the preparations for Christmas at Rose Cottage and hope you’ve been enjoying the run up so far! On Wednesday we put the tree up and showed this in a time lapse video over on insta stories….if only it went up that quickly in real life!!

We have an artificial tree here at Rose Cottage; Just like I talked about in the wreath tutorial (which you can find here), I like how you can manipulate the branches better and can perfect the overall look in comparison to a real tree. I love this tree as it has different styles of branches and a light dusting of snow.

So now to share some tips with you…

Starting with the assembly of the tree. Put on one tier of your branches at a time, starting at the bottom and working your way up. Every branch on your tree must be touched and fluffed out one at a time. This will help to give your tree a fuller look. Bend the branches up at the ends from the inside out, then point in all different directions to look like a palm leaf. We really recommend you spend time on this step as it’s the most important and will affect the overall look of the finished tree.

Moving onto the lights. A lot of people hate this step, as it can be really time consuming and hard to get right! To make it easier for yourself, turn your lights on when putting them onto the tree. This will help you to see exactly where they are going and if there are any gaps needing filled. Again start from the bottom and work your way up. Go up one side of the branch and down the other, weaving in and out. We would recommend using 100 lights per foot of the tree, eg a 7 ft tree will need 700 lights. Put your lights the whole way around your tree; The lights at the back will bounce off the walls and back into the room. When you finish a roll of lights, run the wire down the centre of the tree to the bottom and then to the plug socket. This will create a neater appearance, rather than wires poking out mid tree! Place a string of flashing lights up and down the centre of your tree to draw the eye in and create depth.

Next put on your ribbon. Wrap your ribbon, one roll at a time from the top of the tree to the bottom. We have used 2 different types – tartan and hessian, just like on the wreath, to tie in with our Christmas theme. Twist the ribbon as you go round, pushing some bits in and pulling others out at intervals. Wrap some hessian ribbon around the bottom of the tree to hide your wires.

Now for your decorations and baubles. Separate your baubles into small, medium and large. Put the larger ones at the bottom and smaller ones as you go up to the top. The more plain baubles are to be used as fillers and put in towards the centre on your tree. Baubles should not be touching the branches below, instead hanging mid air. At this stage you may need to rearrange some branches as you go along. Don’t put all your decorations on at once, put a few on a time, stand back to have a good look, then put some more on until happy. If your bauble string is a bit long, wrap it around the branch a few times to make shorter.

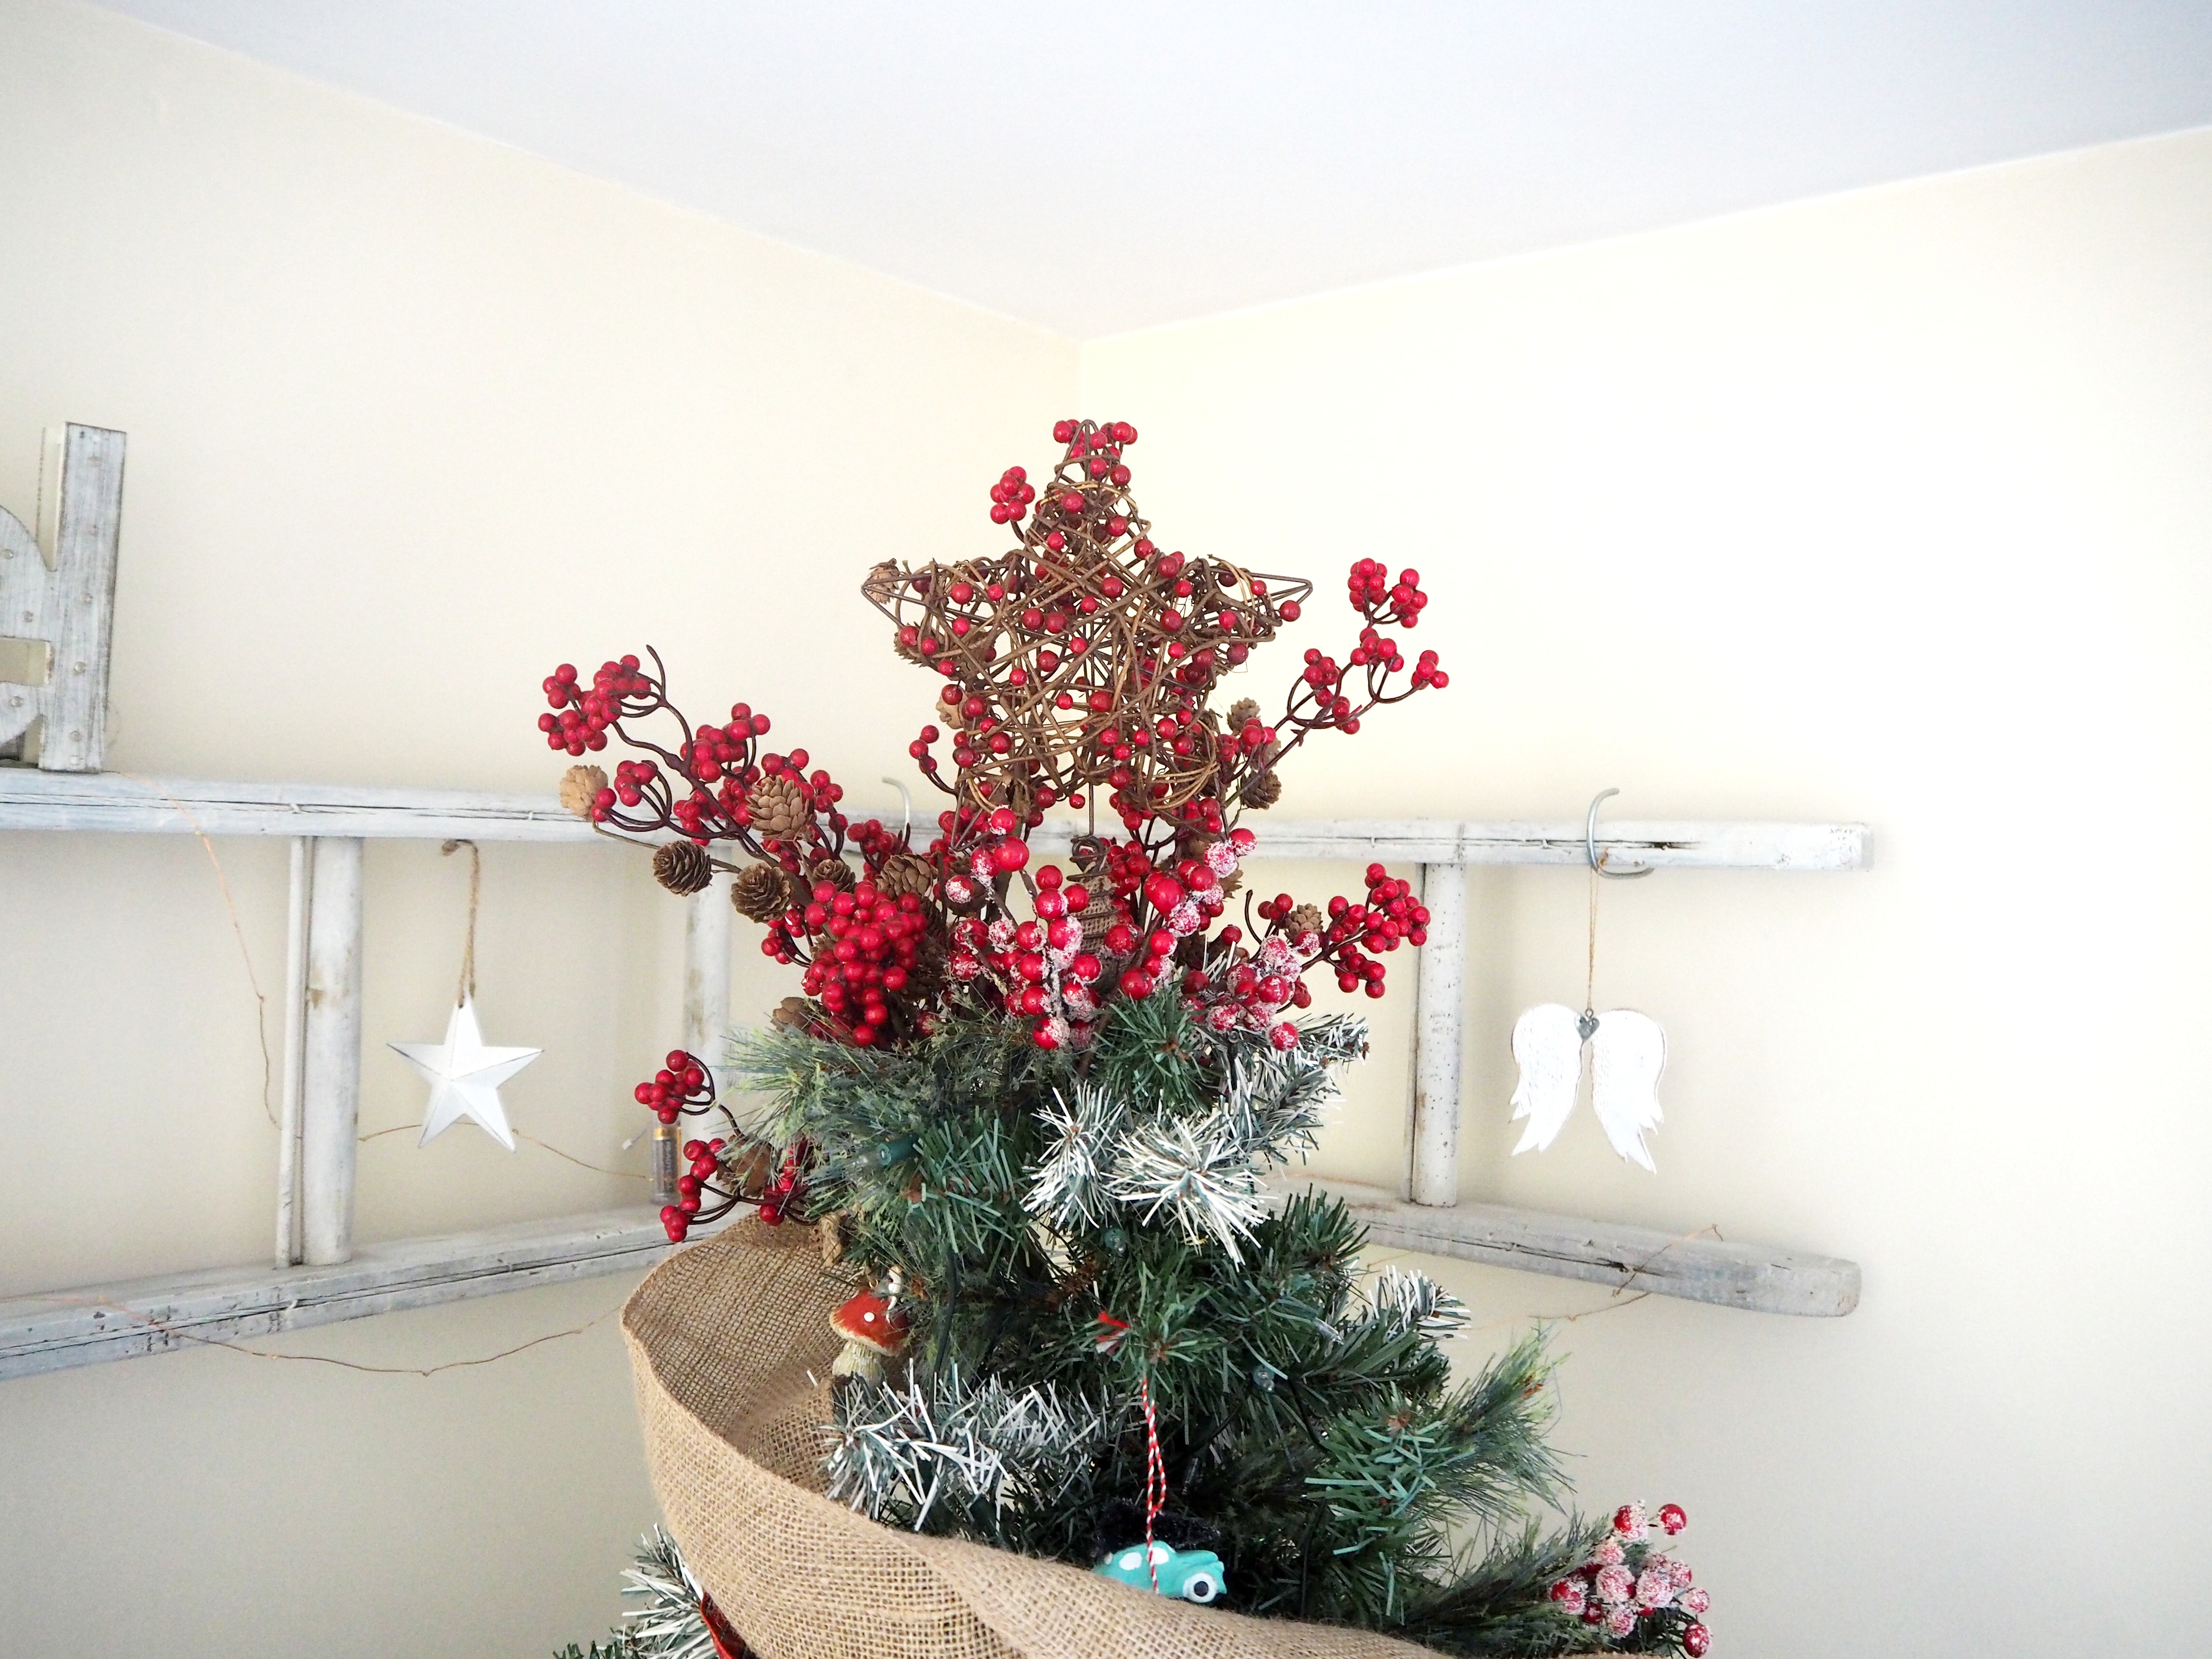
And lastly the focal point at the top of your tree.  We love the illusion of an explosion coming out of the top, so have used some berries and pinecones on sticks poking from the top and sides of the star.  We also added some of these berries on sticks peaking out from various branches around the tree.

OLYMPUS DIGITAL CAMERA

And here it is finished!

OLYMPUS DIGITAL CAMERA

We hope you find these tips helpful in perfecting your own tree and if you have any others we would love to hear them!

Hope you enjoy reading, as much as I enjoy writing!

Jill