blog

Styling your kitchen worktops

Hi there!

Hope you are all enjoying the frosty cold weather?…it puts me into full on faffing mode and the latest place in Rose Cottage to get hit is the kitchen worktops! When I share my kitchen over on Instagram I always get lots of compliments on the styling of it so thought I would share a few tips over here on how I put it all together. The tips are nothing too complicated but they sure are effective…

1. Separate your kitchen into sections

Think about your worktops in smaller more manageable areas, rather than as a whole. Concentrate on one area at a time, make sure your really happy with how you’ve dressed it before moving onto the next.

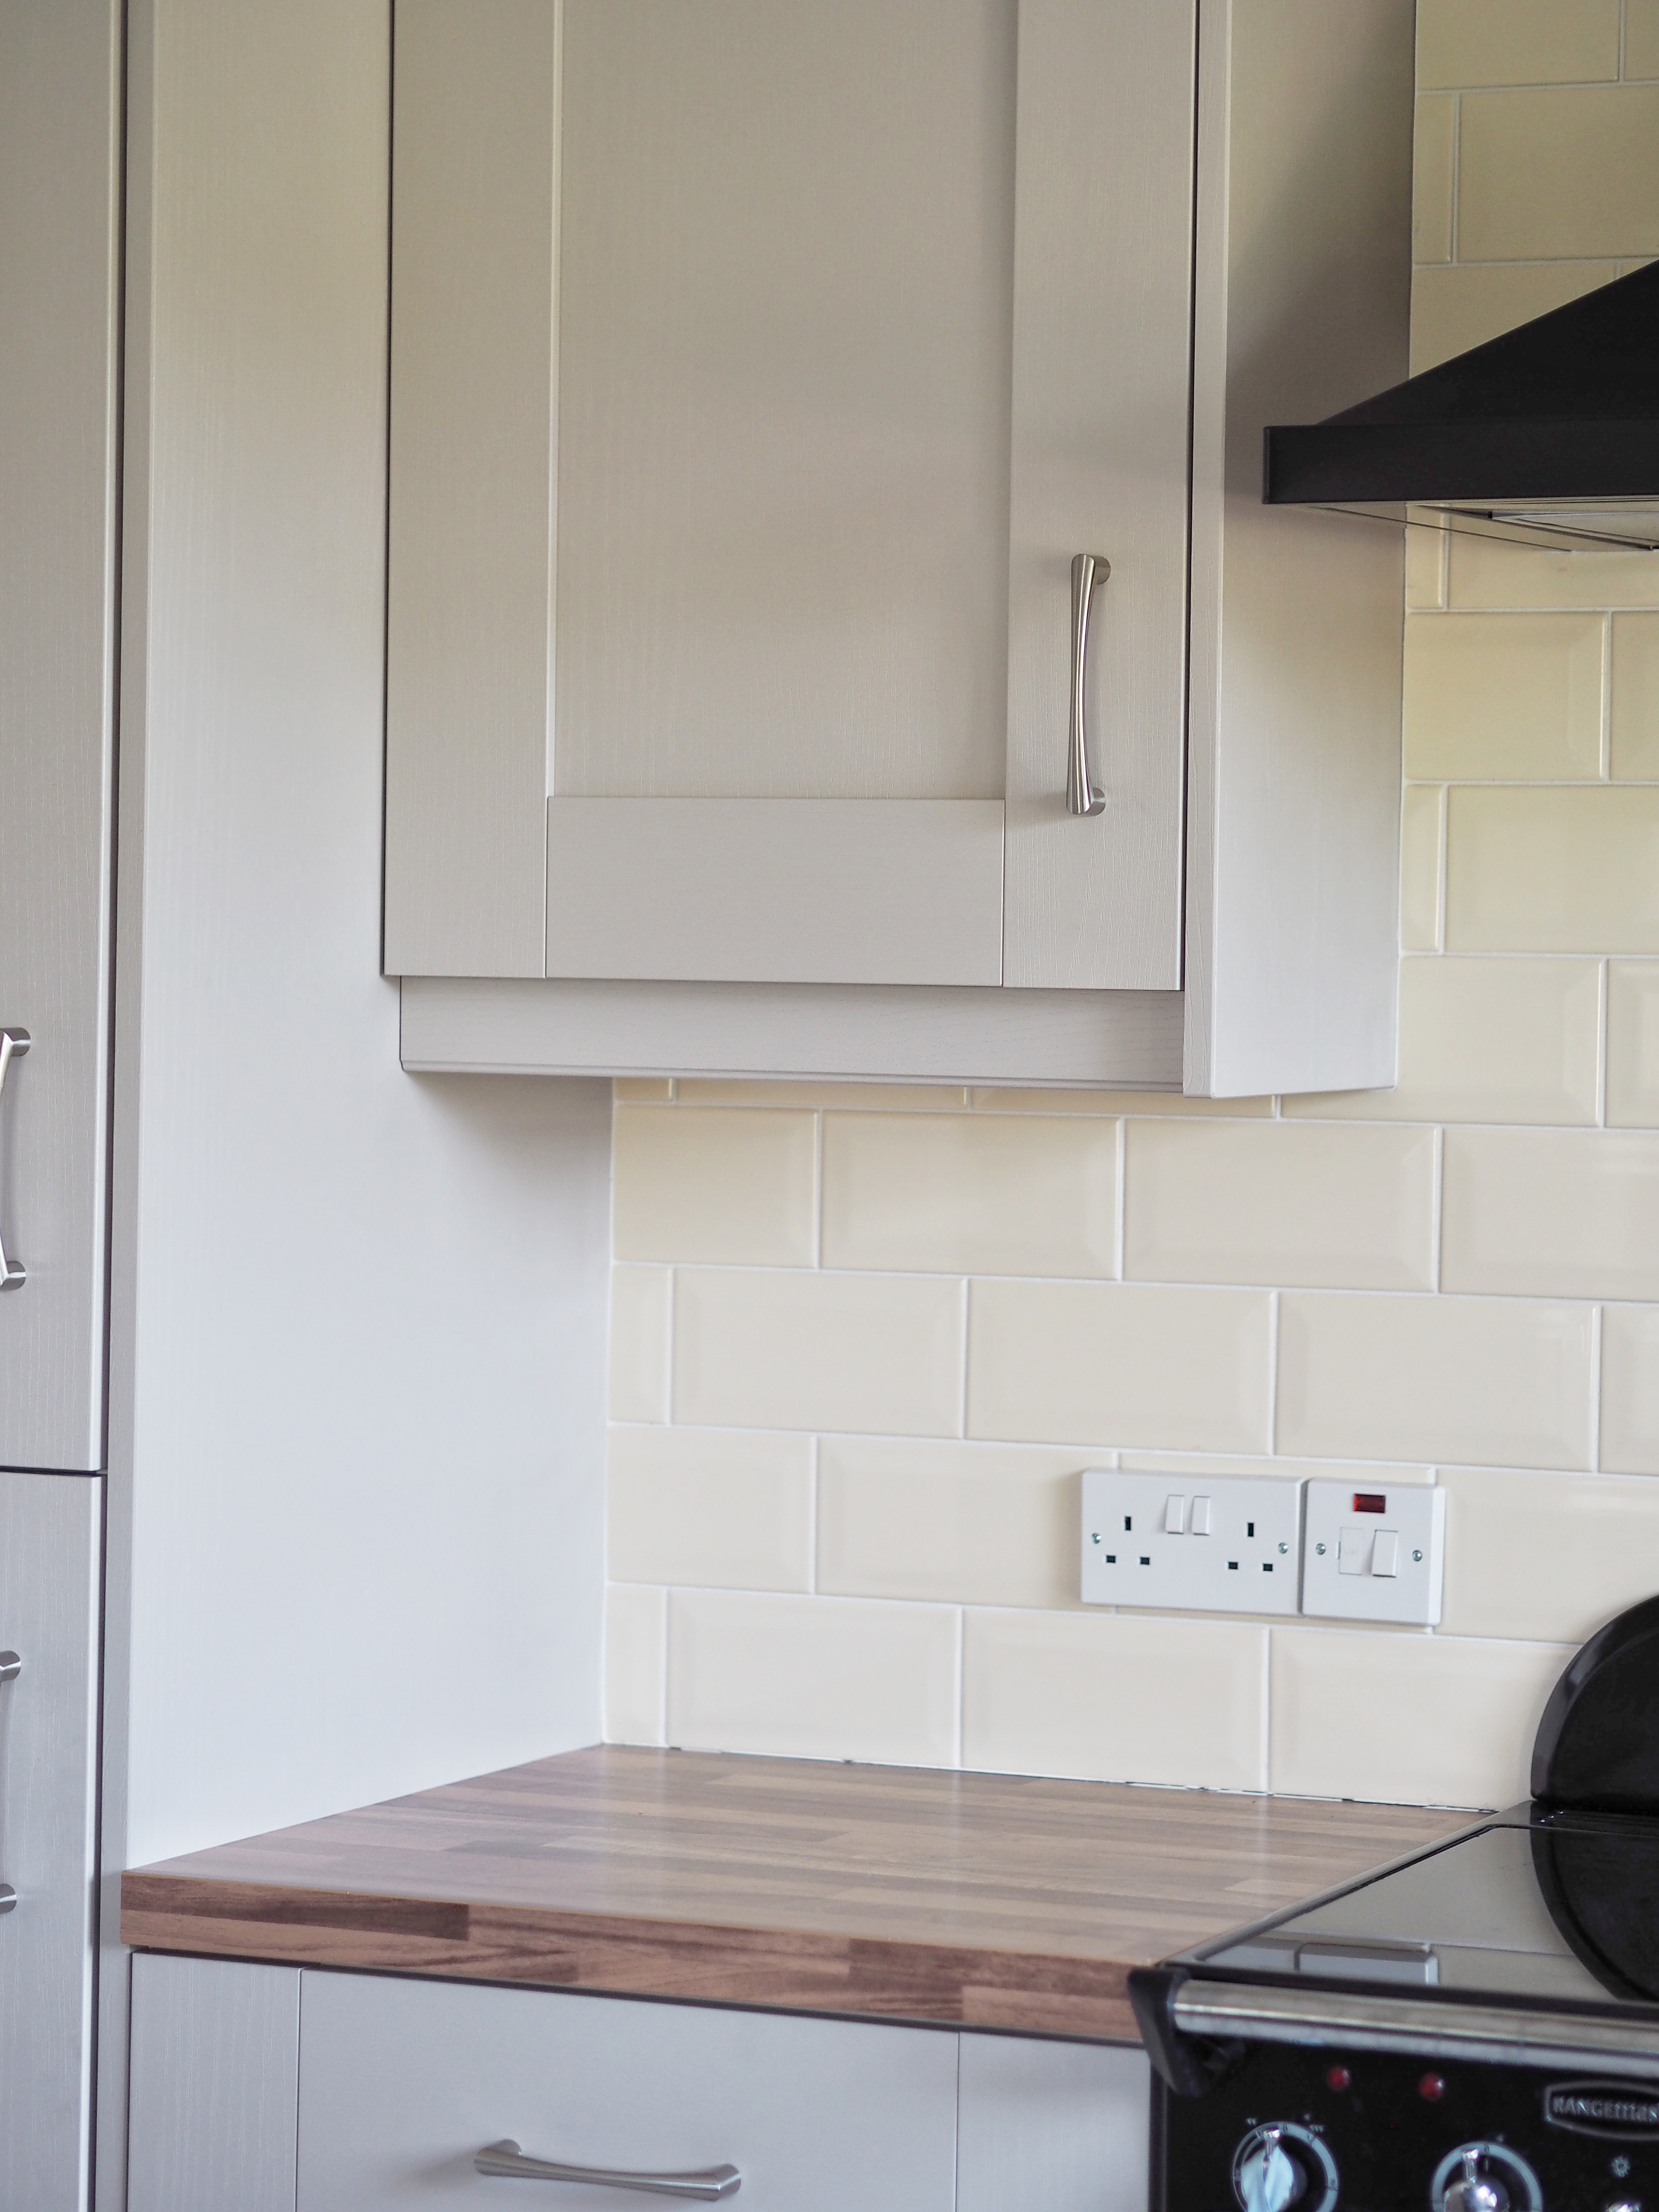
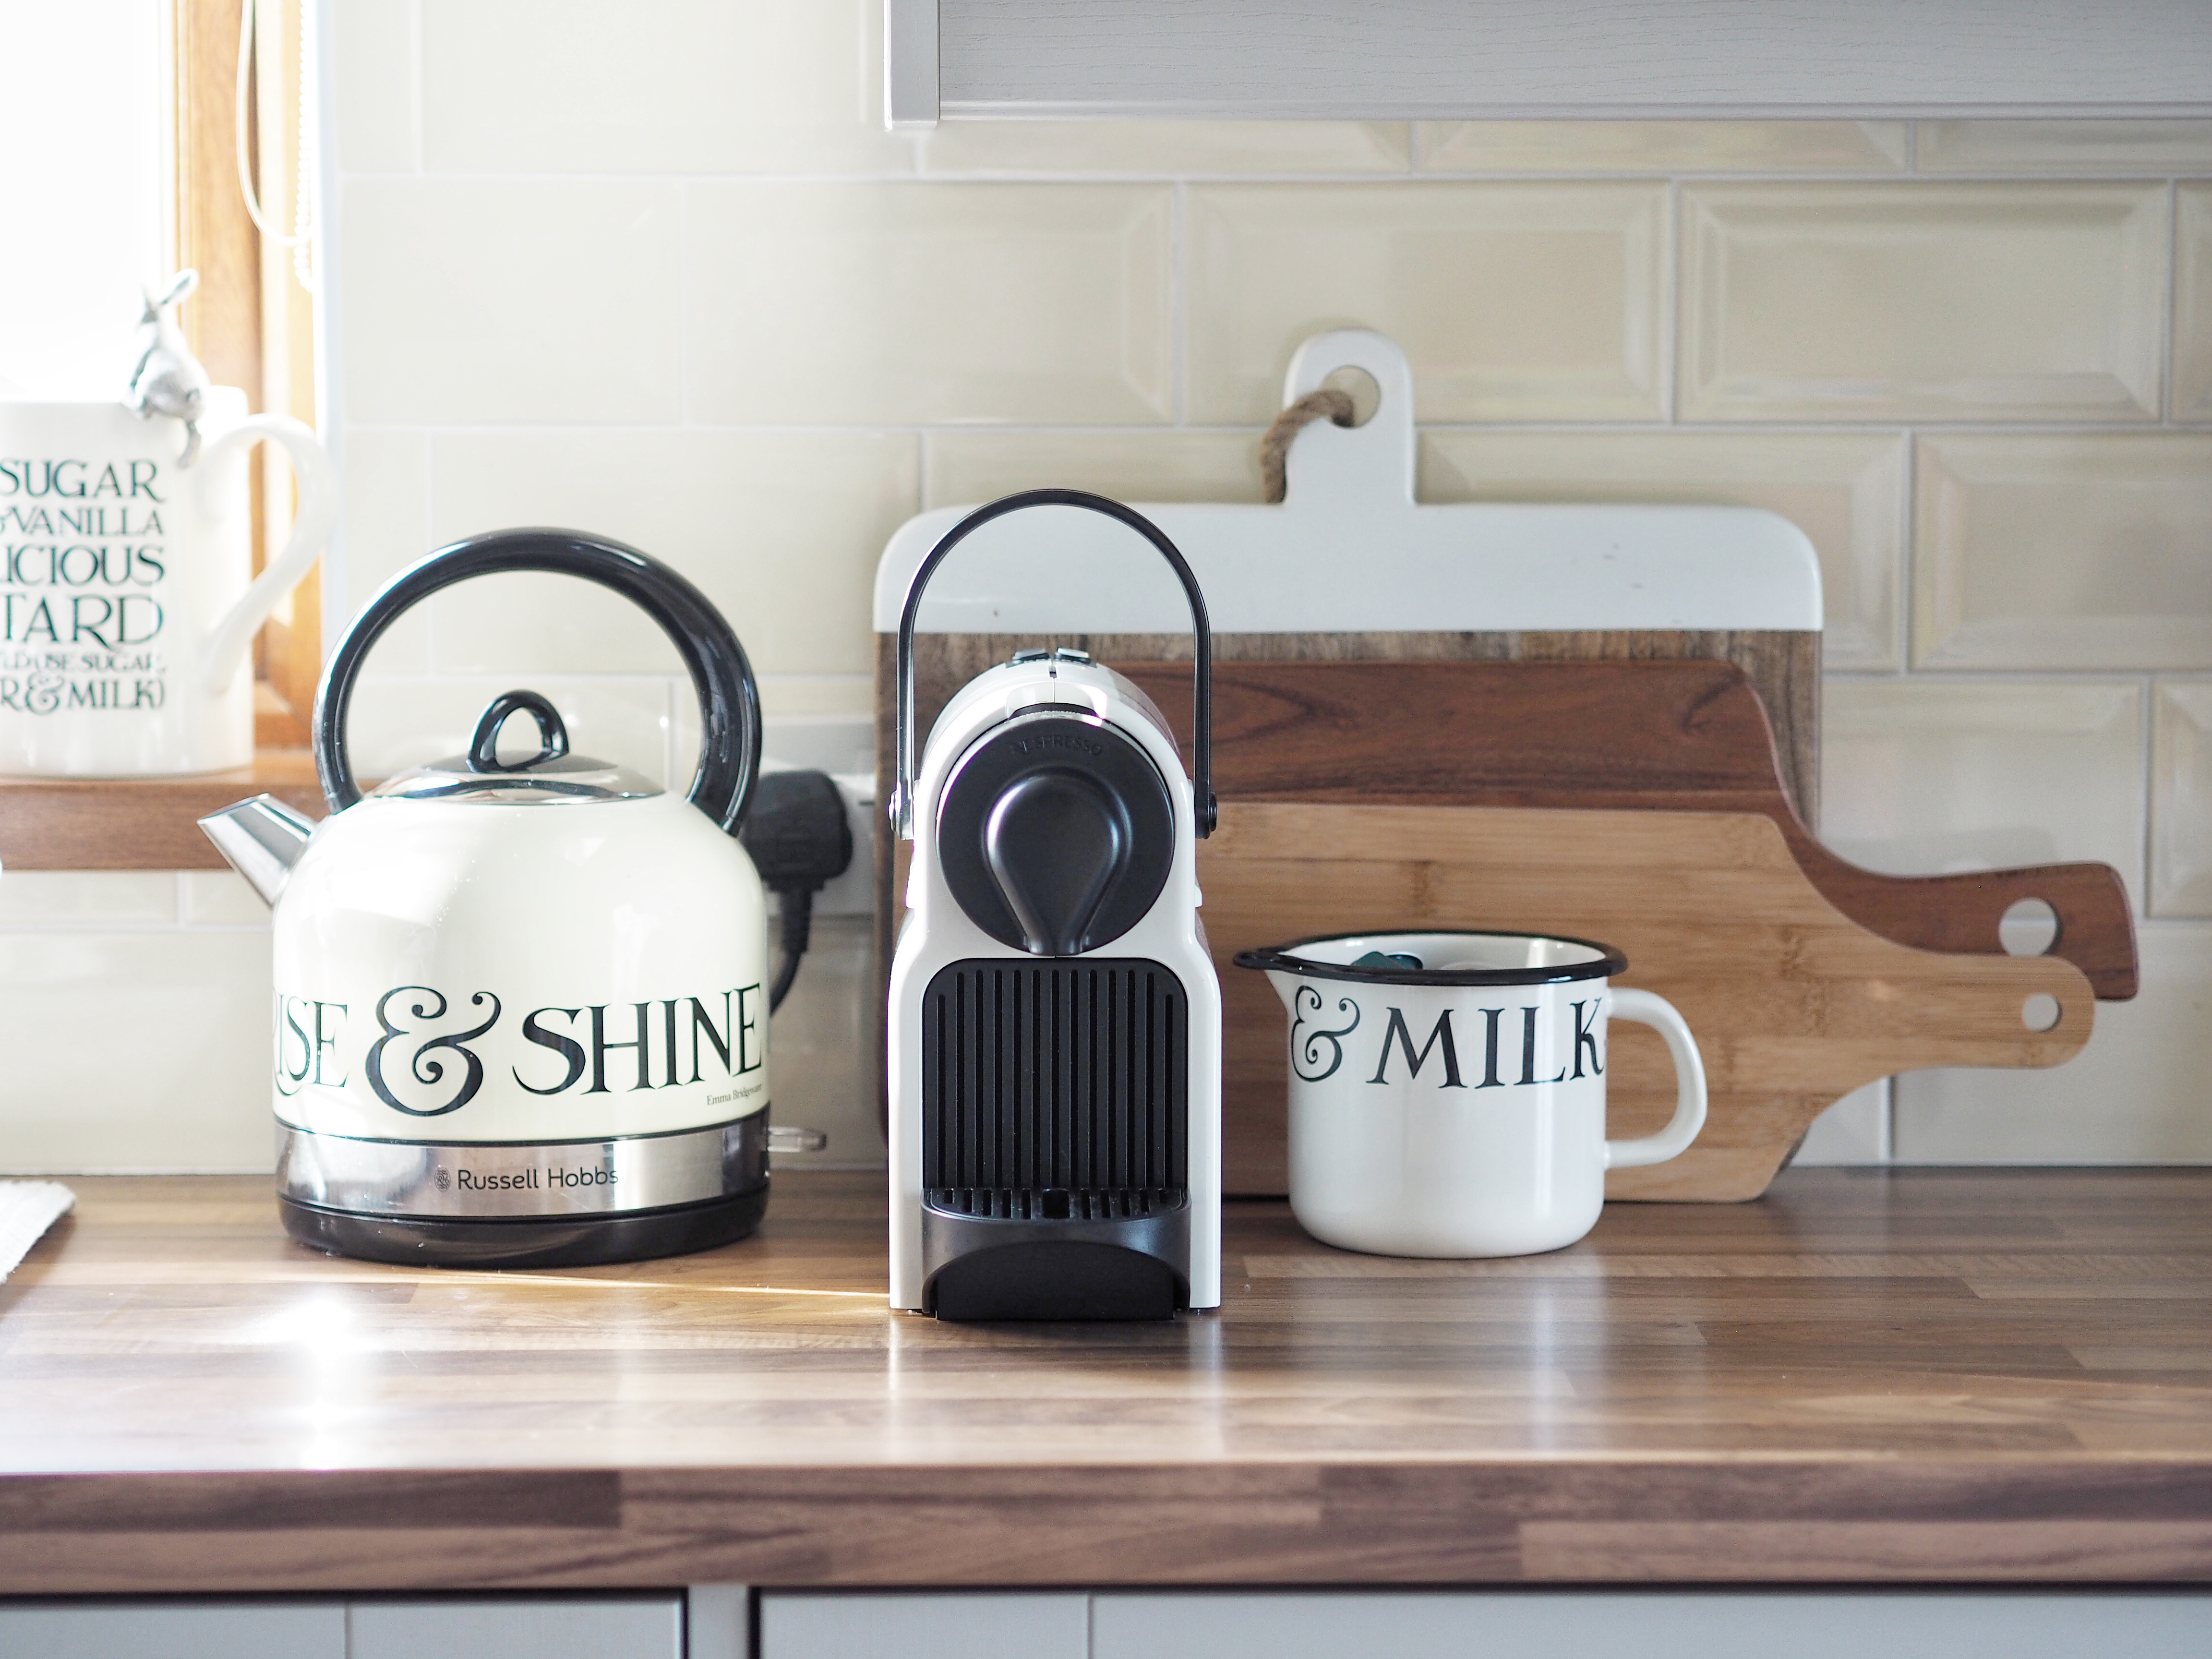
Think about whether the area will be for practical use or simply decorative; or it could be a mix of both! It’s useful to have certain appliances close to particular cupboards eg mugs near the kettle (especially handy on busy mornings!!). Keep this in mind when choosing what appliances you will need in each worktop section. Also most appliances will need plug sockets so give this consideration too!

2. Start with a blank canvas

I always clear the space I am working on before deciding where anything will go. It helps see the full size of the space and will make it easier to experiment with different accessories.

3. Give the area a good clean

Use the opportunity to give the area a good scrub; clean the worktop itself, the wall/ tiles behind and any appliances or accessories you will be using.

4. Think about things you might want to hide

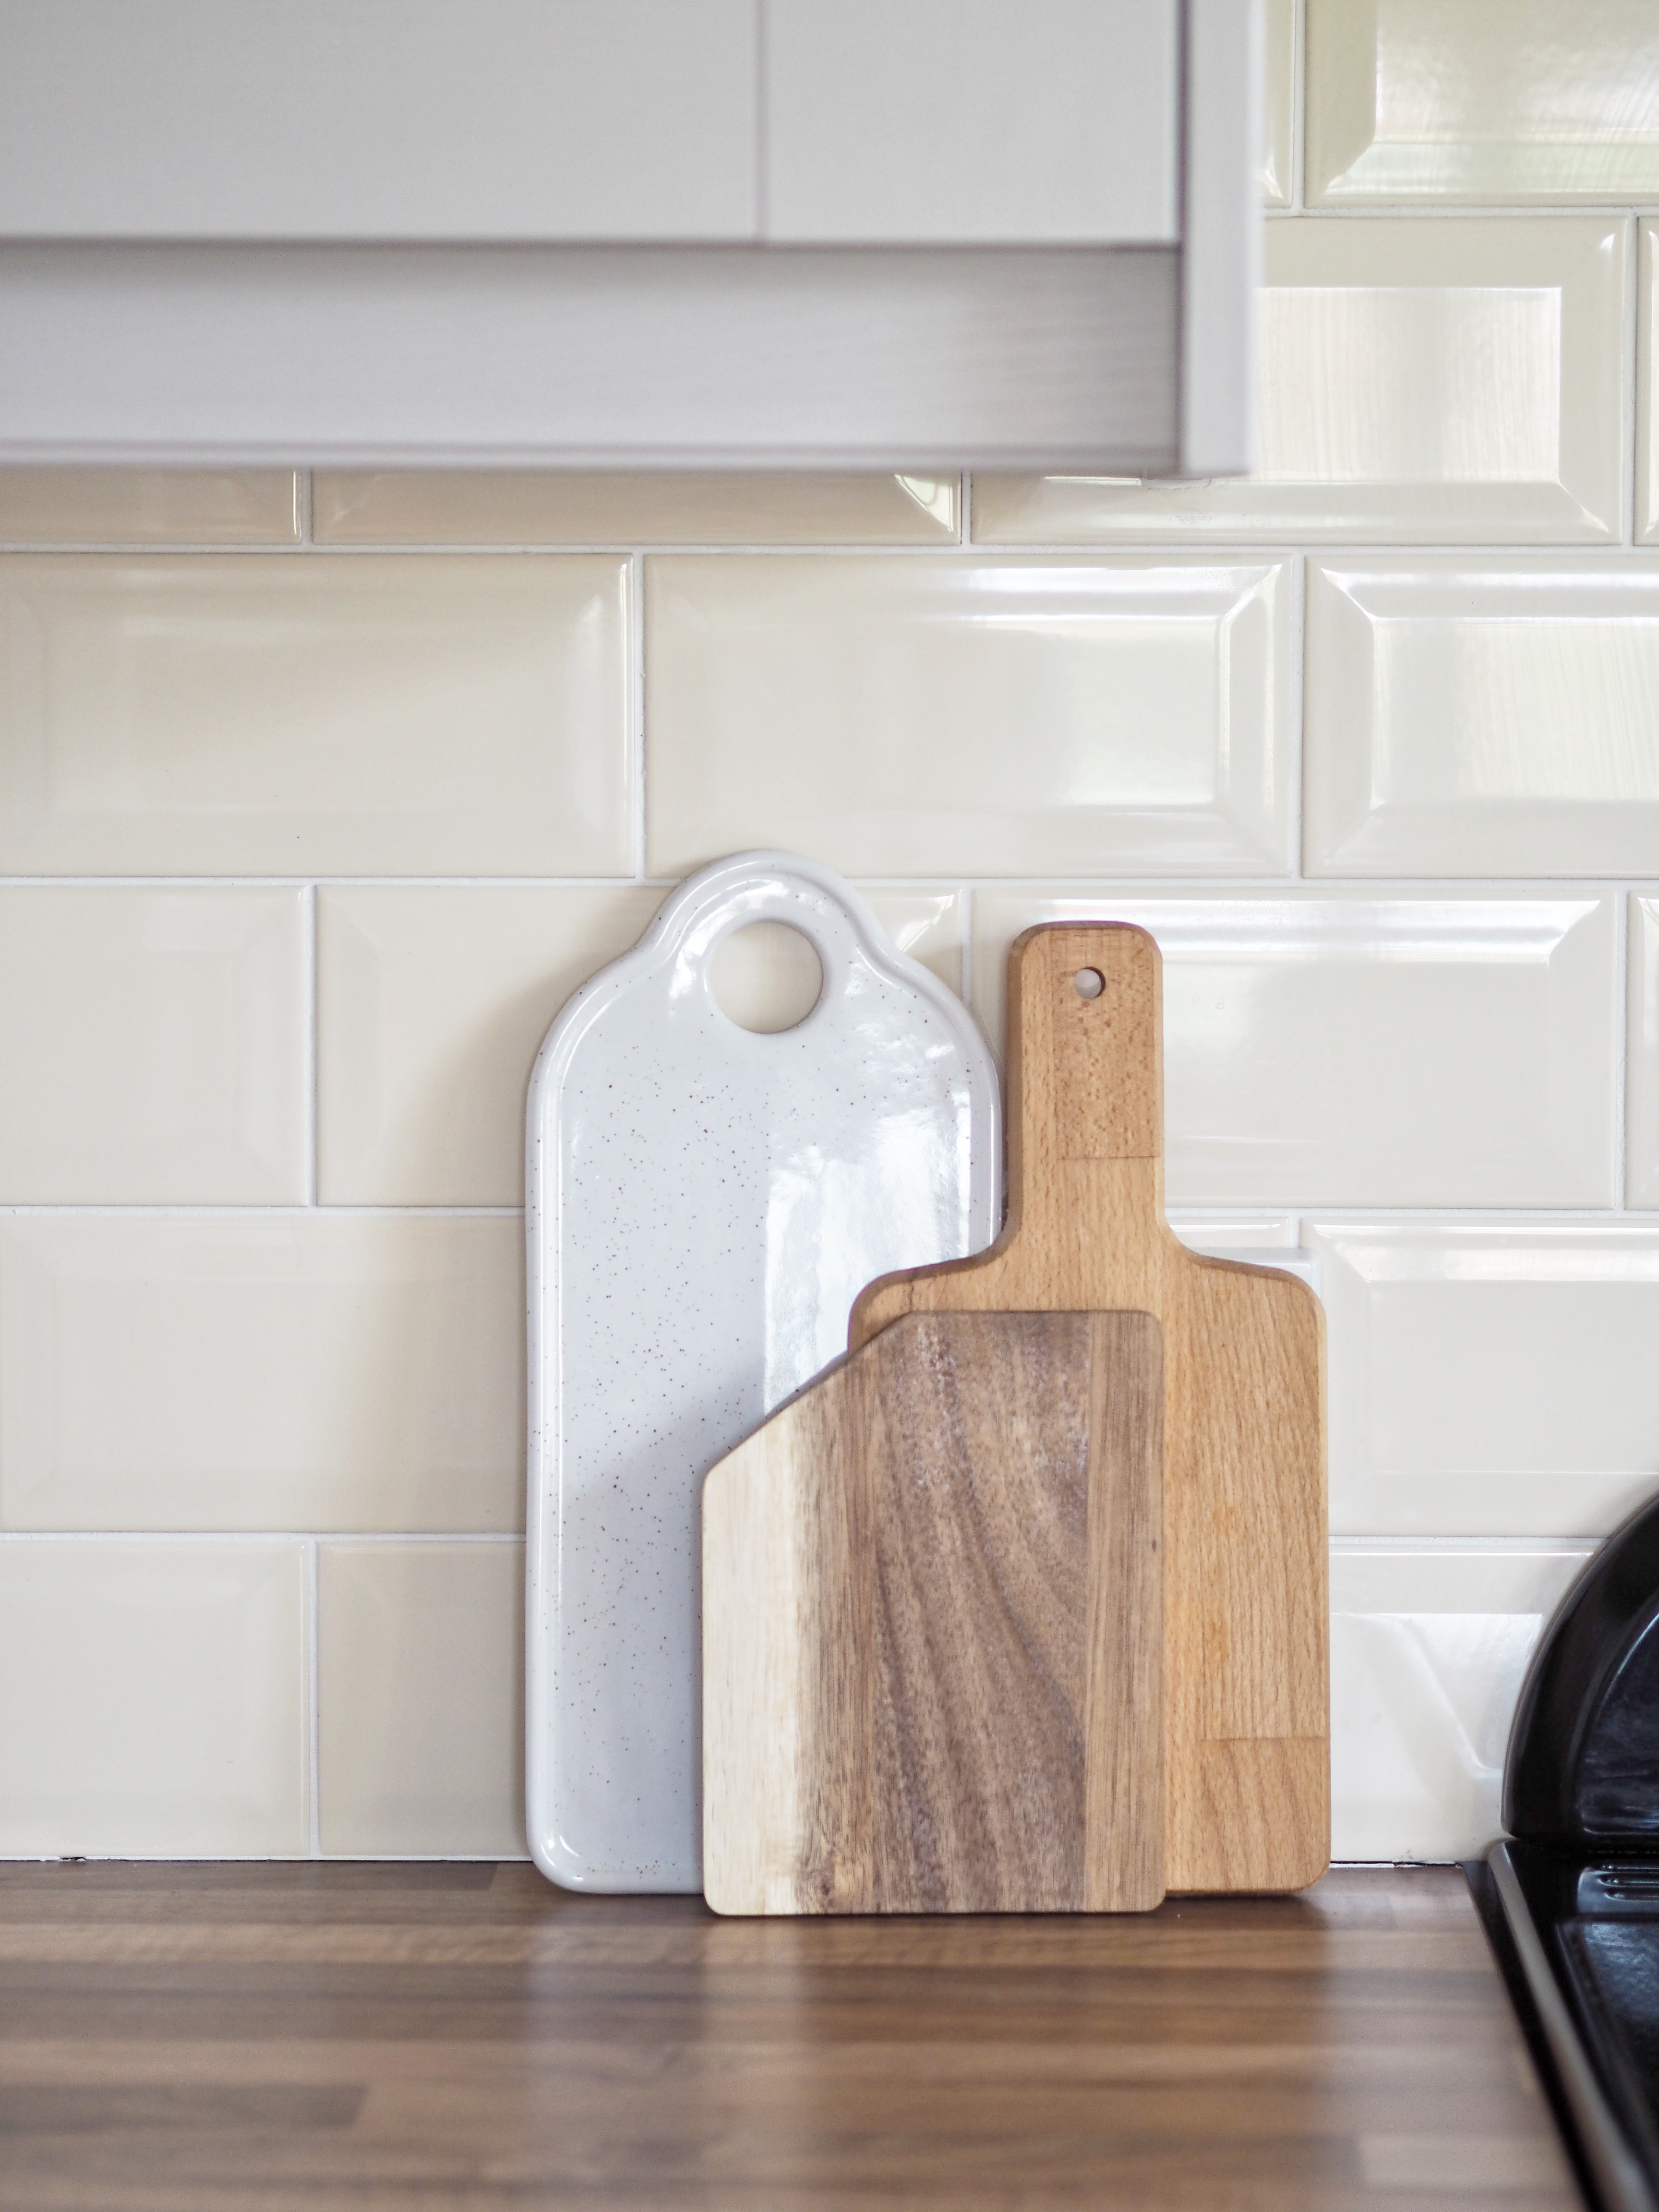
I am not a fan of seeing plug sockets in my kitchen so often use chopping boards, platter plates and framed prints to hide them where i can. I also hide the plugs and leads of appliances using the same techniques.

5. Add height, colour and texture

Setting appliances and accessories on top of chopping boards can help create a feature and add height.

Adding hooks from the cupboards above is a great way to incorporate accessories without taking up counter space.

6. Accessorise, accessorise and accessorise!

The majority of the accessories in my kitchen are Emma Bridgewater, I am a massive fan and enjoy the country kitchen feel they give. Think about mixing colours, textures and sizes when using accessories, adding plants and flowers too.

Have you any great tips on how you style your own kitchen? I’ll love to hear them!

Hope you enjoyed reading, as much as I enjoyed writing!

INTERIORS

Garden Transformation

Hello there!

Well…..hasn’t this post has been a loooooong time coming?! We have been in Rose Cottage over 3 years now and the outside has been left completely untouched. (Apart from my Dad taking the head staggers with the weed killer when they outgrow him!!!)  We have quite a lot of outdoor space and it has been overwhelming for us to know where to start.  A few weeks ago I decided I needed to start somewhere; I didn’t want to let another year go by without doing anything.  Neither the Hubby or I have any skills in the gardening department, but with some guidance from my Dad I got to work!

When my Grandparents lived in Rose Cottage, my Granda would be out pottering about outside everyday rain or shine.  For his 70th Birthday my parents bought him a greenhouse, which Dad constructed outside the backdoor on top of some old reclaimed brick.  This greenhouse stood proudly there until around 2 years ago, when we sent it off to another home to be loved.  From then, like the rest of the outdoors, it was let go wild!

Before:

I started by weeding and clearing the whole area.  This was a hard graft both physically and emotionally; I was finding little pots and gardening tools I remembered my Granda having in the greenhouse, so it was bringing lots of memories back.  This made me annoyed at myself for letting it get so out of hand, but it also made me more determined to make it a space which he would be proud of.

After it was cleared, I put down some heavy plastic both inside and outside the bricked area to keep the weeds at bay; then white stones inside and large bark on the outside.  I added some slim wooden posts to the fencing and attached solar powered festoon lights on top from B&M.

I wanted to put all the plants in pots as my track record at keeping them alive is not good! (Means I can replace them when needed!) I am also a massive fan of faffing, so can easily move them about as often as I like!!

All the pots and plants were picked up from Home Bargains, B&M, TKMaxx and B&Q.

The table and chairs are from Argos and linked here (its currently on offer too!)

Solar powered lanterns are from B&M.

OLYMPUS DIGITAL CAMERA

I cannot believe I have such a nice outdoor space now to enjoy!  It was such hard work, but boy was it worth it!  Now to sort out the rest!!!

OLYMPUS DIGITAL CAMERA

If you have any questions as always please get in touch.

Hope you enjoyed reading, as much as I enjoyed writing!

Jill


blog

Master Bedroom

Hello again!

I have finished another room! – Yipeee!

When tackling the master bedroom, I had a few things in mind.  I wanted it to be a tranquil space where hubby and I could go to switch off from the hustle and bustle of the day.  I didn’t want the walls to be cluttered with fussy wallpaper and floral canvases but everything to have a plain and clean look.  As new parents I felt it was important our bedroom was a place of sanctuary away from the brightly coloured toys which play nursery tunes on repeat all day everyday!   I wanted this to be the room in the house where I could completely relax and enjoy some well deserved ‘me’ time.

OLYMPUS DIGITAL CAMERA

The paint colour in our bedroom is the same colour as the rest of the house.  When thinking about moving into Rose Cottage I didn’t want the hassle or to spend the time deliberating over paint colour for each room individually so I just painted the whole house in magnolia!  I done the same with the carpet and carpeted the whole house the same.  I know to some of you this sounds incredibly uncreative and boring, but to me it creates a flow throughout the house which I love.  I find these neutral colours to be warm and inviting as well as being able to easily match accessories to.

OLYMPUS DIGITAL CAMERA


Bed – http://creations-interiors.com/?page_id=77&cat_id=34&product_id=845

Bedding –http://www.bedeckhome.com/sanderson-fabienne-bedding-silver.html#

Bedside Table – http://www.ikea.com/gb/en/products/tables/coffee-side-tables/maryd-tray-table-grey-art-90292725/

Lamp – http://www.ikea.com/gb/en/products/lighting/table-lamps/årstid-table-lamp-nickel-plated-white-art-00280637/

Stars – http://www.thewhitelighthousefurniture.co.uk/accessories/stars-set-grey.htm

OLYMPUS DIGITAL CAMERA

Light Up Heart – B&M

Prints – http://www.notonthehighstreet.com/themotivatedtype/product/nap-queen-typography-print

Frames – TKMaxx

These 2 pieces of furniture were both up cycling projects – they were both dark wood and I painted with Annie Sloan Old White.

Cushions – H&M Sale

Hello Beautiful Banner – https://www.frenchgreylifestyle.co.uk/collections/all

OLYMPUS DIGITAL CAMERA


Curtains – http://www.bedeckhome.com/sanderson-fabienne-bedding-silver.html

Heart – http://www.dunelm.com/product/chalk-rustic-hanging-heart-1000043859?searchTerm=hanging%20heart

Chandelier – http://www.argos.co.uk/product/4324005

OLYMPUS DIGITAL CAMERA

These photos are from our wedding – I got them printed in black and white from Photobox and put them into Ikea frames.  Simple but effective I think!

OLYMPUS DIGITAL CAMERA

Hope you enjoy reading as much as I enjoy writing!

Jill