
Hello there!
Now that we have lots of time in the house, what better way to fill your time than getting on with some DIY?! (Hubby’s round the country now regretting all those jobs they said they would do when they have some spare time!!!) We are finally getting round to the bedroom makeover which is slowly coming together; I’ve had to scale down the plans a little due to not being out and about – which Ash is delighted with!
As with any room makeover in Rose Cottage I spend hours on Pinterest, pinning all the inspo and images I love. Then I look for themes and ideas which reoccur and stick with those. Panelling was something which kept coming up again and again. I have already tackled some DIY panelling previously in the bathroom (you can see that here ) so was confident in giving it a go again myself.
Here’s a simple step by step guide on how I created one wall of panelling in our bedroom:
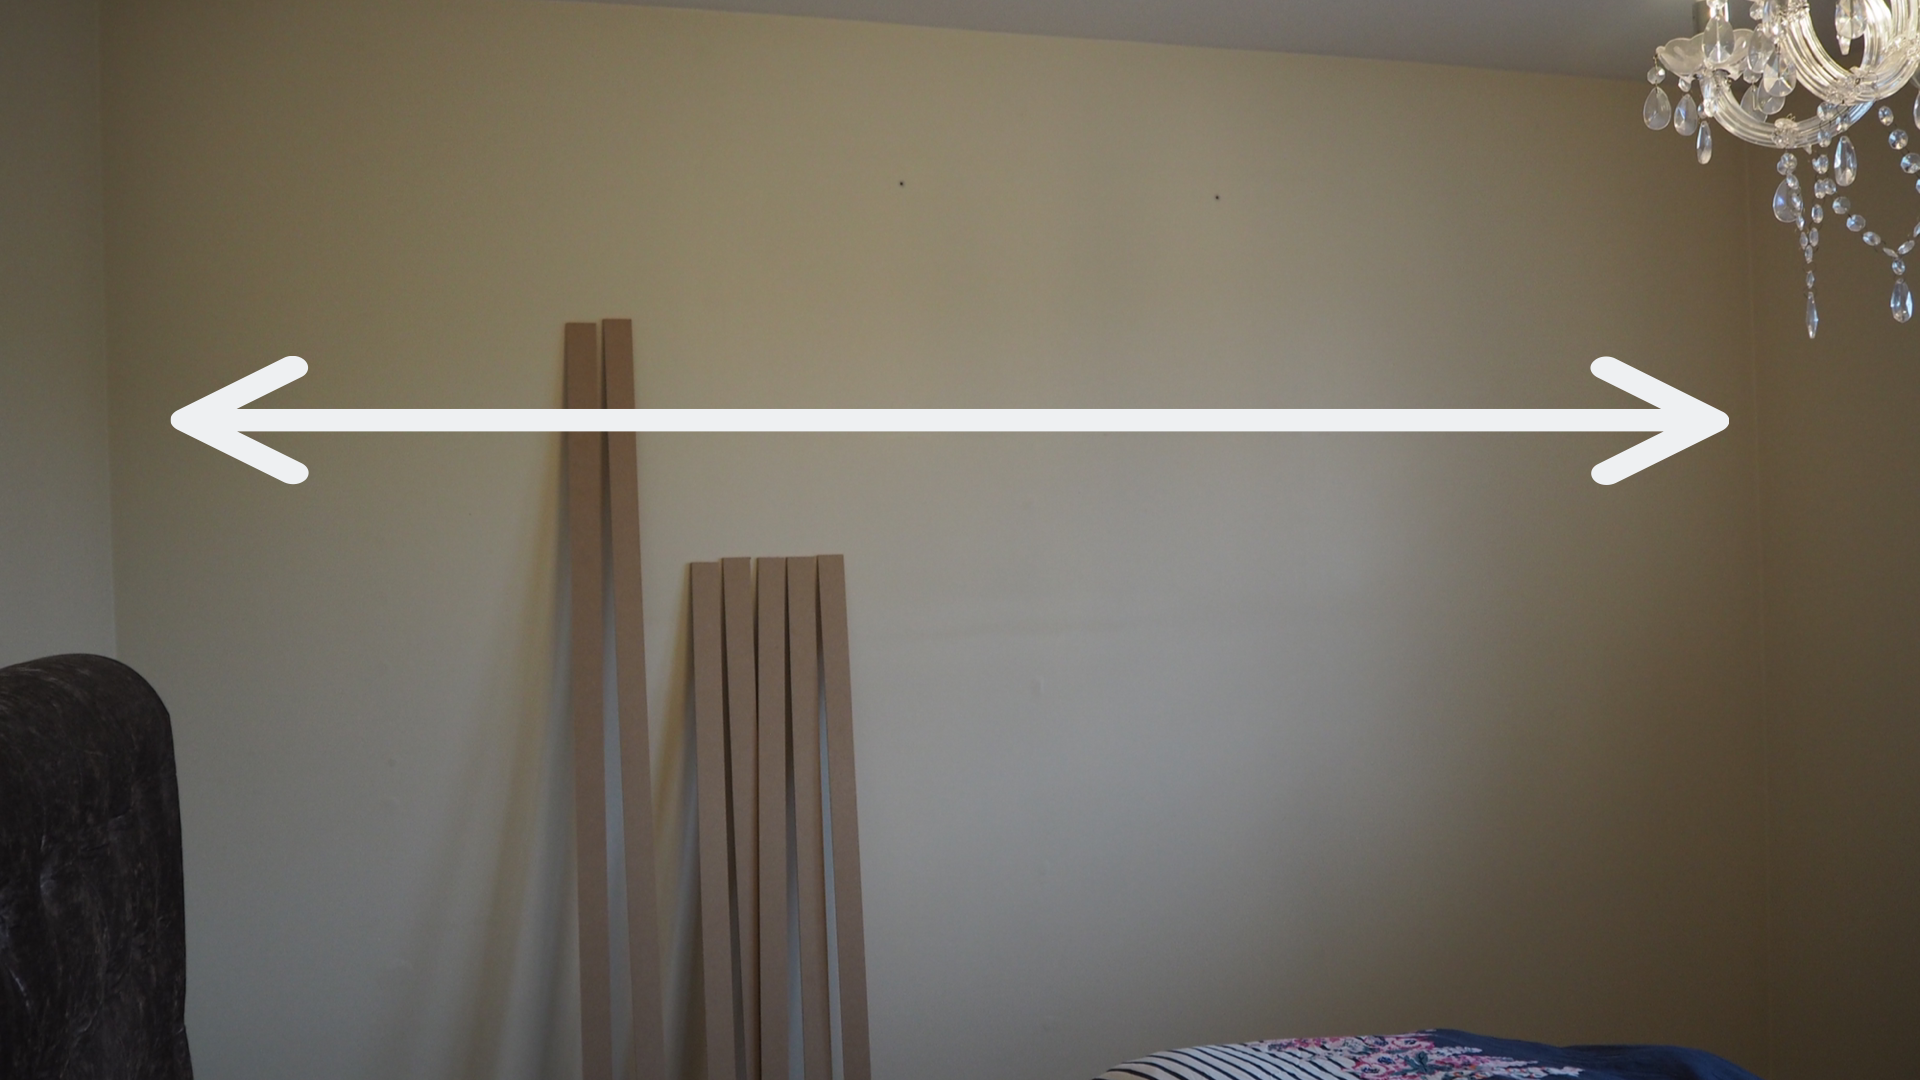
First, I measured the whole wall horizontally. It was 338cm.
 I then marked the wall at the height I wanted the panelling to be (I went for the panelling look which goes roughly 3/4 up the wall). This was 140cm.

I decided I would like 6 panels across my wall so to work out the distance between each panel I divided the length of the wall by 6. So 338 divided by 6 which equalled 56.
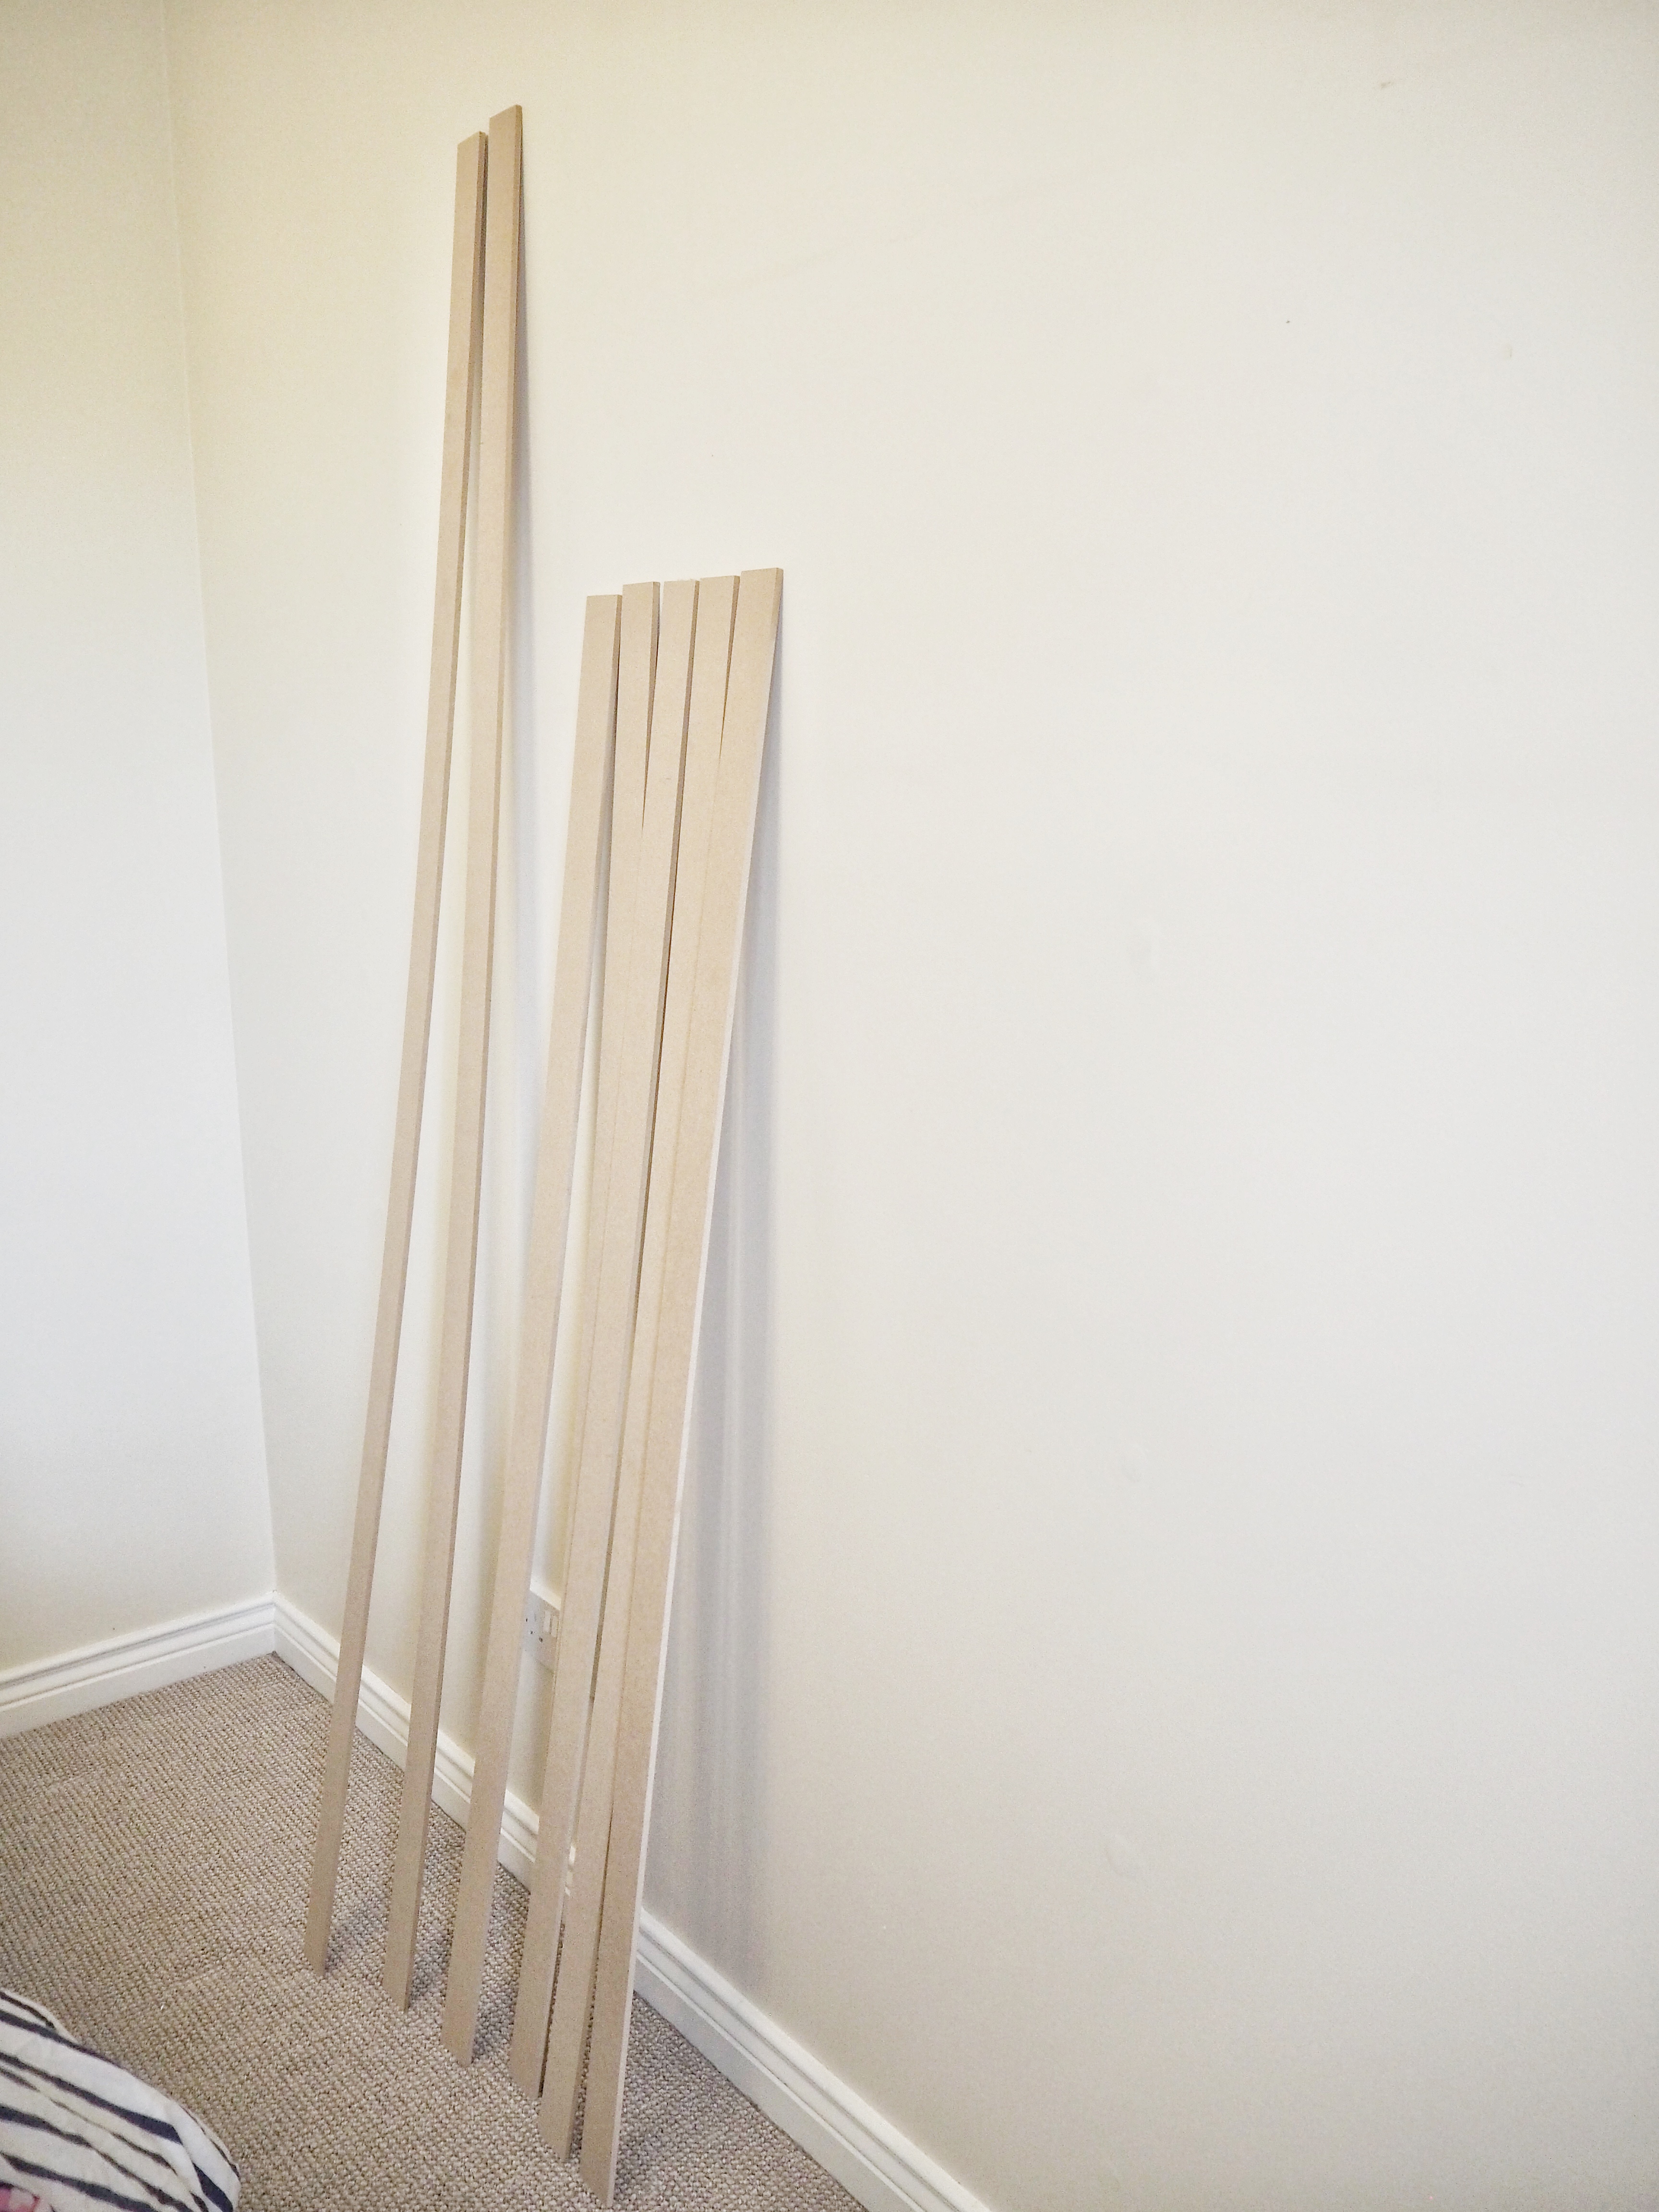
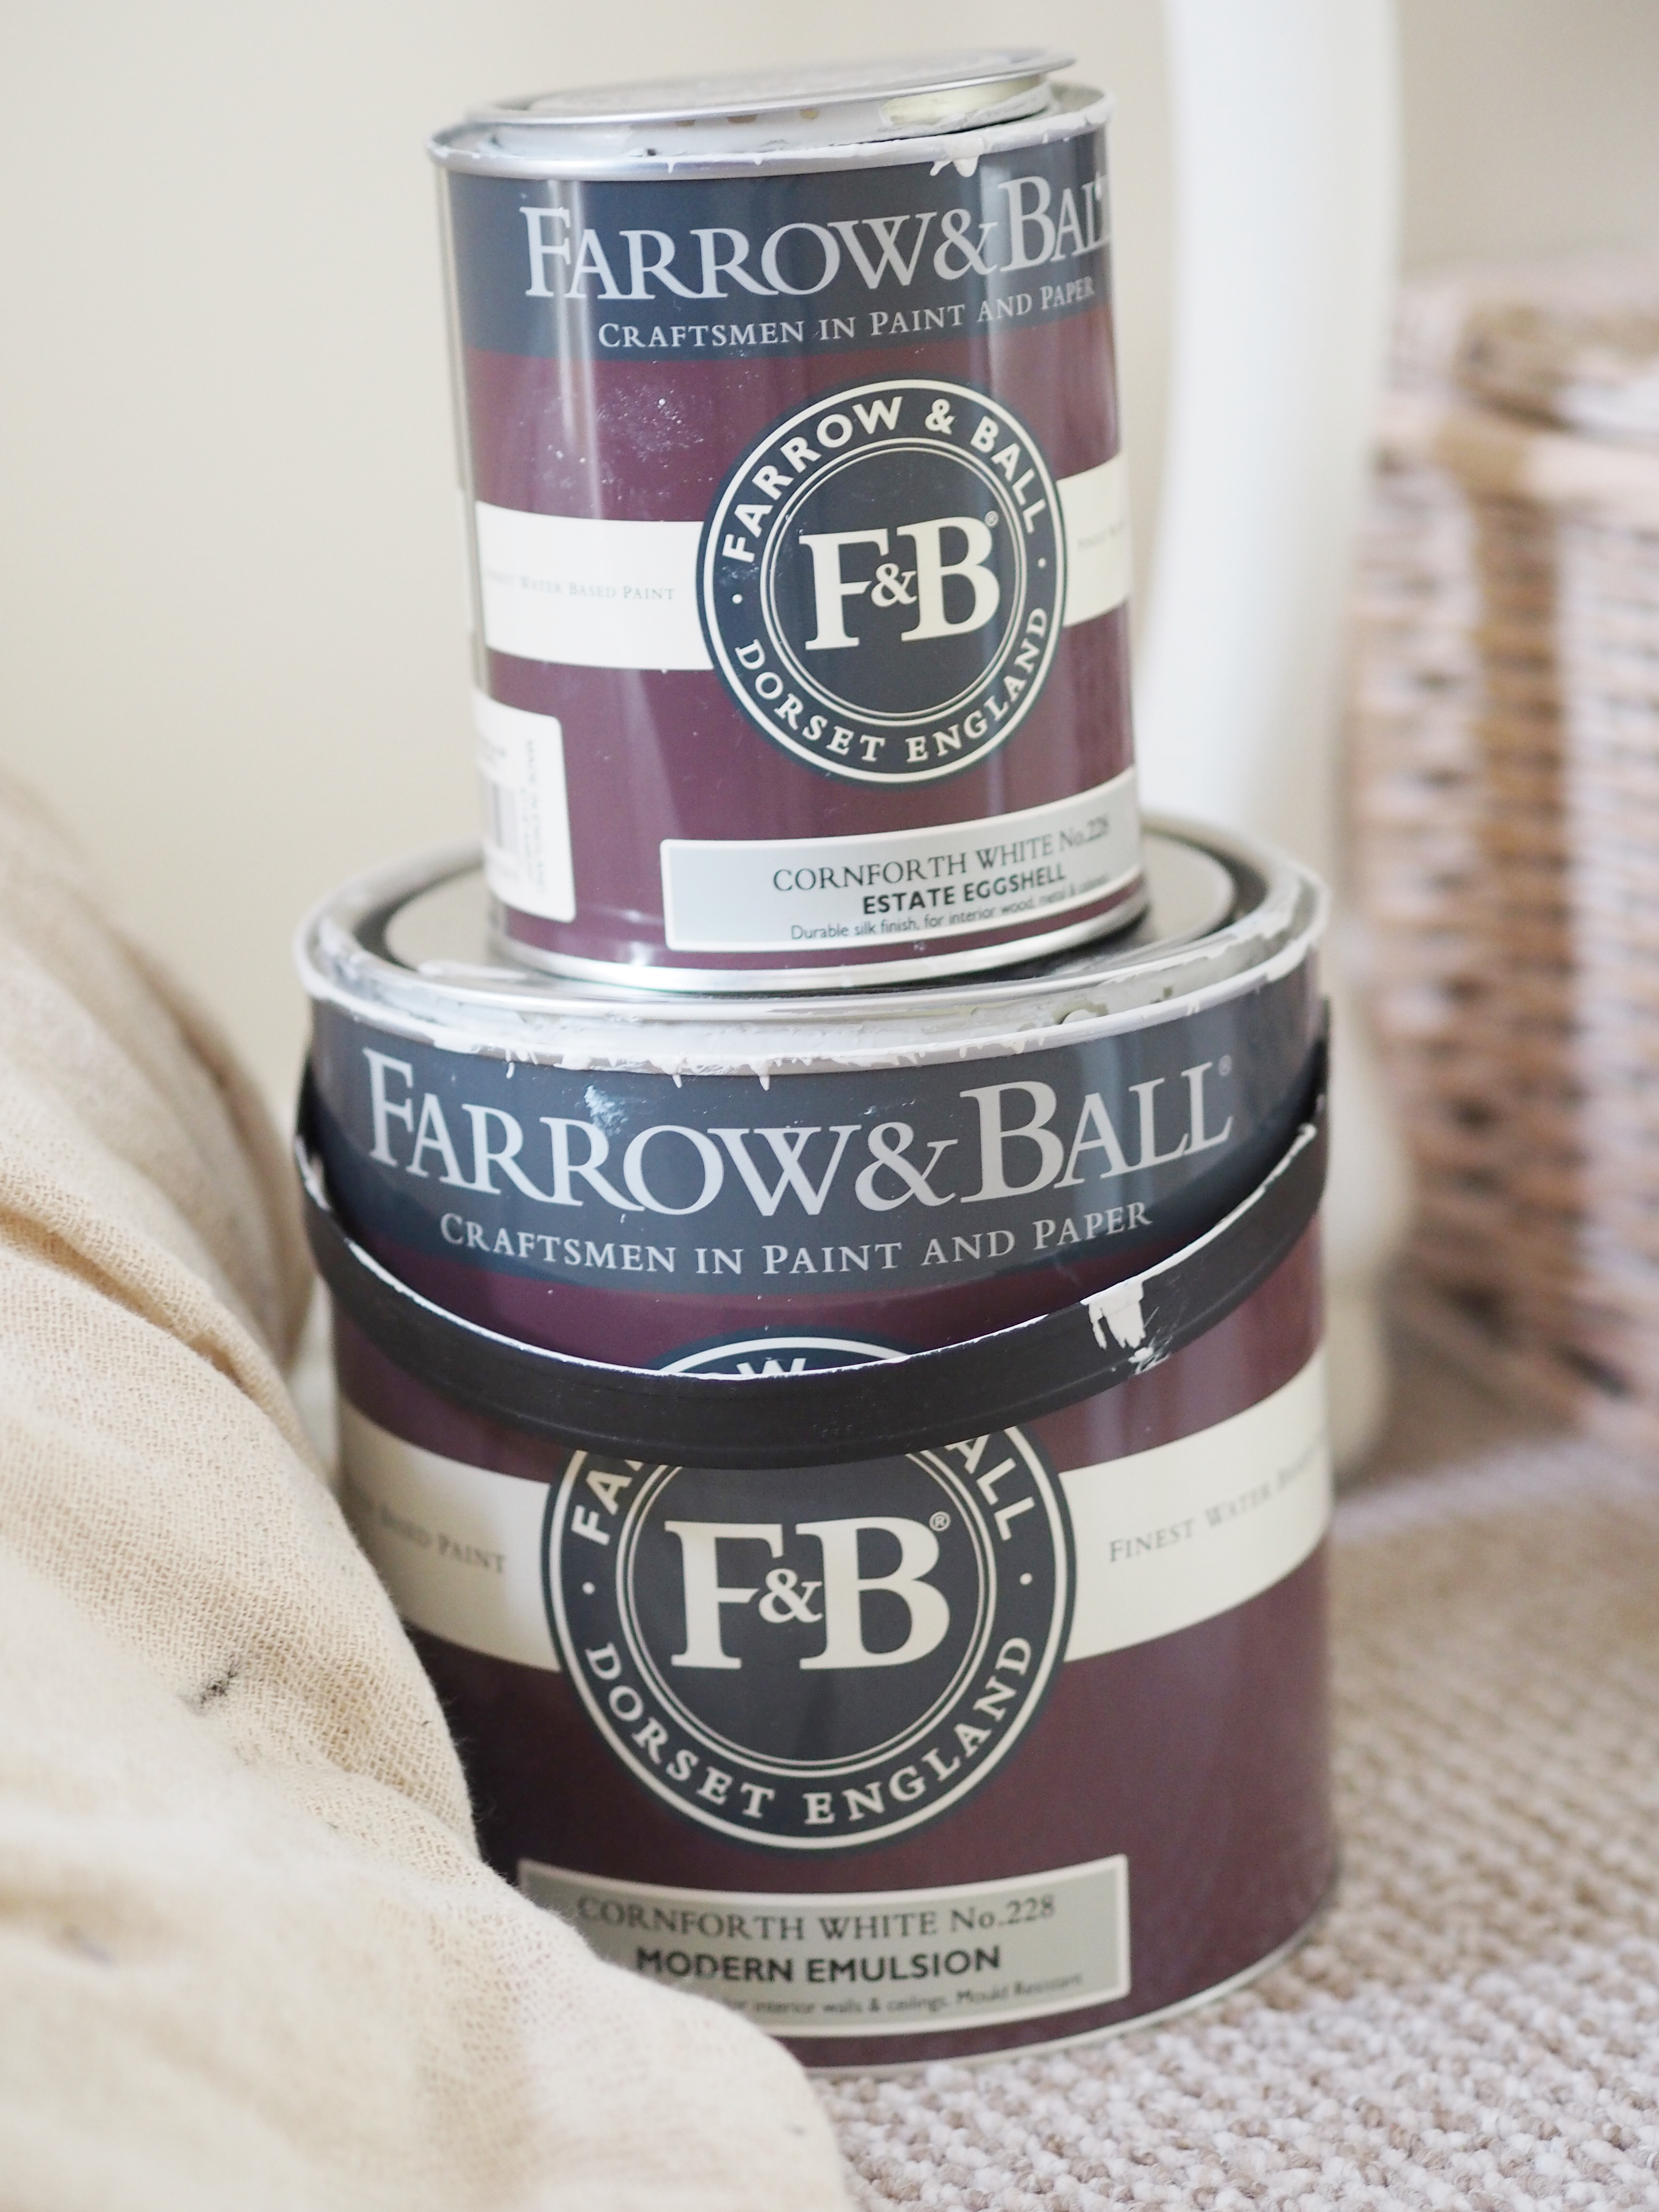
The wood I chose was 6mm thick MDF which I bought from B&Q. They have a fab service instore where they cut a large MDF board into any length you would like!
To make my panelling I needed:
1 piece 338cm x 5cm (this was made up from 2 pieces)
5 pieces 140cm x 5cm
The total of this was £10.20! Total bargain don’t you think?!
I marked the wall the whole way along at 56cm intervals on the top of the skirting board and 140cm up the wall; This was to help me place the vertical strips as straight as possible. I used no more nails to attach the strips of wood onto the wall – this was so simple to do, I didn’t need any help at all! So if I can do it, you can too!

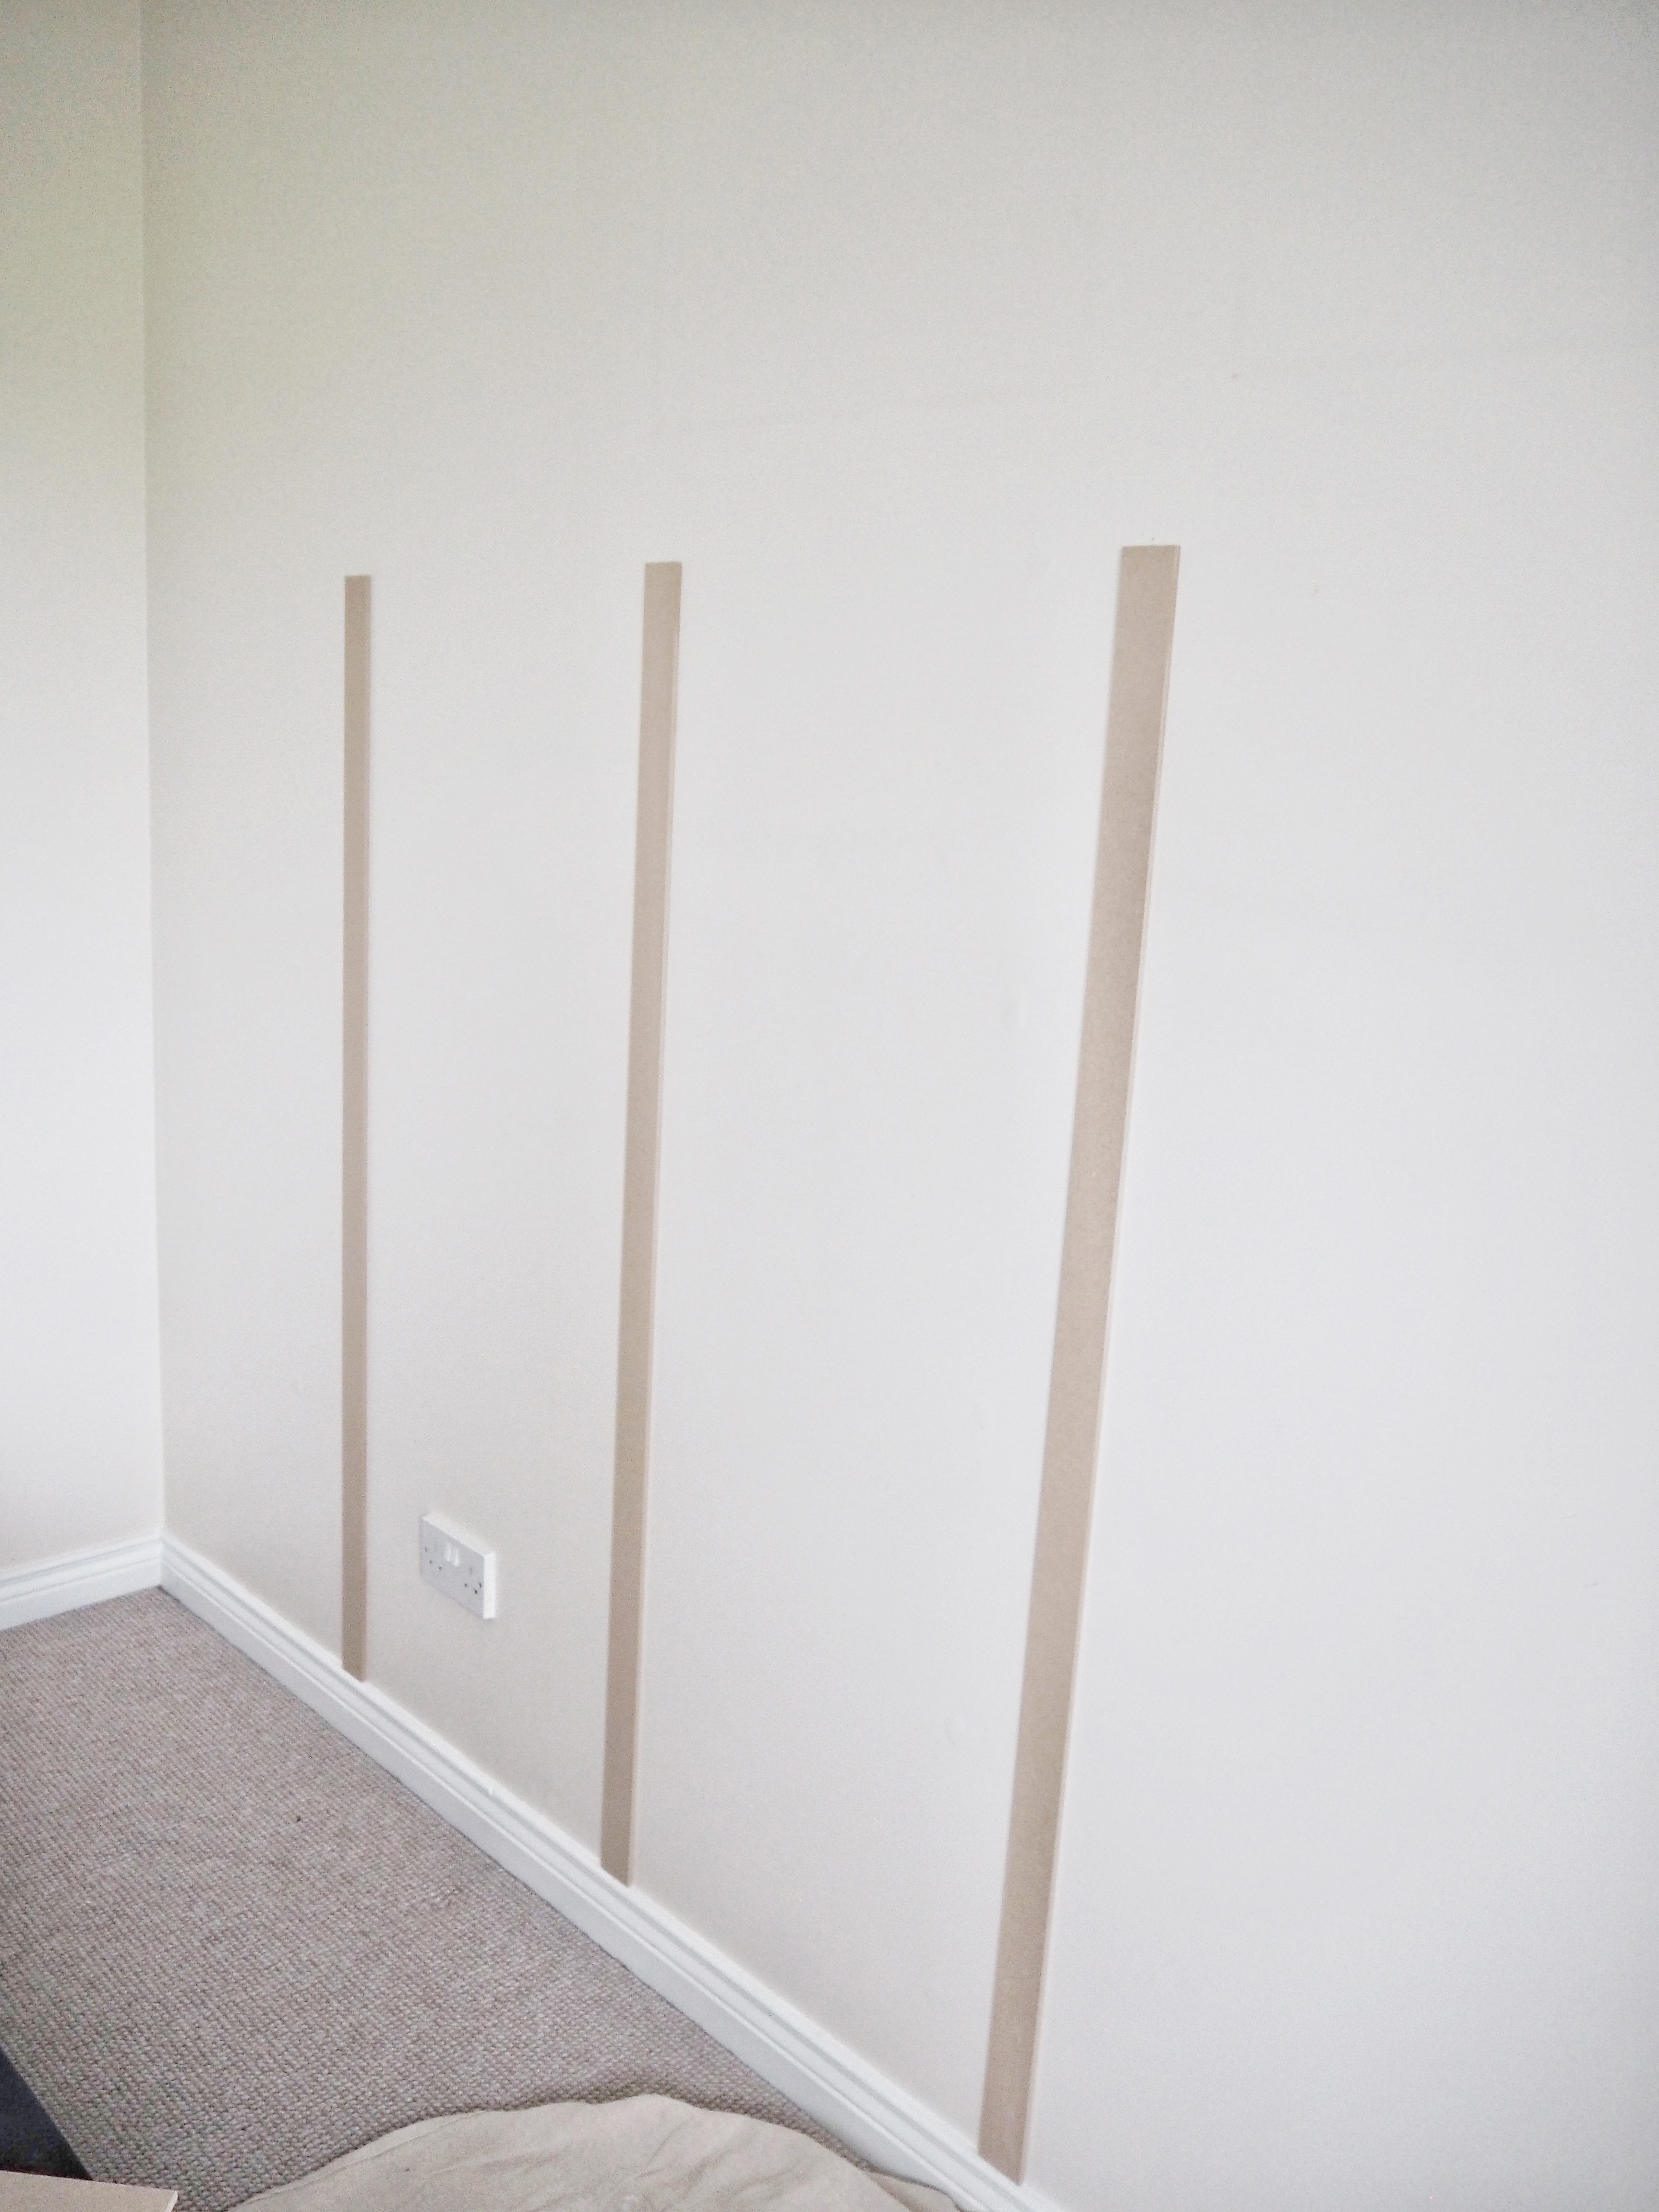
Once I had attached all the vertical pieces of wood, I placed the horizontal pieces on top.
 I used some filler to cover the joins.
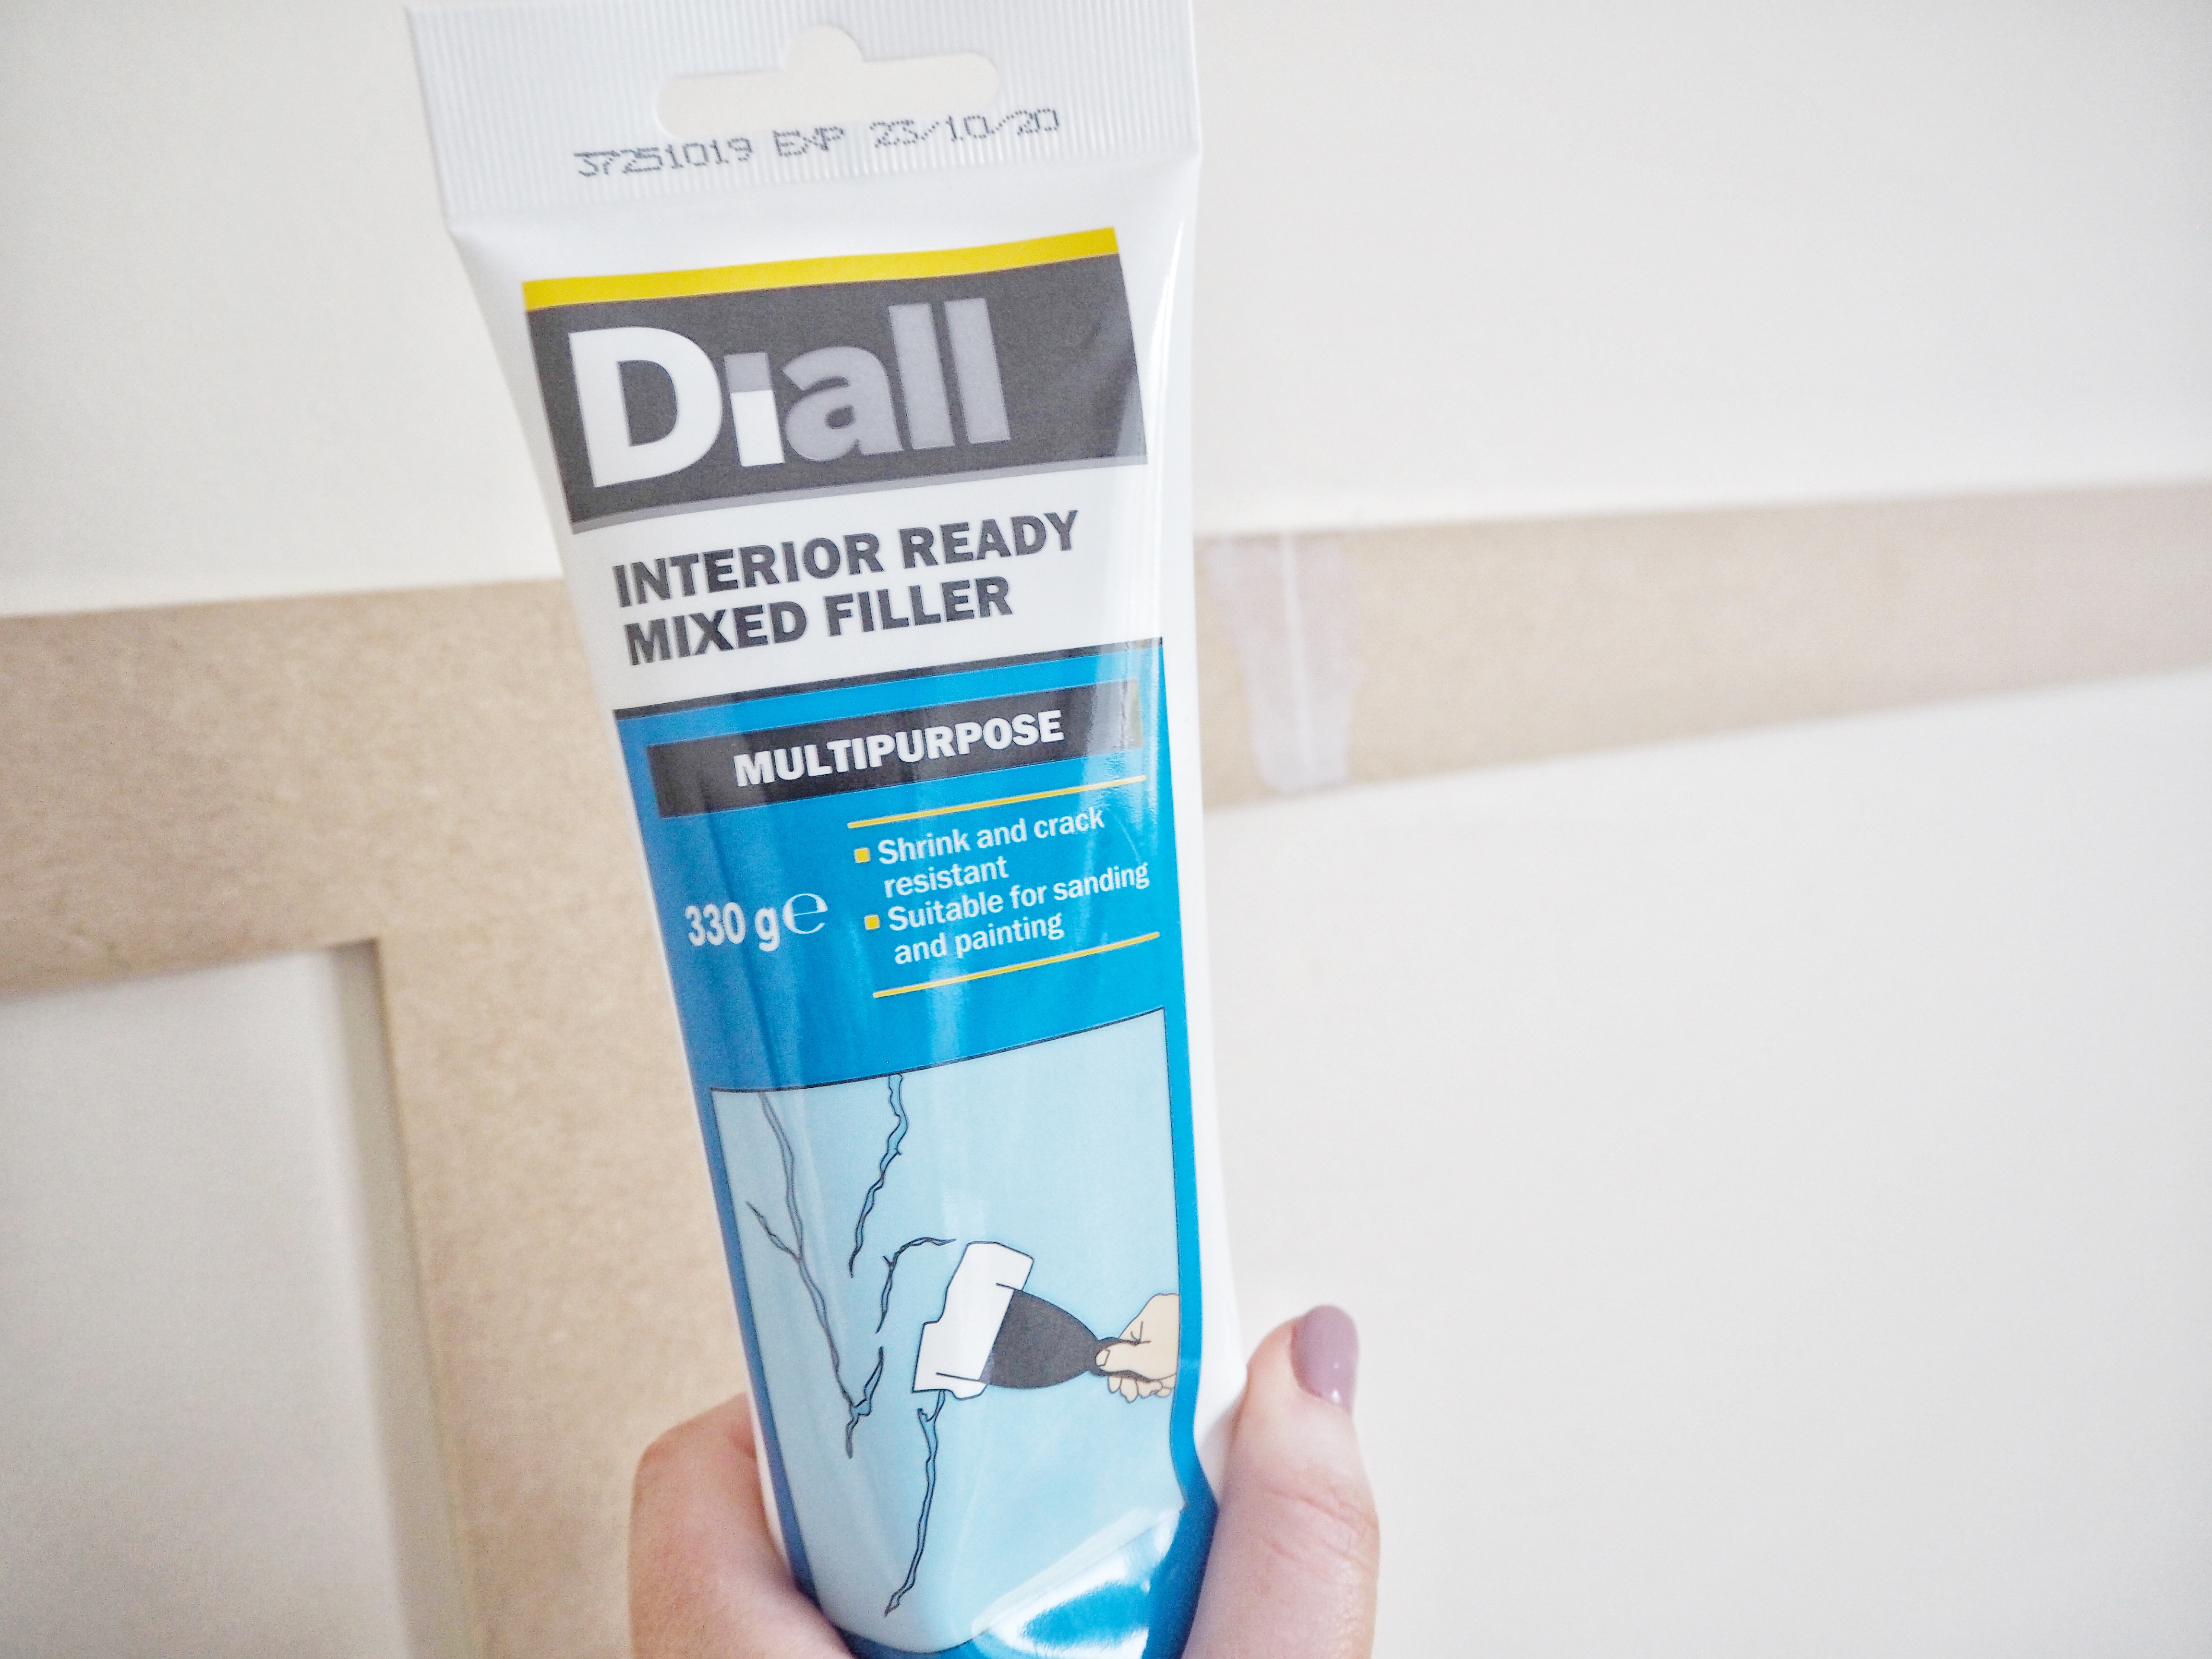

Then painted! As simple as that!
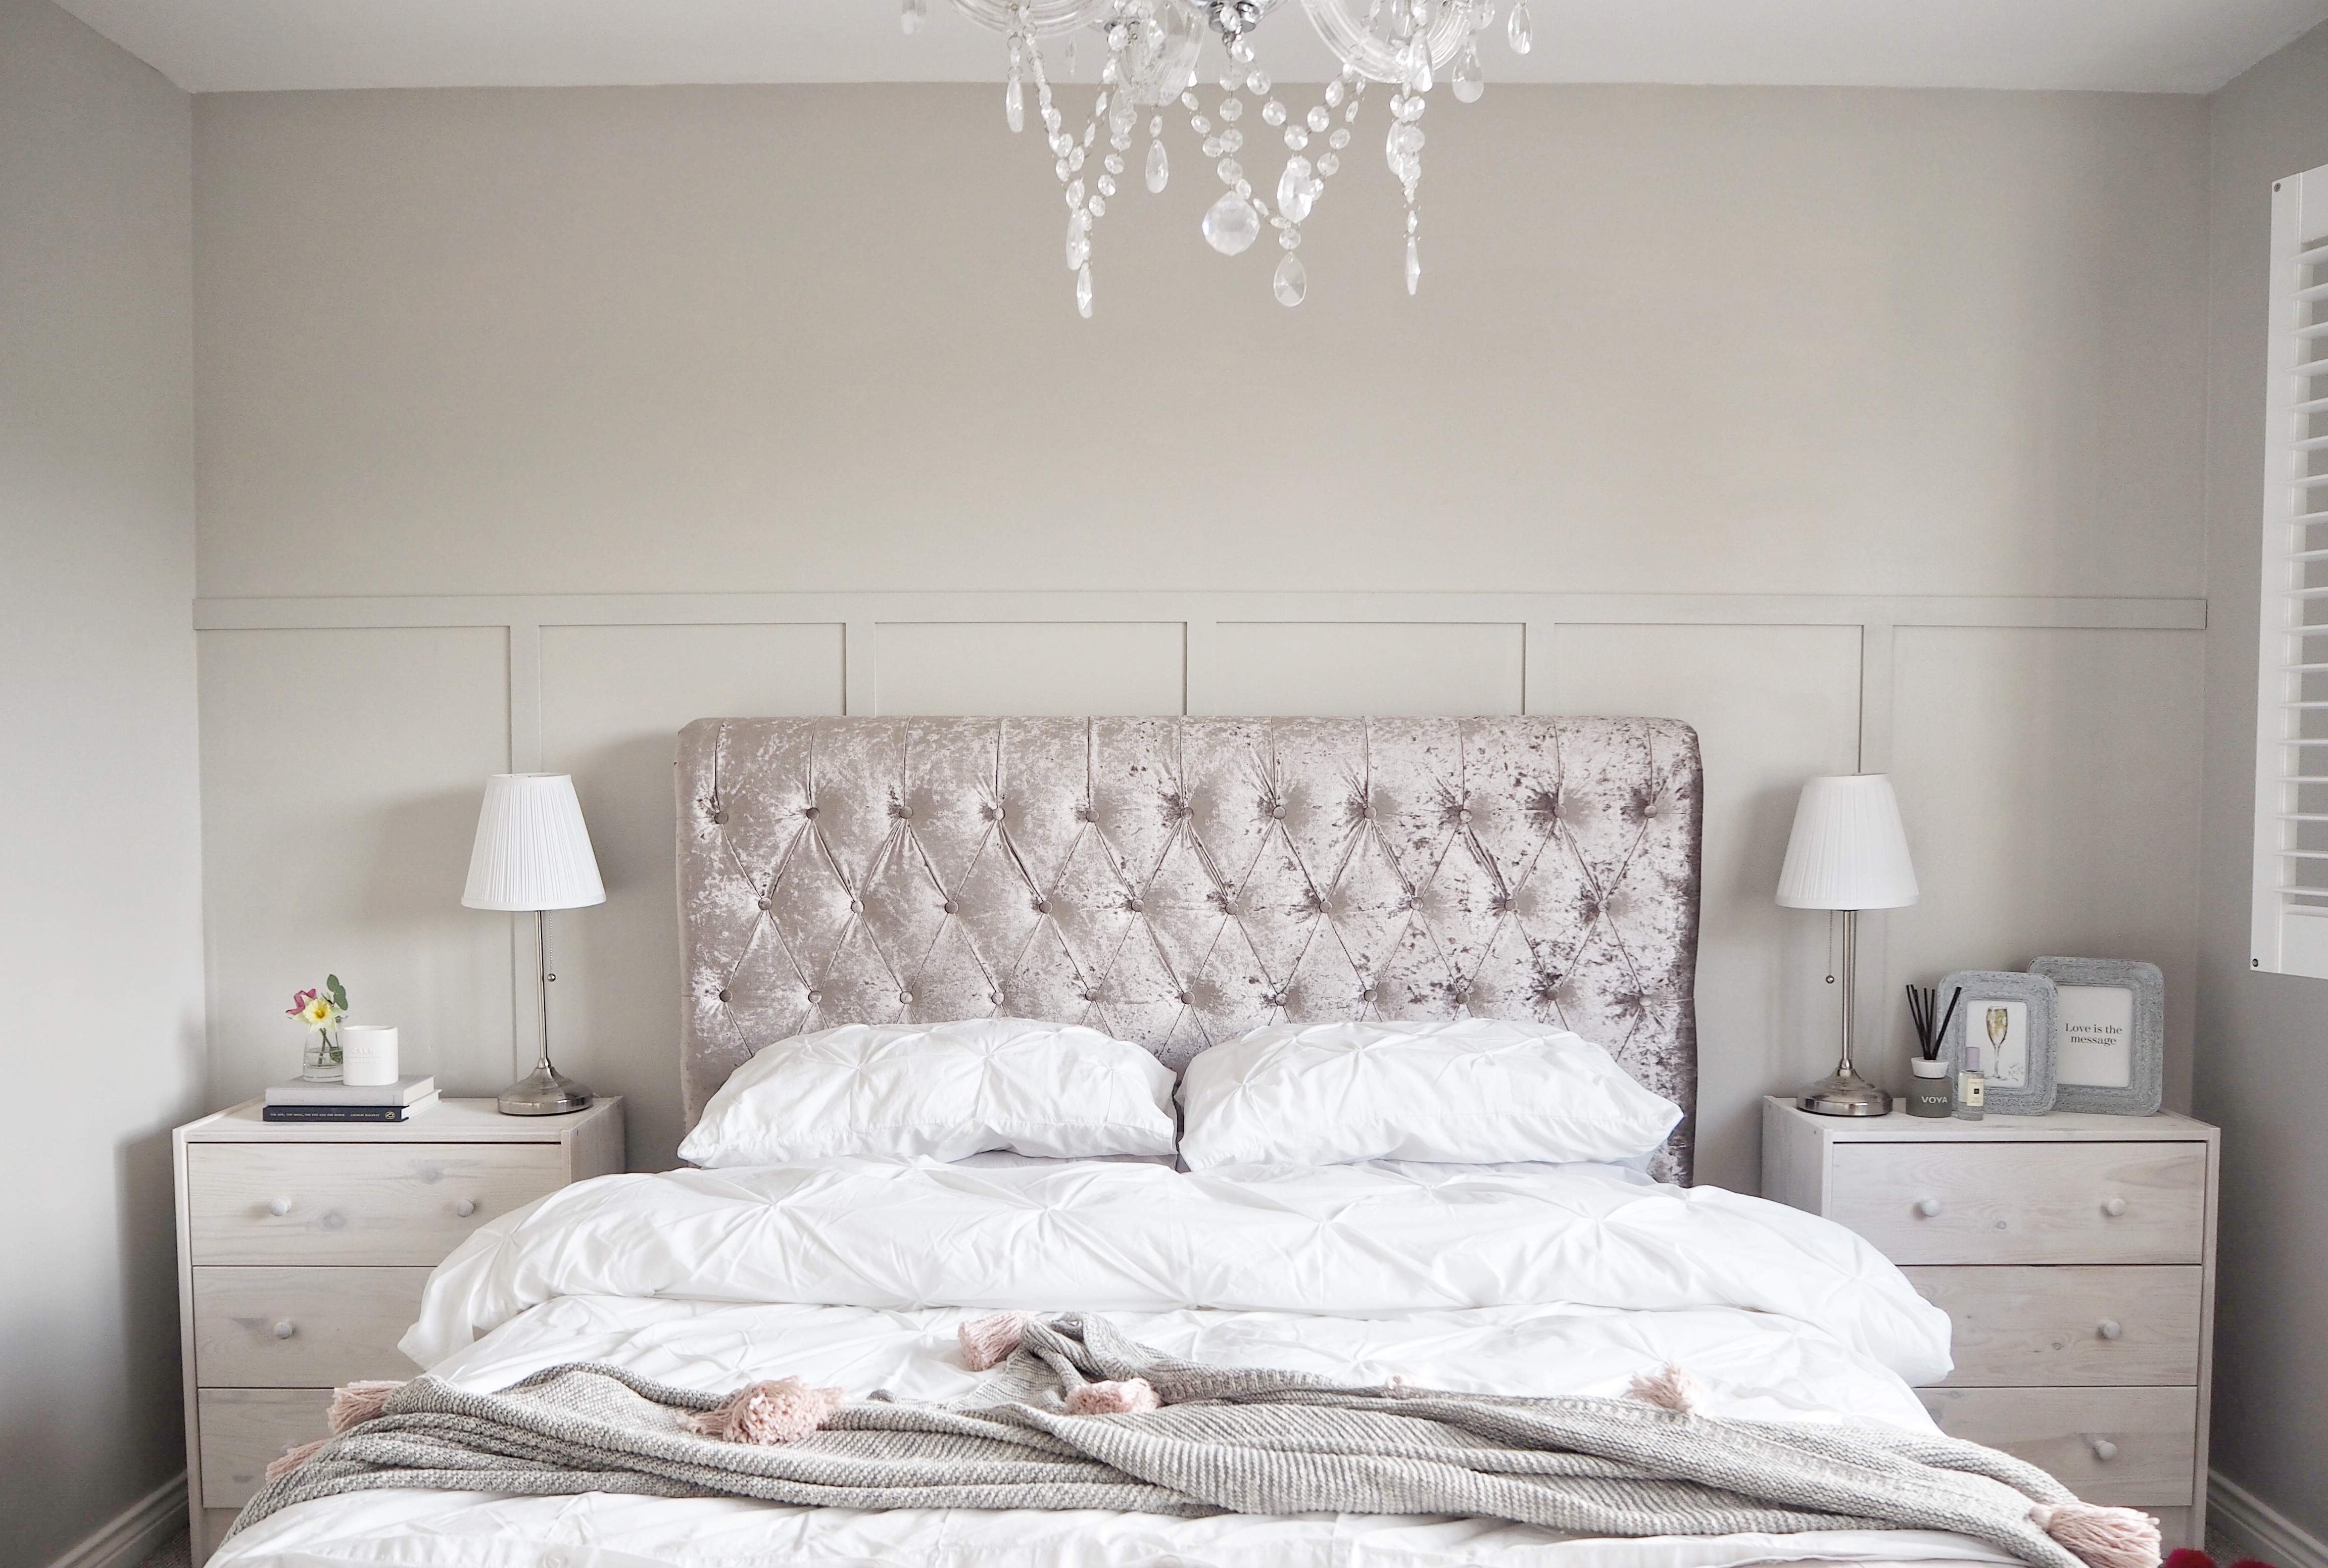
Honestly I cannot tell you how easy this is to do and it completely changes the room! The cost and effort is so minimal! Id love to hear if you give it a go too!
Hope you enjoyed reading, as much as I enjoyed writing!